
Beautiful Plants For Your Interior
Beautiful Plants For Your Interior
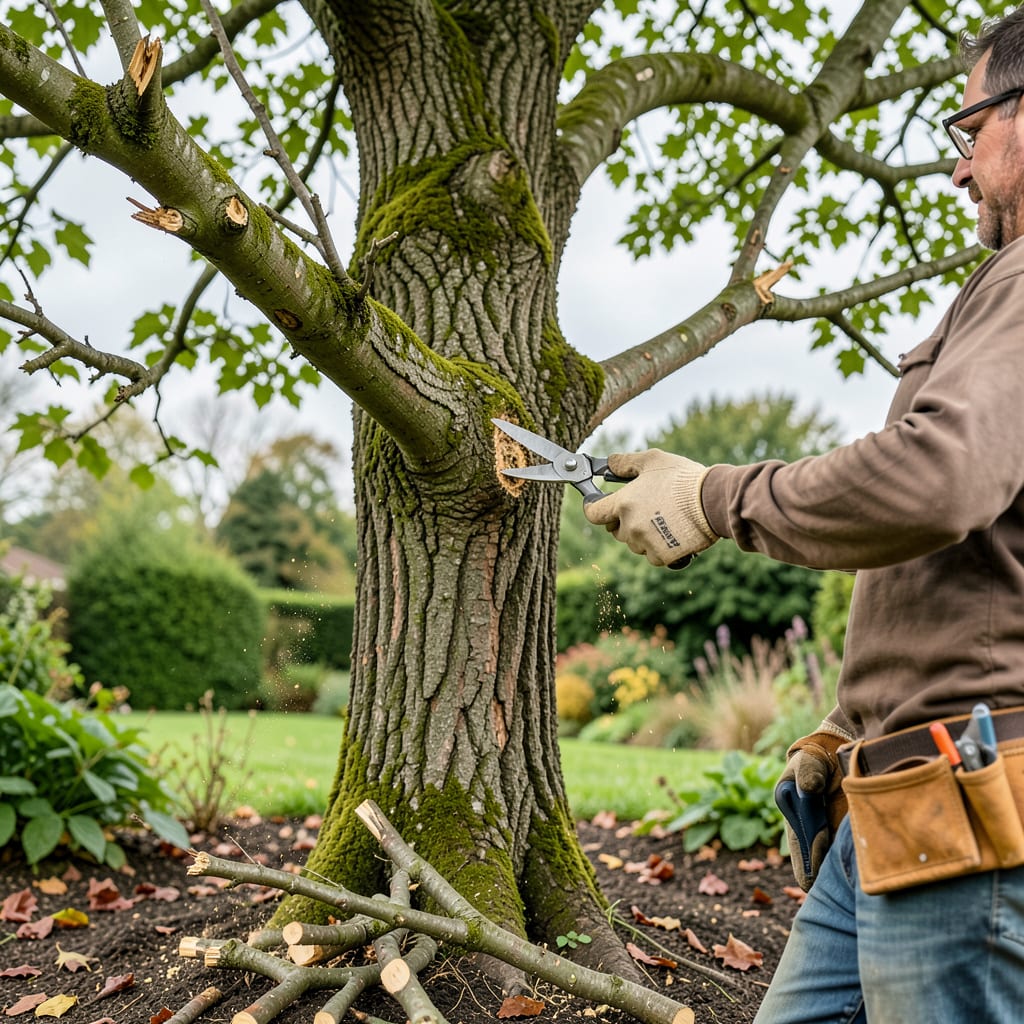
That first cut feels terrifying—like giving a tree a bad haircut. But here’s the truth: proper pruning is the difference between a struggling tree and one that thrives for decades. I’ve seen neglected trees transform into strong, shapely specimens with just a few strategic snips at the right time of year.
Timing matters more than you think. Deciduous trees want winter pruning when they’re dormant, while evergreens prefer late winter or early spring. Do it right, and you’ll get stronger branches, better airflow, and—if it’s a fruit tree—bigger harvests next season. The tree tells you what to remove if you know where to look.
📚 In This Guide
This method keeps your trees thriving while avoiding common mistakes that harm growth.
Start by scanning the tree for the “three Ds”: dead, diseased, or damaged branches. Dead wood appears dry and brittle, often with peeling bark. Diseased branches may show discoloration, fungal growth, or oozing sap. Damaged limbs usually have cracks or broken sections. Remove these first—they’re already draining the tree’s energy.
Next, look for branches that cross or rub against each other. These create wounds that invite pests and disease. I always remove the weaker of the two crossing branches. You’ll notice which one is weaker by its smaller diameter or fewer leaves. This step alone improves air circulation dramatically.
For small branches under 1 inch thick, use sharp bypass pruners. Position them just outside the branch collar—the slightly swollen area where the branch meets the trunk. Never cut flush with the trunk, as this removes the tree’s natural healing tissue. Angle your cut slightly away from the trunk to prevent water pooling.
For larger branches over 1 inch, use a three-cut method to prevent bark tearing. First, make an undercut about 12-18 inches from the trunk, cutting halfway through. Second, cut from the top 2 inches further out until the branch falls. Finally, make your clean-up cut just outside the branch collar. This technique protects the trunk from ugly tears that never heal properly.
Now focus on the tree’s structure. Remove any branches growing inward toward the center—they’ll never get proper light and just create congestion. I also thin out clusters of small branches to leave the strongest ones spaced about 6-12 inches apart. This opens the canopy for better sunlight penetration and air movement.
When shaping, never remove more than 25% of the canopy in one season. Over-pruning stresses the tree and triggers excessive new growth that’s weak and prone to breakage. Step back frequently to check your progress—the goal is a balanced shape that maintains the tree’s natural form while removing only what’s necessary.
Collect all cut material immediately to prevent disease spread. I use a tarp to gather branches as I work. For diseased wood, bag it separately and dispose of it with household trash—never compost it. Sterilize your tools between cuts with rubbing alcohol to avoid transmitting pathogens between branches.
After pruning, water the tree deeply to help it recover. Watch for new growth in the coming weeks—healthy trees will produce vigorous new shoots. If you notice excessive sap bleeding (common in maples and birches), don’t worry; it’s natural and will stop on its own. The real test comes next season when you’ll see stronger, more productive growth from your efforts.
Pruning trees properly makes all the difference between healthy growth and accidental damage. Here’s what I’ve learned from years of maintaining trees.
Tool Selection Matters: For branches under 1 inch thick, bypass pruners give the cleanest cuts without crushing stems. I keep mine razor-sharp with a diamond file—dull blades create jagged wounds that heal poorly. For larger branches over 1 inch, a quality pruning saw with curved blade makes the three-cut method in Step 2 much easier to execute cleanly.
The 25% Rule: Never remove more than 25% of the canopy in one season, as mentioned in Step 3. I use this trick: after making cuts, step back and visualize the tree as a clock face. If you’ve removed branches from more than three “hours” of the clock, you’re likely overdoing it. This visual check prevents over-pruning that stresses the tree.
Cut Placement: The branch collar mentioned in Step 2 is your tree’s natural healing mechanism. I make a habit of tracing the collar with my finger before cutting—it’s that slight swelling where branch meets trunk. Cutting just outside this (about 1/4 inch) preserves the tree’s ability to compartmentalize the wound. Never cut flush with the trunk, no matter how tempting it looks.
Disease Prevention: Between every cut on diseased branches, I wipe my tools with rubbing alcohol as mentioned in Step 4. Here’s what nobody tells you—keep a spray bottle of 70% isopropyl alcohol handy. A quick spray and wipe between cuts prevents spreading pathogens. For particularly stubborn sap, I use a rag dampened with mineral spirits (then wash tools thoroughly after).
The ideal time depends on the tree type! For most deciduous trees, prune in late winter or early spring (before buds break). Flowering trees? Prune right after they bloom. Evergreens prefer late winter. Avoid pruning in fall—it can encourage weak new growth before winter.
Small trees (under 10 ft) with minor branches are DIY-friendly with the right tools. For large trees, high branches, or near power lines, hire a certified arborist. Safety first! If the job requires a ladder or chainsaw, it’s best to call in the experts.
Pruning focuses on health, structure, and growth—removing dead/diseased branches or improving airflow. Trimming is mostly aesthetic, shaping hedges or maintaining size. Think of pruning as a “health checkup” and trimming as a “haircut.”
Never remove more than 25% of a tree’s canopy in a single season. Over-pruning stresses the tree, weakens its defenses, and can stunt growth. Spread major pruning over 2-3 years for older or struggling trees. Less is often more!
Don’t panic! Trees are resilient. If you over-prune, focus on proper watering, mulching, and fertilizer to support recovery. Avoid further pruning until the tree rebounds. For torn bark or jagged cuts, smooth the edge with a pruning saw to help healing.
