
Beautiful Plants For Your Interior
Beautiful Plants For Your Interior
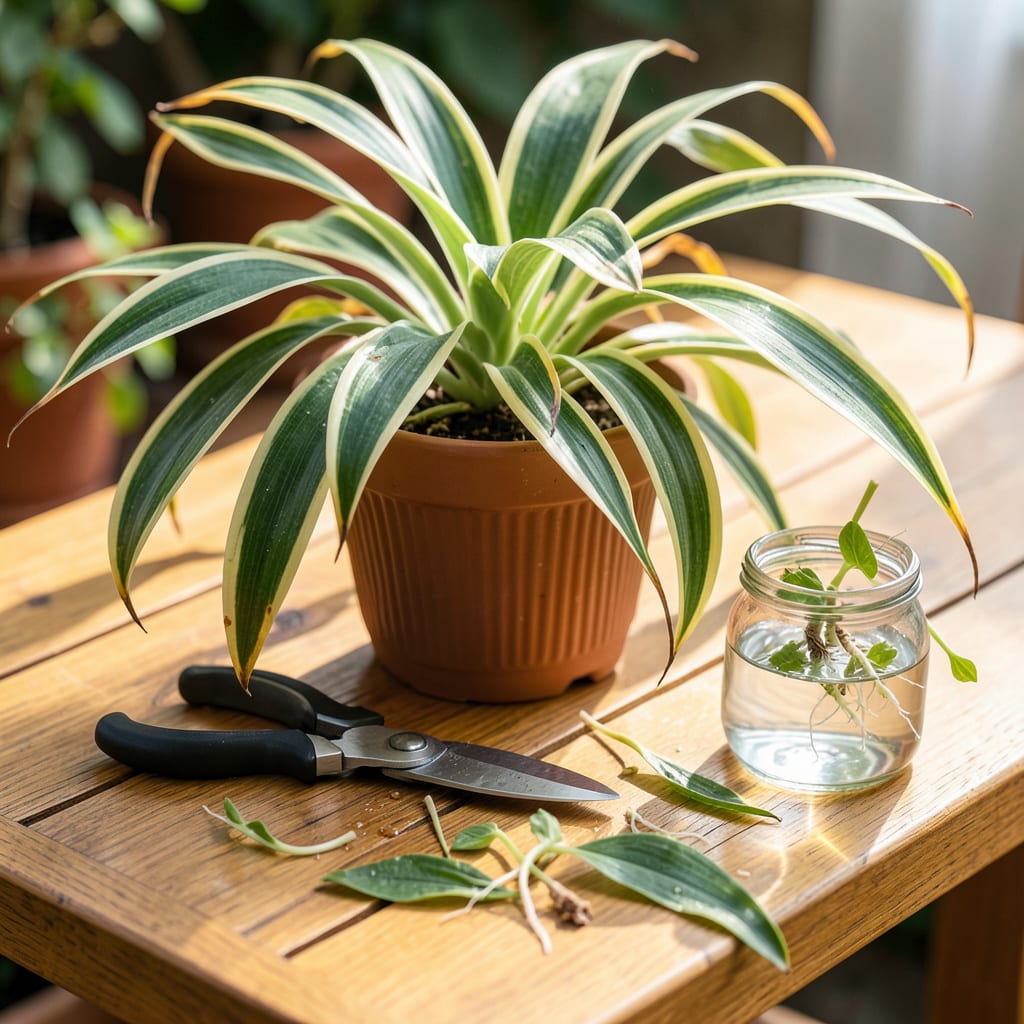
That spider plant on your shelf could be twice as lush with one simple trick. I used to let mine grow wild until I realized pruning isn’t just maintenance—it’s the secret to thicker foliage, more babies, and a plant that actually thrives instead of just surviving. Five minutes with scissors can transform a leggy, brown-tipped mess into a full, vibrant showpiece.
Here’s the thing—most people wait too long to prune, letting damaged leaves sap energy from healthy growth. You’ll know it’s time when you see crispy tips, yellowing stems, or those little spiderettes dangling everywhere. Do it right, and you’ll get a bushier mother plant plus free baby plants to share or expand your collection. No green thumb required.
📚 In This Guide
This simple process will keep your plant healthy and encourage those beautiful trailing shoots we all love.
Start by examining your spider plant for brown tips, yellowing leaves, or damaged foliage. These are the first things to remove. I always check the undersides of leaves too, where pests like to hide. Look for spiderettes (the baby plants) that are ready to propagate—they should have developed small root nubs.
Don’t worry about being too aggressive. Spider plants are incredibly resilient and actually thrive with regular pruning. Focus on removing anything that looks unhealthy or out of place with the plant’s natural shape. This is also the perfect time to decide if you want to propagate those baby plants.
You’ll need sharp, clean scissors or pruning shears. I like to wipe mine with rubbing alcohol before starting to prevent any potential disease transfer. Have a small bowl or container ready to collect the cuttings if you plan to propagate them. Keep some paper towels nearby for quick cleanup of any sap.
Find a well-lit workspace where you can spread out. I often prune my spider plants in the kitchen sink—it makes cleanup easier and gives me good light to see what I’m doing. Make sure your plant is stable in its pot before you start cutting to avoid accidental damage.
For brown tips, follow the natural leaf shape and cut at an angle just above the brown area. When removing entire leaves, cut as close to the base as possible without damaging the main plant. For spiderettes, snip the runner about an inch from where it connects to the mother plant. Each cut should be clean and decisive—no tearing or crushing the stems.
I’ve found that making cuts at a slight angle helps prevent water from pooling on the cut surfaces, which can lead to rot. Don’t be surprised if you see a little clear sap—this is normal. Just wipe it away with a damp paper towel. Work your way around the plant systematically so you don’t miss any areas.
After removing damaged material, step back and look at the overall shape. Spider plants naturally grow in a fountain pattern, so aim to maintain this form. If one side looks heavier, trim back some of the longer leaves on that side to create balance. I like to rotate my plants as I work to ensure even pruning.
This is also when I decide which leaves to keep for propagation. Choose healthy, mature leaves with good color. Don’t remove more than one-third of the plant’s foliage at once—this can stress the plant. Remember, you can always do another light pruning in a few weeks if needed.
Once you’ve finished pruning, give your plant a good drink of water. This helps it recover from the stress of pruning. I like to add a diluted liquid fertilizer about a week after pruning to encourage new growth. Place your plant back in its usual spot, making sure it’s getting the bright, indirect light it prefers.
For the cuttings you’ve removed, you can propagate them in water or directly in soil. If using water, change it every 3-4 days until you see new root growth, which usually takes 2-3 weeks. Keep your new plants in a warm spot with indirect light until they’re established. The mother plant will start producing new growth within 2-4 weeks of pruning.
Pruning spider plants is simpler than you might think, but these practical insights will help you avoid common pitfalls and get the best results.
Tool Preparation: In Step 2, when gathering your tools, don’t skip the rubbing alcohol wipe for your scissors or shears. I learned this the hard way after transferring a fungal issue between plants. The 30 seconds it takes to disinfect prevents weeks of potential problems. Keep a small spray bottle of alcohol solution nearby for quick re-cleaning if you’re working with multiple plants.
Cutting Technique: The angle of your cuts in Step 3 makes more difference than you’d expect. When trimming brown tips, follow the leaf’s natural curve and cut at about a 45-degree angle. This isn’t just for aesthetics—it prevents water from collecting on the cut surface, which is the number one cause of post-pruning rot. For spiderettes, that 1-inch distance from the mother plant gives the cutting enough stem to work with while allowing the parent plant to heal quickly.
Balancing Act: Step 4’s advice about not removing more than one-third of the foliage isn’t just a suggestion—it’s critical for the plant’s recovery. I use this trick: after removing damaged leaves, I count the remaining healthy leaves and make sure I’m keeping at least two-thirds. If I’ve been too aggressive, I’ll leave a few less-than-perfect leaves rather than over-pruning. The plant will thank you with faster regrowth in those 2-4 weeks mentioned in Step 5.
Aftercare Timing: That week-long wait before fertilizing in Step 5 gives your plant crucial recovery time. I’ve found that watering immediately after pruning (as suggested) but waiting the full 7 days before fertilizing produces the most vigorous new growth. The plant uses that first week to heal its cuts and redirect energy—adding fertilizer too soon can actually stress it further. Mark your calendar so you don’t forget this important step.
Yes! Spider plants are forgiving, but spring or early summer is ideal—this aligns with their active growth phase. Avoid heavy pruning in winter when growth slows. Light trimming (like removing brown tips) can be done year-round.
Pruning removes dead or overgrown leaves to improve health, while propagating involves cutting off spiderettes (baby plants) to grow new plants. You can do both at once! Just snip spiderettes at the base and root them in water or soil.
Yes! Brown tips are often from fluoride in water, low humidity, or over-fertilizing. Trim the brown edges (following the leaf’s natural shape) with clean scissors. To prevent it, use distilled water and mist leaves occasionally.
Not if done right! Spider plants are resilient. Focus on removing yellow, brown, or damaged leaves first. Avoid cutting more than ⅓ of the plant at once. Always use sharp, sterilized tools to prevent infection.
Only if root-bound (roots circling the pot). Gently tease out the roots during repotting and trim any dark, mushy, or overly long roots with clean shears. Repot in fresh soil afterward to reduce stress.
