
Beautiful Plants For Your Interior
Beautiful Plants For Your Interior
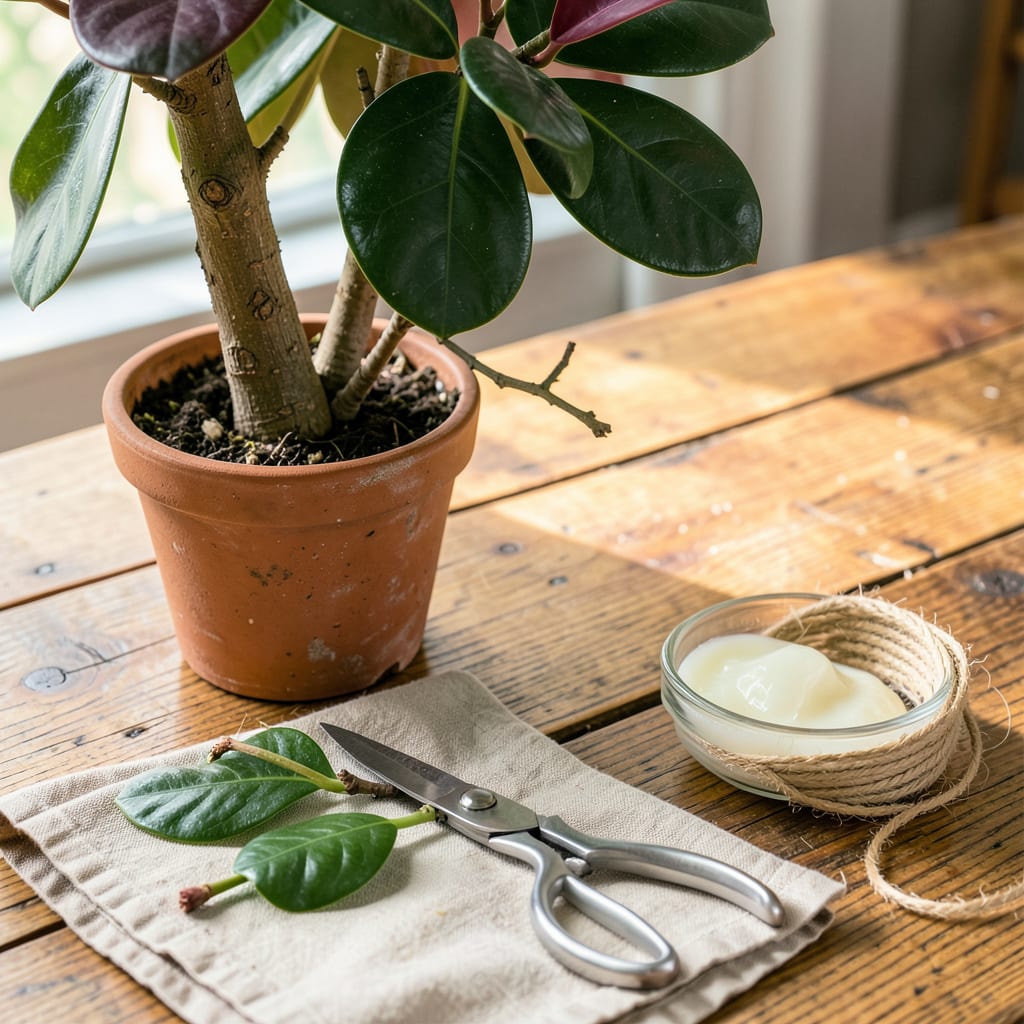
That leggy rubber tree staring back at you? It’s begging for a haircut. I’ve turned countless spindly ficus into full, bushy showstoppers with just a few strategic cuts—and you can too, no green thumb required. The secret lies in where you cut, not how much you remove.
Timing matters almost as much as technique. Prune in early spring just as new growth starts, and your plant will reward you with double the branches by summer. You’ll need sharp shears, gloves (that milky sap is no joke), and about 20 minutes to completely transform your plant’s shape and health. Let’s make that rubber tree earn its spot in your space.
📚 In This Guide
This simple method transforms leggy plants into full, vibrant specimens—no guesswork required.
Start by examining your rubber tree for the right pruning spots. Look for areas where the plant has grown tall with sparse leaves, typically just above a leaf node (that’s the bump where leaves emerge). I always choose a node that’s 6-12 inches from the top of the plant—this gives you enough stem to work with while encouraging bushy regrowth.
You’ll notice the plant naturally develops a “Y” shape at nodes where leaves have fallen off. These are perfect pruning points because they already contain dormant buds ready to sprout new branches. Avoid cutting too close to the main trunk, which can stress the plant. The ideal spot is where the stem is about pencil-thick.
Use sharp, clean pruning shears or a sterilized knife. I wipe my blades with rubbing alcohol before starting to prevent disease transmission. Make your cut at a 45-degree angle, about 1/4 inch above the node you’ve selected. This angled cut prevents water from pooling on the wound, which could lead to rot.
The cut should be smooth and decisive—don’t saw back and forth. You’ll feel slight resistance as you cut through the stem’s outer layer, then it should slice cleanly. If you’re removing a large section, you might hear a slight “pop” as the stem separates. That’s normal. Immediately after cutting, you’ll see the plant’s milky sap begin to ooze—this is completely natural and will stop within a few minutes.
After pruning, your rubber tree will produce that characteristic white sap. Don’t be alarmed—this is the plant’s natural defense mechanism. I keep a damp paper towel handy to gently wipe away excess sap from the cut area and surrounding leaves. The sap can be sticky and may cause skin irritation, so wearing gloves is wise if you have sensitive skin.
Place your plant in bright, indirect light for the next 2-3 weeks as it recovers. You’ll notice new growth emerging from the nodes below your cuts within 4-6 weeks. This is when the magic happens—the plant will start developing multiple new shoots from each pruning point, creating that bushier appearance you’re after. During this recovery period, maintain your normal watering routine but avoid fertilizing until you see active new growth.
As new branches develop, you might need to do some light shaping. I check my rubber tree every 2-3 weeks after the initial pruning. Look for any shoots growing inward toward the center of the plant or crossing over other branches. These should be pinched off early to maintain good air circulation and prevent future pruning needs.
You’ll want to rotate your plant a quarter turn weekly to ensure even growth—rubber trees naturally grow toward light sources. After about 3 months, you can resume your normal care routine, including fertilization. The pruned sections will eventually develop a slightly thicker appearance where you made your cuts, which becomes less noticeable as new growth fills in. This is completely normal and actually makes the plant look more mature and established.
Pruning can feel intimidating, but these practical insights will help you avoid common pitfalls and get the bushy results you want.
Node Selection Strategy: When choosing where to make your cuts in Step 1, look for nodes that already have small bumps or reddish spots—these indicate active growth points. I’ve found that selecting nodes closer to the 6-inch mark (rather than the full 12 inches) often produces denser regrowth. The “Y” shaped nodes mentioned in the instructions are your best bet because they naturally want to branch in two directions.
Tool Preparation Tip: Before making cuts in Step 2, test your pruning shears on a pencil—if they crush rather than cleanly slice the wood, they need sharpening. That 1/4 inch above the node measurement is crucial; cutting too close can damage the growth point, while cutting too far leaves an unsightly stub. The 45-degree angle isn’t just for aesthetics—it creates more surface area for the plant to heal over.
Post-Pruning Care: During the 2-3 week recovery period mentioned in Step 3, resist the urge to move your plant to lower light conditions. The bright, indirect light helps stimulate those dormant buds. I learned the hard way that skipping the weekly quarter turns can lead to lopsided growth—set a phone reminder if you tend to forget. When you see the first signs of new growth (usually tiny red bumps), that’s your signal that the plant is ready for normal care.
Long-Term Maintenance: The 2-3 week check-ins after pruning, as outlined in Step 4, are when you’ll catch potential problems early. Look for shoots growing directly opposite each other—these often compete for resources. Removing one early allows the remaining shoot to grow stronger. That slight thickening at the cut site is actually the plant forming callus tissue, which is completely normal and helps prevent disease.
Winter isn’t ideal—rubber trees grow best when pruned in early spring or late summer. Cold months slow growth, delaying recovery and increasing stress. If you must trim then, avoid heavy cuts and keep the plant in bright, indirect light to help it bounce back.
Leggy growth means it’s stretching for light! Prune just above a leaf node (where leaves meet the stem) to encourage bushier growth. Rotate the plant weekly for even light exposure, and consider moving it to a brighter spot (but avoid direct sun, which can scorch leaves).
No worries—that’s normal! Rubber trees release a milky latex sap when cut. Wipe it away with a damp cloth to avoid mess, and let the wound callous naturally. Pro tip: Dip pruners in rubbing alcohol between cuts to prevent sap buildup on your tools.
Healthy stem cuttings (6+ inches long with 2–3 leaves) can root in water or moist soil. Remove lower leaves, dip the end in rooting hormone (optional), and place in bright, indirect light. Roots should appear in 4–8 weeks—free new plants!
Prune every 1–2 years to maintain shape and size. Young plants may need lighter, more frequent trims to encourage branching, while mature trees thrive with occasional “haircuts.” Always prune during active growth (spring/summer) for the best results.
