
Beautiful Plants For Your Interior
Beautiful Plants For Your Interior
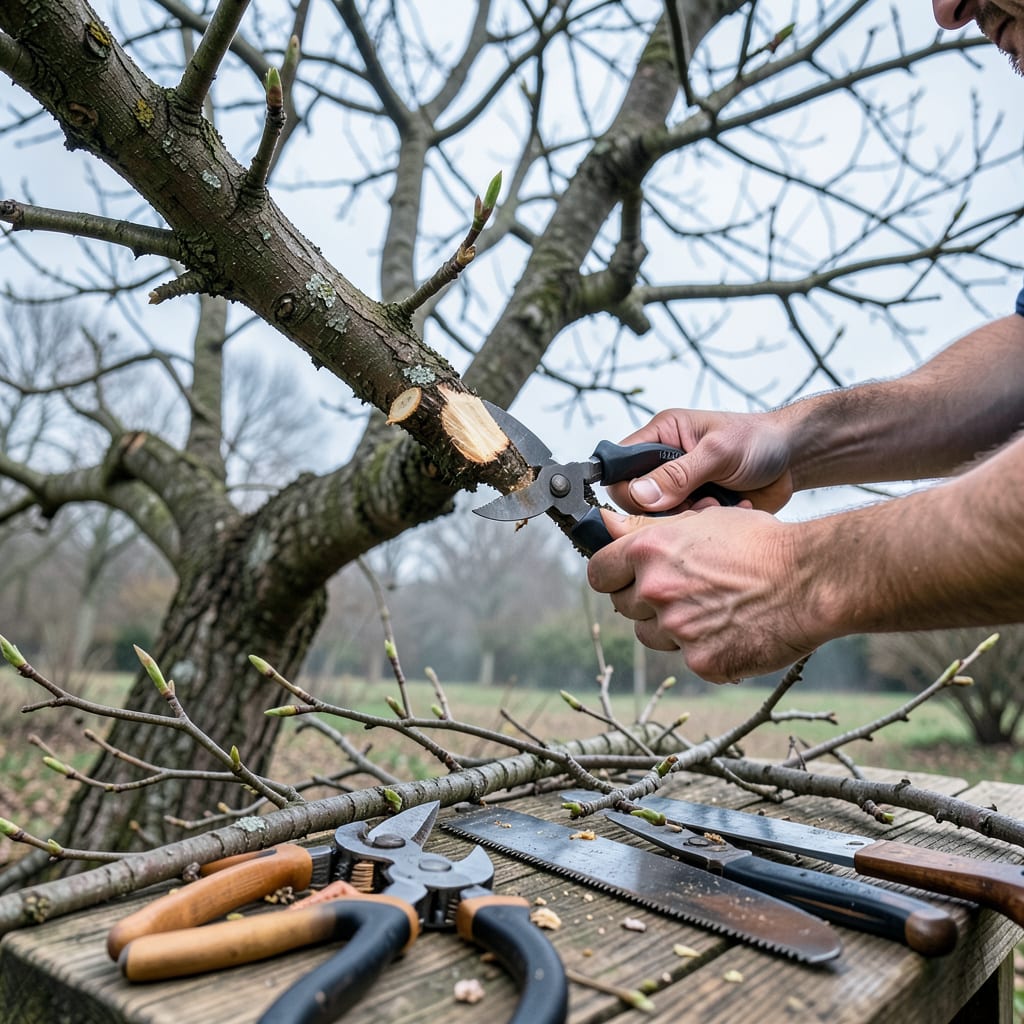
I used to think pruning a plum tree was just about cutting back branches—until I saw how the right cuts transformed my scrawny tree into a fruit powerhouse. The difference between a wild, overgrown mess and a tree that produces plump, sweet plums every season comes down to where and when you make those cuts. No fancy degrees needed, just the right technique at the right time.
Timing matters more than you’d think. Do it too early, and frost can damage fresh cuts. Wait too long, and you risk stunting next year’s harvest. I’ll show you the late winter sweet spot that balances safety and productivity—plus the simple tools that make the job clean and stress-free. Your tree (and your future jam stash) will thank you.
📚 In This Guide
This method transforms unruly growth into a productive, disease-resistant tree with minimal effort.
Prune in late winter or early spring before buds swell—this timing prevents disease while maximizing fruit production. I use sharp bypass pruners (for small branches), loppers (for medium branches), and a pruning saw (for anything thicker than 1 inch). Sanitize blades with rubbing alcohol to prevent spreading pathogens between cuts.
Dress for the job: sturdy gloves protect against thorns, and safety glasses prevent eye injuries from flying debris. Work on a dry day when temperatures are above 40°F—frozen wood is brittle and tears instead of cutting cleanly.
Start by cutting any dead wood (gray, brittle branches) back to healthy tissue. Look for blackened or oozing areas—these indicate disease. Make cuts 1/4 inch outside the branch collar (the swollen area where branch meets trunk) at a 45-degree angle to help water run off.
Next, eliminate branches that cross or rub—these create wounds that invite pests. Remove the weaker of two competing branches entirely. I always step back after each cut to reassess the tree’s shape before proceeding.
Remove about 20% of last year’s growth to open the center. Focus on vertical “water sprouts” and branches growing inward—they block sunlight from reaching fruit-bearing wood. Leave 6-12 inches between remaining branches to ensure proper air circulation.
Prioritize keeping branches with plump, healthy buds—these will produce next year’s fruit. I use the “3-D” rule: remove anything that’s dead, damaged, or diseased first, then thin for structure.
Create a scaffold structure by selecting 3-5 main branches spaced evenly around the trunk. Shorten these by one-third to encourage bushier growth. Cut just above an outward-facing bud—this directs new growth away from the center.
Aim for a pyramid shape—wider at the bottom, narrower at the top—so sunlight reaches all branches. I check my work by standing back and looking through the tree: you should see daylight filtering through the canopy.
Rake up all debris immediately—fallen branches can harbor pests and disease. Apply a thin layer of mulch (2-3 inches) around the base, keeping it 6 inches away from the trunk to prevent rot. Water deeply after pruning to help the tree recover.
Watch for new growth in 4-6 weeks. If you see excessive suckers (vertical shoots from the base), remove them while they’re small. I mark my calendar to check again in early summer—this is when I make any final adjustments to the shape.
Pruning fruit trees is as much art as science—these practical insights will help you avoid common pitfalls while maximizing your tree’s health and productivity.
Timing is Everything: The late winter or early spring window mentioned in Step 1 isn’t arbitrary. Pruning before buds swell (but after the worst frost) gives wounds time to callus before pests become active. I’ve found that pruning during this period results in significantly less disease pressure and more vigorous spring growth. If you miss this window, avoid pruning in fall—it can stimulate new growth that won’t harden off before winter.
Tool Maintenance Matters: The 1/4 inch outside the branch collar measurement in Step 2 is critical for proper healing. I always mark this distance with a piece of painter’s tape on my pruners as a visual guide. Also, don’t underestimate the importance of sanitizing tools between cuts—especially when dealing with diseased wood. A quick wipe with rubbing alcohol between branches prevents spreading pathogens throughout the tree.
Canopy Assessment Technique: When thinning the canopy in Step 3, here’s what nobody tells you: stand back and squint at the tree after each cut. This helps you spot dense areas that need more opening. The 6-12 inches between branches guideline ensures sunlight penetration to lower branches where fruit often develops. I use a measuring tape at first until I develop an eye for proper spacing.
Future Growth Visualization: The pyramid shape mentioned in Step 4 isn’t just aesthetic—it’s functional. Wider lower branches capture more sunlight for fruit production while the narrower top prevents shading. When selecting your 3-5 main scaffold branches, imagine how they’ll look when loaded with fruit. I often take photos from different angles to help visualize the mature shape before making final cuts.
Prune in late spring or early summer (after flowering) to avoid silver leaf disease . Light pruning can also be done in mid-summer for shaping. Avoid winter pruning—plum trees are vulnerable to fungal infections in cold, wet conditions.
No! Winter pruning increases the risk of silver leaf disease, a deadly fungal infection. Stick to warmer months (May–August) when the tree heals faster. If you must remove damaged wood in winter, seal cuts with pruning paste immediately.
Never remove more than 20–25% of the canopy in a single year. Over-pruning stresses the tree and reduces fruit production. Focus on dead/diseased wood, crossing branches, and suckers first. Spread major pruning over 2–3 seasons if needed.
Plum trees need gentler pruning than peaches! Peaches fruit on new wood (prune aggressively), but plums fruit on older spurs (2+ years). Avoid heavy cuts—thin out crowded branches instead to maintain fruiting wood.
Sap oozing (or “bleeding”) is normal in spring—it’s the tree’s way of healing! To minimize it, prune in dry weather and avoid late-winter cuts. No need to “stop” it; just let the tree heal naturally. Sterilize tools between cuts to prevent infection.
