
Beautiful Plants For Your Interior
Beautiful Plants For Your Interior
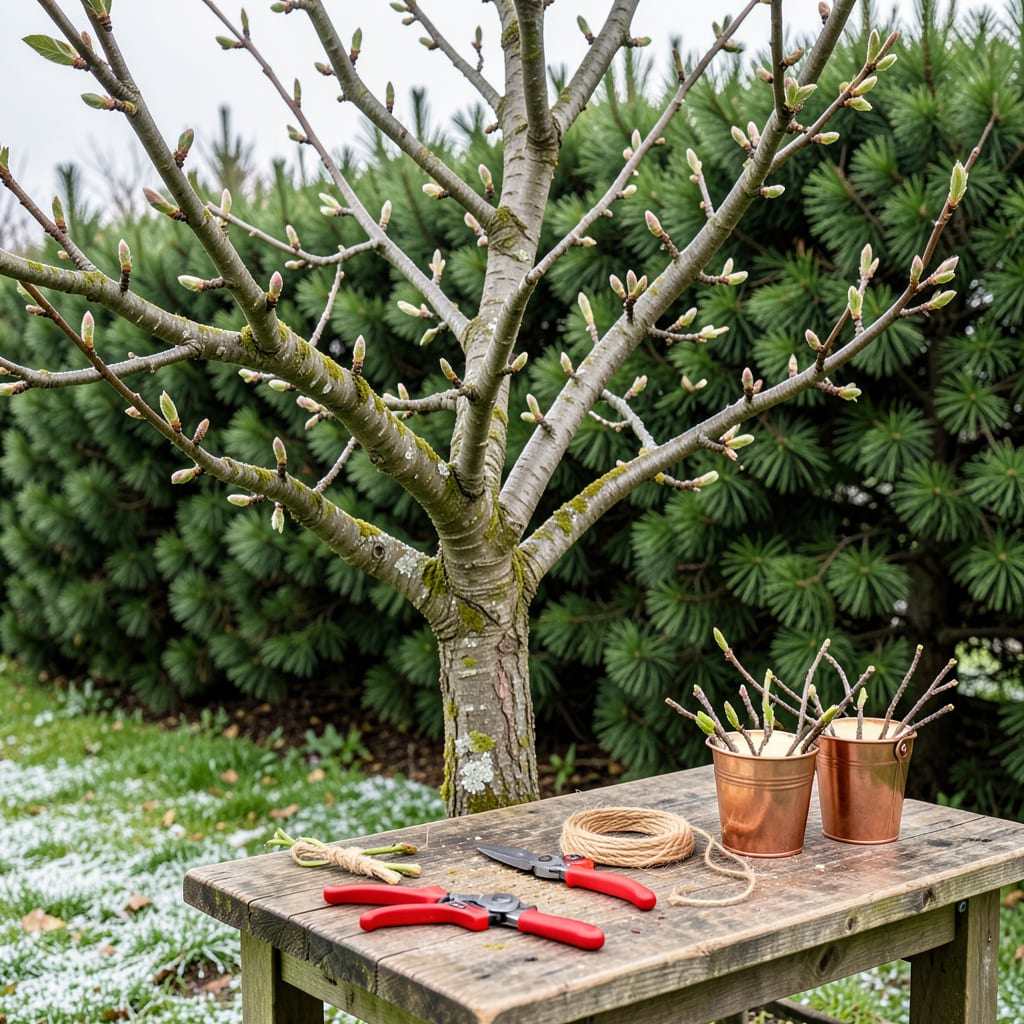
There’s something deeply satisfying about shaping a pear tree with your own hands. I remember the first time I pruned mine—nervous about making mistakes, but amazed at how much healthier the tree looked afterward. Proper pruning isn’t just about aesthetics; it’s the secret to bigger harvests, stronger branches, and trees that resist disease for decades.
Timing matters more than you’d think. Do this in late winter while the tree’s still dormant, and you’ll avoid stressing it during active growth. The right cuts now mean more fruit next season and fewer problems with pests. You don’t need fancy tools—just sharp pruners, a little confidence, and the knowledge of which branches to remove (and which to keep).
📚 In This Guide
Pruning transforms a pear tree from overgrown to productive—here’s how I shape mine for maximum fruit and vigor.
Prune in late winter while the tree is still dormant but after the worst frost has passed. I aim for February to early March in most climates, just as buds begin to swell but before they open. This timing minimizes stress while allowing wounds to heal quickly with spring growth.
Avoid pruning in fall—it stimulates new growth that won’t harden off before winter, making the tree vulnerable to cold damage. If you must prune later, wait until after harvest but before leaf drop. Never prune when the tree is actively flowering or fruiting.
Start by cutting out any dead wood (it will appear brittle and gray) using clean, sharp bypass pruners. Make cuts at a 45-degree angle just outside the branch collar—the swollen area where the branch meets the trunk. This preserves the tree’s natural healing mechanism.
Next, remove diseased branches (look for cankers, oozing sap, or discolored leaves) and any branches that cross or rub against each other. These create wounds that invite pests and pathogens. I work systematically from the bottom up to ensure I don’t miss anything in the canopy’s interior.
Selectively remove about 20-30% of the oldest branches to open up the tree’s center. Focus on cutting back branches that grow inward toward the trunk or straight upward (called “water sprouts”). These contribute little to fruit production and block sunlight from reaching developing pears.
Use the “three D’s” rule: remove Dead, Diseased, and Damaged wood first, then thin remaining branches to maintain a vase-like shape. You should be able to toss a baseball through the center of a properly thinned pear tree without it hitting branches.
Shorten remaining branches by cutting just above an outward-facing bud. This encourages horizontal growth that will bear more fruit. Leave 6-12 inches of growth from last year’s cuts to maintain fruiting wood—pear trees produce best on 2-3 year old branches.
Avoid “heading back” (cutting the terminal end of branches) unless you’re specifically trying to encourage bushier growth. Instead, make thinning cuts that remove entire branches at their point of origin. This maintains the tree’s natural shape while improving fruit quality.
Remove all cut branches from the area and dispose of them (don’t compost diseased wood). Apply a thin layer of horticultural oil to your pruners between cuts if you encountered any diseased branches to prevent spreading pathogens.
Monitor the tree as it leafs out in spring. You should see vigorous new growth emerging from your cuts. If any branches fail to produce new growth by mid-summer, they may need complete removal. The goal is an open canopy with 6-8 main scaffold branches radiating outward from the trunk.
Pruning fruit trees is both an art and a science—these insights will help you achieve professional results while avoiding common pitfalls.
Timing Precision: The February to early March window mentioned in Step 1 isn’t arbitrary—it’s when the tree’s cambium layer is most active for healing. I’ve found that pruning during a dry spell within this period reduces disease risk. If you’re in a climate with unpredictable late frosts, err toward the later end of this window to protect emerging buds from potential cold snaps.
Cutting Technique Mastery: The 45-degree angle cut in Step 2 serves two critical purposes: it sheds water away from the wound and maximizes the exposed cambium area for faster healing. When making these cuts, position yourself so you can see the branch collar clearly—it’s often more pronounced on the underside of the branch. A common mistake is cutting too close or leaving too long a stub; both impede proper healing.
Canopy Architecture: The “baseball test” in Step 3 is more than just a clever analogy—it ensures proper air circulation that reduces fungal diseases like pear scab. When thinning, prioritize removing branches that create “shade pockets” in the canopy’s interior. These areas stay damp longer after rain, creating ideal conditions for pathogens. I use a step ladder to get eye-level with different sections of the canopy to better assess which branches are blocking light.
Fruit Wood Management: The 6-12 inches of growth you leave in Step 4 represents next year’s fruiting potential. Pear trees produce fruit on short spurs that form on 2-3 year old wood, so these cuts determine your harvest two seasons ahead. When selecting which buds to cut above, choose plump, healthy buds facing outward—they’ll produce the strongest fruit-bearing branches. Avoid cutting above narrow or damaged buds, as they may produce weak growth.
The ideal time is late winter or early spring (before buds swell) when the tree is dormant. Avoid pruning in fall, as fresh cuts may not heal before winter. Light summer pruning (June-July) can also help shape growth, but avoid heavy cuts during active growth.
Never remove more than 20-25% of the canopy in a single year. Over-pruning stresses the tree and reduces fruit production. Focus on dead/diseased branches first, then thin for airflow. If major shaping is needed, spread it over 2-3 seasons.
Yes! Proper pruning boosts fruit quality by improving sunlight and air circulation. Remove inward-growing branches, suckers, and water sprouts. Keep 1-year-old fruiting spurs (short stubby branches)—they’re next year’s pears! Avoid cutting these unless diseased.
Pears are pruned less aggressively than apples. They fruit on older wood (2-3+ years), so avoid over-thinning. Apple trees tolerate heavier pruning; pears need gentler shaping. Both benefit from open-center structures, but pears require more patience to avoid over-stimulating growth.
Don’t panic! Some sap bleeding is normal, especially in late winter/early spring. It’s the tree’s way of healing. To minimize it, prune in dry weather and avoid late-season cuts. If sap flows heavily, it’s not harmful—just messy. No need to seal wounds (research shows it can trap moisture).
