
Beautiful Plants For Your Interior
Beautiful Plants For Your Interior
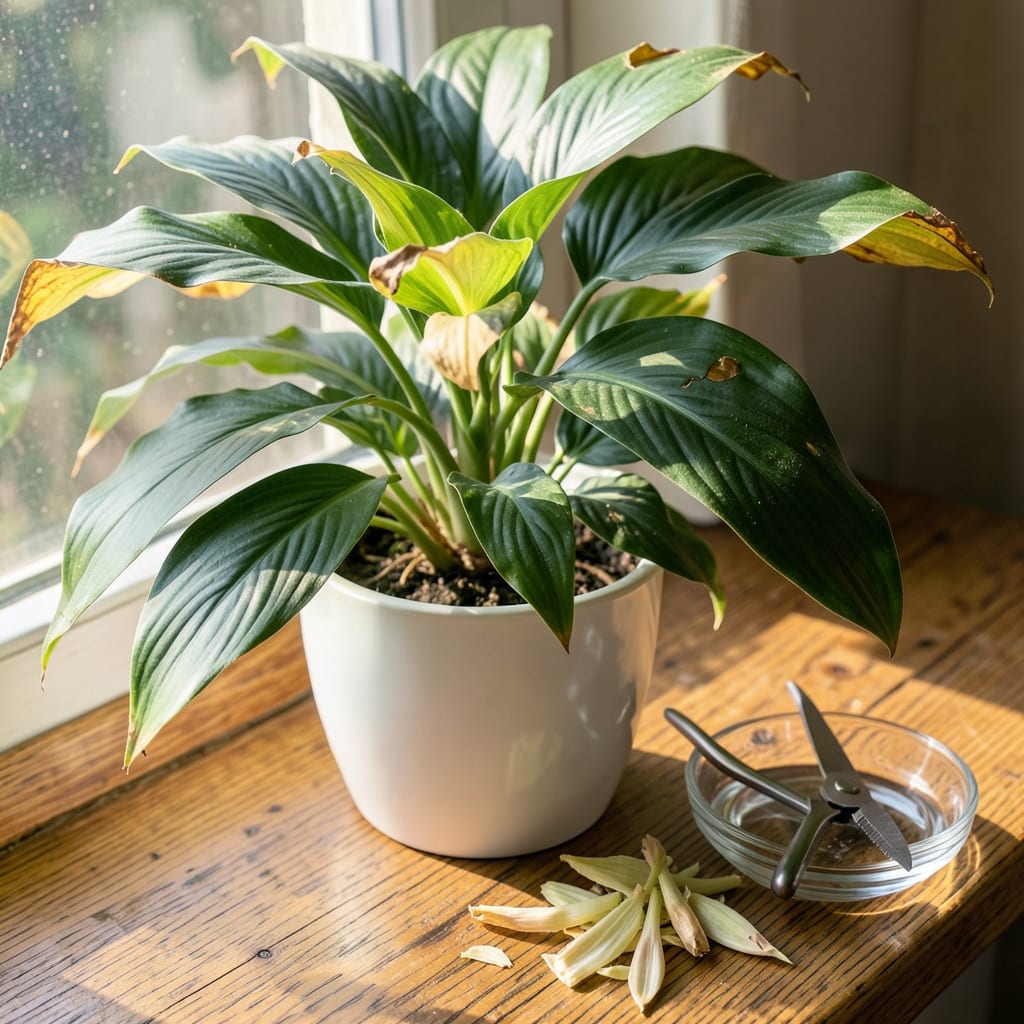
Yellowing leaves and drooping blooms don’t mean your peace lily is doomed—it’s just asking for a little attention. I’ve brought struggling plants back to life with nothing more than a pair of scissors and five minutes of focused pruning. This simple process removes what’s holding your plant back so it can put energy into fresh, vibrant growth instead of maintaining damaged foliage.
The difference is shocking: after pruning, my peace lilies produce more blooms, stand taller, and recover faster from stress. You’ll see new leaves unfurling within 2-3 weeks, and the plant’s natural shape returns without the straggly, tired look. No fancy tools required—just clean cuts and knowing where to make them.
📚 In This Guide
This simple process will keep your plant thriving and looking its best—no guesswork required.
Start by examining your peace lily for yellow or brown leaves, which are the first to go. These spent leaves drain energy from the plant and can signal overwatering or natural aging. I gently run my fingers along each stem to feel for crispy or mushy textures—both are red flags.
Next, look for wilted or greenish-white flowers that have passed their prime. The blooms (called spathes) turn papery and brown when they’re done. Don’t remove healthy green stems—those will rebloom. Focus only on what’s clearly declining.
Use clean, sharp pruning shears or scissors—dull blades crush stems instead of cutting cleanly. I wipe mine with rubbing alcohol first to prevent spreading bacteria. Lay down newspaper or work over a tray to catch debris; peace lily sap can stain surfaces.
Position yourself where you can see the plant’s base clearly. The growth points (where new leaves emerge) are delicate, so I avoid touching them. Good lighting helps—shadows make it hard to spot the natural separation points between stem and plant.
For leaves, follow the stem all the way down to the soil line. Cut at a 45-degree angle just above the soil, not halfway up the stem. This prevents ugly stubs and directs energy to new growth. The stem should pull away easily if you’ve cut correctly.
For spent flowers, snip the entire flower stalk (not just the bloom) where it emerges from the leaves. I support the stalk with my fingers while cutting to avoid tearing nearby foliage. You’ll feel a slight resistance before the clean cut—that’s normal.
After pruning, check the soil moisture. Peace lilies often need less water post-pruning since there’s less foliage to support. Stick your finger 1 inch deep—if it feels damp, wait to water. The plant will tell you when it’s thirsty by drooping slightly.
I like to mist the remaining leaves lightly after pruning. This removes any dust disturbed during the process and helps the plant recover. Avoid soaking the soil unless it’s bone dry—overwatering is the fastest way to undo your good work.
Within 2-3 weeks, you should see new leaves unfurling from the center. This confirms your pruning was successful. If no new growth appears after 4 weeks, reassess light and water conditions—the plant may need brighter indirect light or a humidity boost.
The pruned areas will callous over naturally. Don’t be alarmed if the cut stems turn brown at the edges—that’s just the plant sealing itself. Your peace lily will redirect energy to producing those gorgeous dark green leaves and white blooms you love.
Pruning peace lilies is simpler than you think—these practical insights will help you avoid common mistakes and encourage vibrant growth.
The Right Cut Matters: In Step 3, when making those 45-degree angle cuts, I’ve found that using sharp scissors (rather than thicker pruning shears) gives you more control with peace lilies’ delicate stems. The key is to cut just above the soil line—not halfway up the stem—so the plant doesn’t waste energy on dying tissue. If you hear a slight “snap” when removing the stem, you’ve cut at the perfect spot.
Post-Pruning Care: After pruning in Step 4, I always give my peace lily a “spa treatment”—mist the remaining leaves with room-temperature water and wipe them gently with a soft cloth. This removes any dust from the pruning process and helps the plant focus its energy on new growth. Just be careful not to overdo it; soggy leaves can lead to fungal issues.
What to Watch For: When monitoring for new growth in Step 5, don’t panic if you don’t see results immediately. The 2-3 week timeline is a guideline, not a rule. Factors like lower light conditions or cooler temperatures can extend this period slightly. If you hit the 4-week mark without new growth, check that you’re not overwatering—this is the most common reason for delayed recovery.
Prune your peace lily every 6–12 months or when you notice yellow/brown leaves or overgrowth. Light trimming (dead leaves, spent blooms) can be done anytime. For major pruning, spring or early summer is ideal—this aligns with its active growth phase for faster recovery.
Yes, but use clean, sharp scissors (or pruning shears) to avoid crushing stems or spreading disease. Disinfect blades with rubbing alcohol before and after. For thicker stems, shears work better. Avoid dull tools—they can damage the plant and slow healing.
Pruning isn’t just for blooms. Remove yellow, brown, or wilted leaves to redirect energy to new growth. If your plant isn’t flowering, check light levels (bright, indirect light helps) and fertilize monthly in spring/summer. Pruning encourages healthier foliage, which can boost future blooms.
Brown tips post-pruning often mean stress from over-trimming or poor aftercare. Avoid cutting more than ⅓ of the plant at once. Ensure it gets humidity (mist leaves or use a pebble tray) and consistent moisture (not soggy!). If browning spreads, check for root rot or chlorine in tap water.
Yes! For leggy plants, try these before pruning:
