
Beautiful Plants For Your Interior
Beautiful Plants For Your Interior
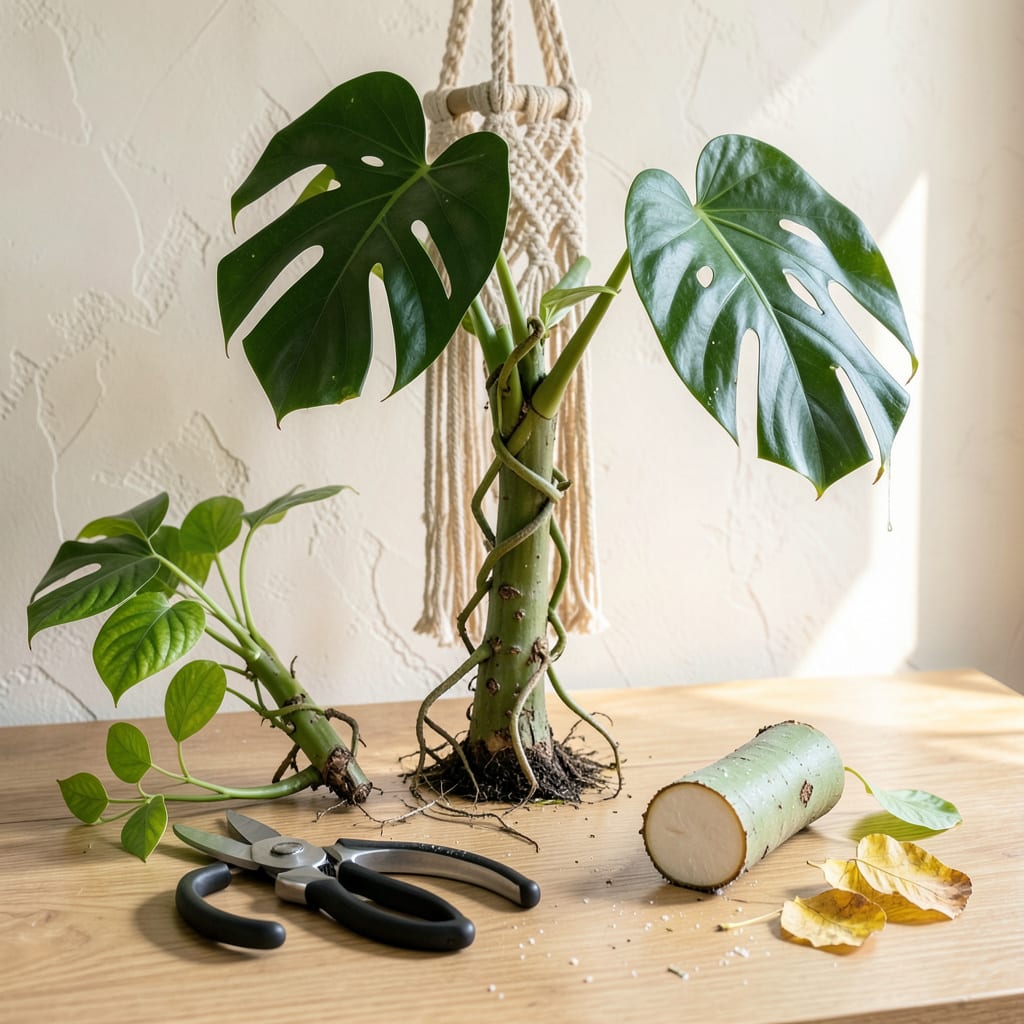
That first time I pruned my monstera, I nearly chickened out. ✨ The plant looked healthy—why cut it? Then I learned pruning isn’t punishment; it’s how you turn a leggy vine into a bushy, statement-worthy centerpiece. A few strategic snips later, my plant doubled its leaves in two months.
Timing matters: spring or early summer, when growth is active. You’ll need sharp shears (sterilized, please), gloves if you’re sensitive to sap, and about 20 minutes. The secret? Cut just above a node (that little bump on the stem) at a slight angle. Your monstera will reward you with fuller growth—and bonus, those cuttings root easily for free new plants.
📚 In This Guide
This simple process will transform your plant into a bushier, more vibrant showpiece—no fancy tools required.
Start by locating the nodes—those small brown bumps where leaves and aerial roots grow from the stem. You’ll want to make cuts just above these nodes at a 45-degree angle. This encourages new branches to sprout exactly where you want them.
Look for stems that are getting too long or leggy (typically 2-3 feet of bare stem between leaves). These are perfect candidates for pruning. I also target any yellowing leaves or damaged foliage first—they’re draining energy from your plant.
Using sharp, clean pruning shears (or even clean scissors in a pinch), make your cut in one smooth motion. Never tear or crush the stem—that invites infection. For thick stems, I support the branch with one hand while cutting to prevent splitting.
If you’re removing an entire leaf, cut the stem 1-2 inches from where it meets the main vine. For stem-only cuts (to encourage bushiness), leave at least two leaves below your cut. You’ll see new growth emerge from the node within 3-4 weeks.
Place your cuttings in a glass of room-temperature water, ensuring at least one node is submerged. I use clear containers so I can watch the roots develop—you’ll see white nubs forming within 7-10 days. Change the water every 3-4 days to prevent bacteria.
Once roots reach 2-3 inches long (usually in 4-6 weeks), you can pot them up. This gives you free new plants while making your original monstera fuller. It’s the ultimate win-win for plant parents.
After pruning, your monstera might look a bit shocked—don’t worry, this is normal. Water it lightly (just until the top 2 inches of soil feel moist) and place it in bright, indirect light. Avoid direct sun for 5-7 days while it recovers.
You’ll notice the remaining leaves may droop slightly at first. This is temporary! Within a week, they’ll perk up as the plant redirects energy to new growth. I like to give mine a quarter-turn every few days to ensure even growth from all sides.
Check your plant every 4-6 weeks during growing season (spring through early fall). Look for new long stems or leaves growing in odd directions. A quick snip here and there keeps the shape full and balanced.
Remember: monstera leaves naturally turn toward light, so rotate your plant occasionally. If you see a stem getting bare on one side, that’s your signal to either prune it back or move the plant closer to its light source. The more you prune, the bushier it becomes!
Pruning your monstera doesn’t have to be intimidating—these practical insights will help you achieve that lush, full look with confidence.
Node Identification: In Step 1, when you’re locating those small brown nodes, here’s what nobody tells you—they’re not always obvious! Run your fingers along the stem until you feel a slight bump or rough spot. That’s your node. Cutting just above it at a 45-degree angle (as mentioned) creates the perfect angle for water to run off, preventing rot.
The Clean Cut Secret: For Step 2, I learned the hard way that dull scissors crush stems instead of cutting them. Wipe your pruning shears with rubbing alcohol before starting—this prevents spreading bacteria between cuts. When removing entire leaves, that 1-2 inch gap you leave protects the main vine from damage while still looking neat.
Propagation Pro Tip: When you get to Step 3 with your cuttings in water, use a clear glass so you can monitor root growth without disturbing the cutting. I’ve found that placing the glass in a spot with bright, indirect light (just like your pruned plant) speeds up those first 7-10 days of root development. Change the water every 3-4 days without fail—this is when most people lose cuttings to bacteria.
Recovery Period Wisdom: Step 4 mentions your plant might look shocked after pruning, and it’s true—the drooping is normal! Here’s what I do: after that initial light watering (just to the top 2 inches), I mist the remaining leaves lightly every other day during that 5-7 day recovery window. This mimics humidity and helps them perk up faster.
It’s best to avoid winter pruning since monstera growth slows in cold months. Prune in spring or early summer when the plant is actively growing—this helps it recover faster and encourages new, lush foliage. If you must trim in winter, stick to removing dead or damaged leaves only.
Always use clean, sharp shears to make precise cuts just above a leaf node (the bump where leaves and roots grow). Avoid removing more than 20-30% of the plant at once. After pruning, give it bright, indirect light and water lightly to reduce stress.
Don’t toss them! Monstera cuttings root easily in water or moist soil. Place stem cuttings (with at least one node and leaf) in a jar of water, changing it weekly. Once roots reach 2-3 inches, pot them in soil for free new plants!
Slow regrowth can mean low light, overwatering, or nutrient deficiency. Check if the plant gets 6+ hours of indirect light daily, and fertilize lightly (every 4-6 weeks in growing season). If roots look mushy, cut back on water—monsteras hate soggy soil!
Yes! Aerial roots are safe to trim if they’re unruly, but avoid cutting all of them—they help the plant climb and absorb moisture. Redirect them into the soil or wrap them around a moss pole instead. Trim only the longest or damaged roots for a tidier look.
