
Beautiful Plants For Your Interior
Beautiful Plants For Your Interior
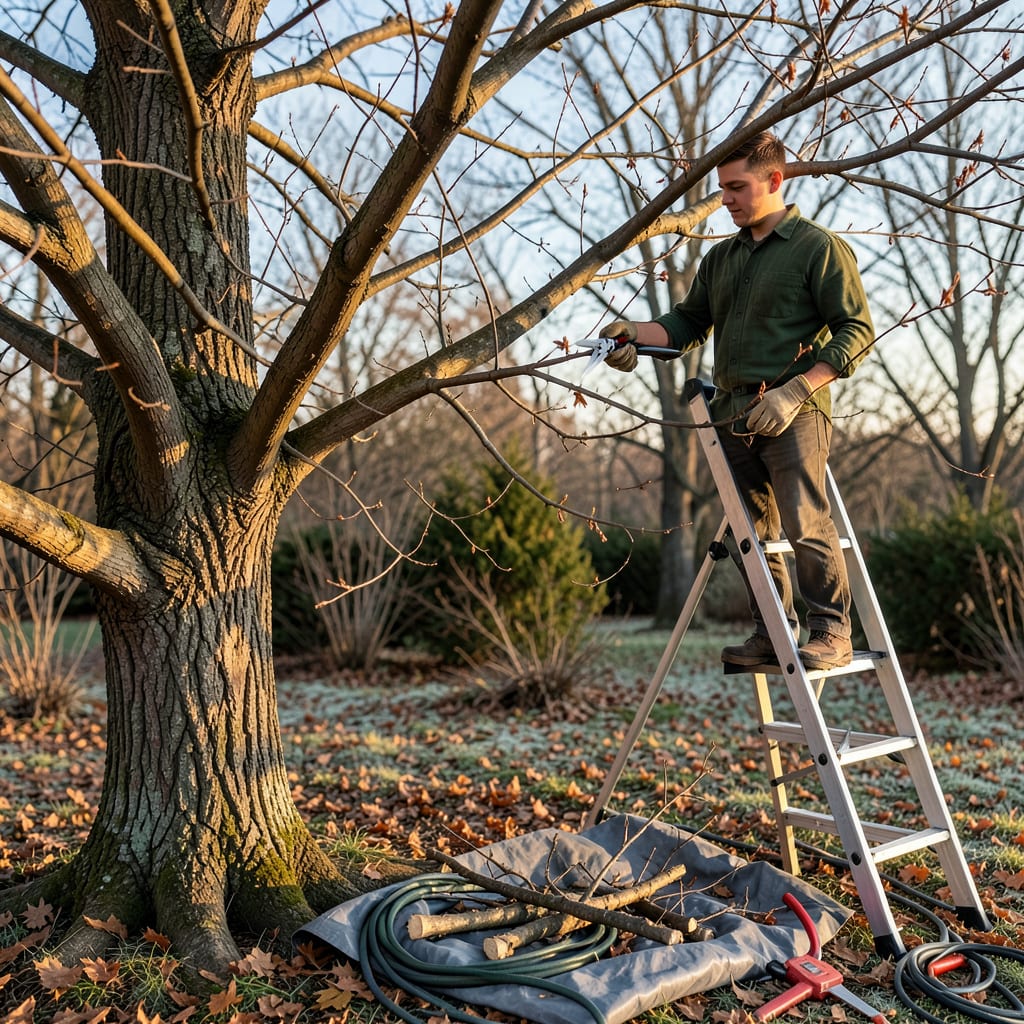
That first time I stood under a mature maple, pruners in hand, I froze. What if I cut wrong and ruined the tree? Turns out, maples practically beg for proper pruning—they reward you with stronger structure, fewer disease problems, and that perfect canopy shape. The secret is timing: late winter or early spring, right before buds swell, gives you the cleanest cuts and fastest healing.
You don’t need fancy tools—just sharp bypass pruners, a handsaw for thicker limbs, and the confidence to remove what’s not helping the tree. I’ve found that removing just 10-20% of the canopy each year keeps maples thriving without stress. The best part? You’ll see the difference in weeks: more sunlight filtering through, better air circulation, and a tree that looks like it belongs in a park.
📚 In This Guide
This method ensures your maple stays vibrant while avoiding common mistakes that harm its health.
Prune in late winter or early spring while the tree is still dormant but just before new growth begins. For most maple varieties, this means scheduling your pruning between February and March, depending on your climate zone. The absence of leaves makes it easier to see the tree’s structure and identify problem branches.
Never prune in fall—this is when maples are most vulnerable to fungal infections through fresh cuts. I’ve seen healthy trees decline rapidly after fall pruning because the wounds don’t have time to callus before winter sets in. Watch for swollen buds on branches; that’s your signal that dormancy is ending and it’s time to act.
Start by cutting any dead, diseased, or damaged branches back to healthy wood. Look for branches that are completely brown and brittle (dead), show fungal growth (diseased), or have cracked bark (damaged). Make clean cuts just outside the branch collar—the slightly swollen area where the branch meets the trunk.
Next, remove any branches that cross or rub against each other. These create wounds that invite pests and disease. I always step back frequently to assess the tree’s shape from different angles—what looks fine from one side might reveal problematic growth from another. Pay special attention to the center of the tree; maples need good air circulation to prevent fungal issues.
Selectively remove about 10-20% of the inner branches to improve light penetration and air circulation. Focus on cutting smaller, non-essential branches rather than large limbs. Use the “one-third rule”: never remove more than one-third of the tree’s total foliage in a single year—this prevents stress and maintains the tree’s energy reserves.
Make thinning cuts (removing entire branches back to their point of origin) rather than heading cuts (cutting partway along a branch). Thinning maintains the tree’s natural shape while reducing density. I like to visualize sunlight filtering through the canopy as I work—your goal is dappled light reaching the ground beneath, not full sun exposure.
Step back and evaluate the tree’s overall structure. Remove any branches growing straight up (called “water sprouts”) or straight down, as these rarely develop into strong limbs. Look for branches that grow at narrow angles to the trunk—these are prone to splitting and should be removed while they’re still small.
Maintain a single, dominant central leader (the main upward-growing trunk) for young trees. On mature trees, preserve the natural rounded crown shape that’s characteristic of maples. I use the “clock method” for spacing: imagine the tree as a clock face and try to keep major branches at least 2-3 hours apart vertically to prevent future crowding.
Always cut just outside the branch collar without leaving a stub or cutting into the collar itself. Use the three-cut method for large branches: first cut upward about 12 inches from the trunk, second cut downward 2 inches further out to remove the branch, then make your final clean cut just outside the collar. This prevents bark tearing.
After pruning, remove all debris from around the tree to eliminate hiding places for pests. I lightly rake the area beneath to expose the soil to sunlight, which helps prevent fungal growth. Don’t apply wound dressing—research shows it can actually trap moisture and encourage decay. Let the tree heal naturally.
Pruning a maple tree properly makes all the difference between a thriving tree and one that struggles. Here’s what I’ve learned from years of experience.
Timing Precision: The February to March window mentioned in Step 1 isn’t just a suggestion—it’s critical. I once pruned a week too early in January during an unseasonable warm spell, and the tree bled sap excessively. Wait until you see those swollen buds forming but before they actually open. This timing allows the tree to heal quickly while avoiding the fungal risks of fall pruning that the instructions warn about.
The One-Third Rule in Practice: When thinning the canopy in Step 3, it’s easy to underestimate how much you’re removing. I use this trick: after making cuts, step back and squint at the tree. If you can see more than 10-20% additional sky through the branches compared to before you started, you’ve likely removed too much. Remember that 10-20% of inner branches isn’t the same as 10-20% of total foliage—focus on the smaller, non-essential branches first.
Cutting Technique That Prevents Damage: For the three-cut method in Step 5, I’ve found that making the first upward cut about 1/3 through the branch (rather than halfway) gives better control. The key is to create a hinge that supports the branch’s weight as you make the second cut. Also, sharpen your pruners before starting—dull blades crush rather than cut, creating ragged wounds that take longer to heal. I sharpen mine with a simple diamond file before each pruning session.
Structural Assessment Tip: When evaluating the tree’s shape in Step 4, here’s what most people miss: look at the tree from below, craning your neck upward. This perspective reveals crossing branches and poor attachment angles that aren’t visible from ground level. I also recommend taking photos from different angles before making cuts—it’s amazing how much more you’ll notice in a photograph than with the naked eye.
The ideal time is late winter to early spring (February–March) while the tree is still dormant. Avoid pruning in fall—it can encourage weak new growth before winter. For heavy pruning, stick to dormant season; light trimming can be done in summer if needed.
DIY pruning is fine for small branches (under 2 inches) if you have the right tools. For large limbs, near power lines, or mature trees, hire a certified arborist to avoid safety risks or damage. Never prune more than 25% of the canopy in one year!
Pruning in fall or during active growth (spring/summer) can stress the tree, leading to excessive sap bleeding (harmless but messy) or weak regrowth. Late-summer pruning may also attract pests. Stick to dormant season for major cuts to minimize risks.
Sap bleeding is natural and doesn’t harm the tree, but to reduce it:
If pruning feels overwhelming, try:
