
Beautiful Plants For Your Interior
Beautiful Plants For Your Interior
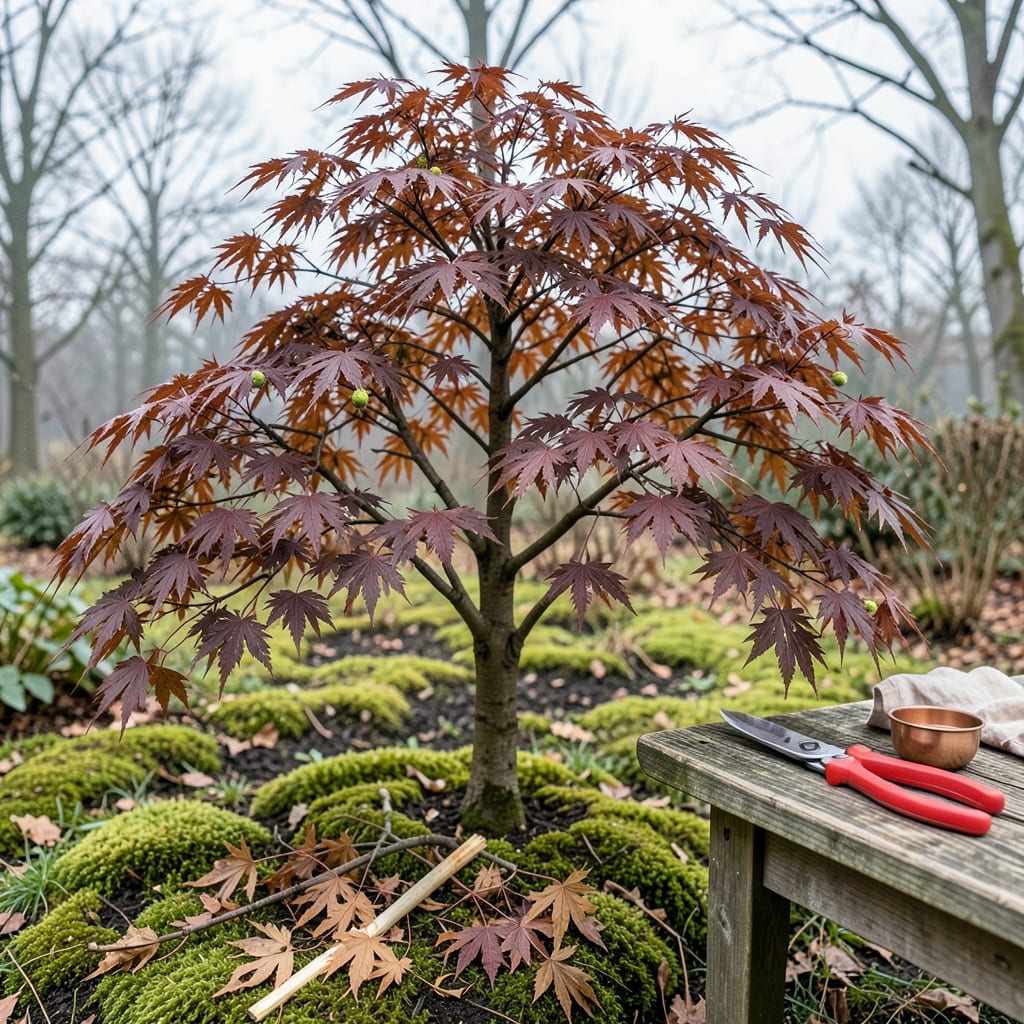
That first time I hesitated with pruners in hand, staring at my Japanese maple’s delicate branches, I understood why so many gardeners freeze up. These trees aren’t just plants—they’re living sculpture, and one wrong cut can set back years of growth. But here’s what changed everything for me: pruning isn’t about removing—it’s about revealing the tree’s natural beauty while keeping it vibrant and healthy.
Timing and technique make all the difference. Prune too late, and you risk weak new growth before winter. Prune too aggressively, and you stress the tree. After ruining one poor sapling (literally), I landed on a method that gives me consistent results: cleaner shapes, better airflow, and trees that actually thank you with lush spring foliage. The best part? It takes less than an hour once you know where to make those cuts.
📚 In This Guide
This method keeps your tree healthy while enhancing its natural beauty—no guesswork required.
Prune in late winter or early spring while the tree is still dormant but just before new growth starts. This timing minimizes stress and gives the tree energy to heal quickly. I avoid fall pruning because it can stimulate tender new growth that winter will damage.
Stand back and observe your tree’s natural shape first. Note any crossing branches, dead wood (look for brittle, gray branches), or areas where growth seems too dense. Japanese maples have delicate branch structures, so I always work slowly to preserve their graceful form.
Start with your clean, sharp pruners and cut any dead branches back to the main trunk or parent branch. Make the cut just outside the branch collar (that slightly swollen area where the branch meets the trunk). This protects the tree’s natural healing process.
For diseased branches, sterilize your pruners with rubbing alcohol between cuts to prevent spreading pathogens. I look for branches with discolored leaves, cankers, or unusual growths—these need to go first. Remove them completely, even if it means cutting into healthy wood to get clean margins.
Selectively remove 10-20% of the inner branches to improve air circulation. Focus on branches that cross or rub against each other, and those growing inward toward the center. I aim to create space between remaining branches roughly equal to the size of a hand.
Make thinning cuts at the branch’s point of origin rather than partway along the branch. This maintains the tree’s natural shape while reducing density. You’ll see the difference immediately—more light reaches inner leaves, and the tree’s structure becomes more visible.
Now refine the tree’s appearance by making small, strategic cuts. Japanese maples respond well to gentle shaping—never remove more than one-third of the total foliage in a single season. I focus on maintaining the tree’s natural layered look rather than forcing unnatural shapes.
Step back frequently to check your progress. The goal is subtle enhancement, not dramatic transformation. If a branch extends awkwardly, I prune it back to a side branch or bud facing the direction I want new growth to take. Always cut at a slight angle just above a bud.
Remove all cut branches from around the tree to prevent pest issues. I like to spread a thin layer of mulch (about 2 inches deep) around the base afterward, keeping it 3 inches away from the trunk. This protects roots while allowing the soil to breathe.
Watch for new growth over the next 4-6 weeks. Healthy recovery shows as fresh leaves emerging where you made cuts. If you notice dieback or slow regrowth, the tree may need extra water or protection from strong winds during this vulnerable period.
Pruning a Japanese maple is as much art as it is science—these insights will help you avoid common pitfalls while achieving beautiful, healthy results.
Timing is Everything: The late winter or early spring window mentioned in Step 1 isn’t just a suggestion—it’s critical. I’ve seen trees pruned in fall struggle with winter dieback because the new growth triggered by cuts can’t harden off in time. If you’re unsure whether your tree is still dormant, look for slightly swollen buds that haven’t opened yet. That’s your perfect moment to start pruning.
Tool Preparation: Clean, sharp pruners make all the difference in Step 2. I learned this the hard way after using dull pruners that crushed rather than cut branches, leaving ragged wounds that took months to heal. Before starting, wipe your pruners with rubbing alcohol and test them on a small branch—they should cut cleanly without you having to force them.
The Less-is-More Approach: It’s tempting to remove more than the recommended 10-20% of inner branches in Step 3, especially when you see how much denser some areas are. But I’ve found that aggressive thinning can shock the tree and lead to excessive sucker growth. Instead, focus on just the most problematic branches first—you can always do a second light pruning next season if needed.
Recovery Monitoring: Those 4-6 weeks of monitoring in Step 5 are when you’ll see whether your pruning was successful. I check my trees weekly during this period, looking not just for new leaves but also for any branches that might be drying out or showing signs of stress. If you notice any dieback, don’t panic—just trim those areas back to healthy wood and give the tree some extra water.
The ideal time is late winter to early spring (January–March) while the tree is dormant but before buds swell. Avoid pruning in fall—it stimulates new growth vulnerable to frost. Light touch-ups can be done in summer if needed, but avoid heavy pruning during hot months.
Yes, but only for light shaping. Summer pruning (June–July) helps control size and removes dead branches, but avoid aggressive cuts—stress from heat can weaken the tree. Always prune on cooler, overcast days and water the tree afterward.
Pruning involves cutting branches for structure or health, while pinching is gently removing new growth tips (with fingers!) to encourage bushiness. Pinching is best in spring/summer for young trees; pruning tackles larger limbs. Use both for a balanced shape!
Don’t panic! Some sap bleeding is normal, especially in early spring. It’s the tree’s natural response and won’t harm it. To minimize bleeding, prune in dry weather and avoid late-winter cuts if temps are rising. The tree will heal on its own.
Start with a young tree and use structural pruning (winter) + regular pinching (growing season) to miniaturize it. Focus on creating a strong trunk and balanced branches. Research bonsai techniques for wiring and root pruning too—patience is key!
