
Beautiful Plants For Your Interior
Beautiful Plants For Your Interior
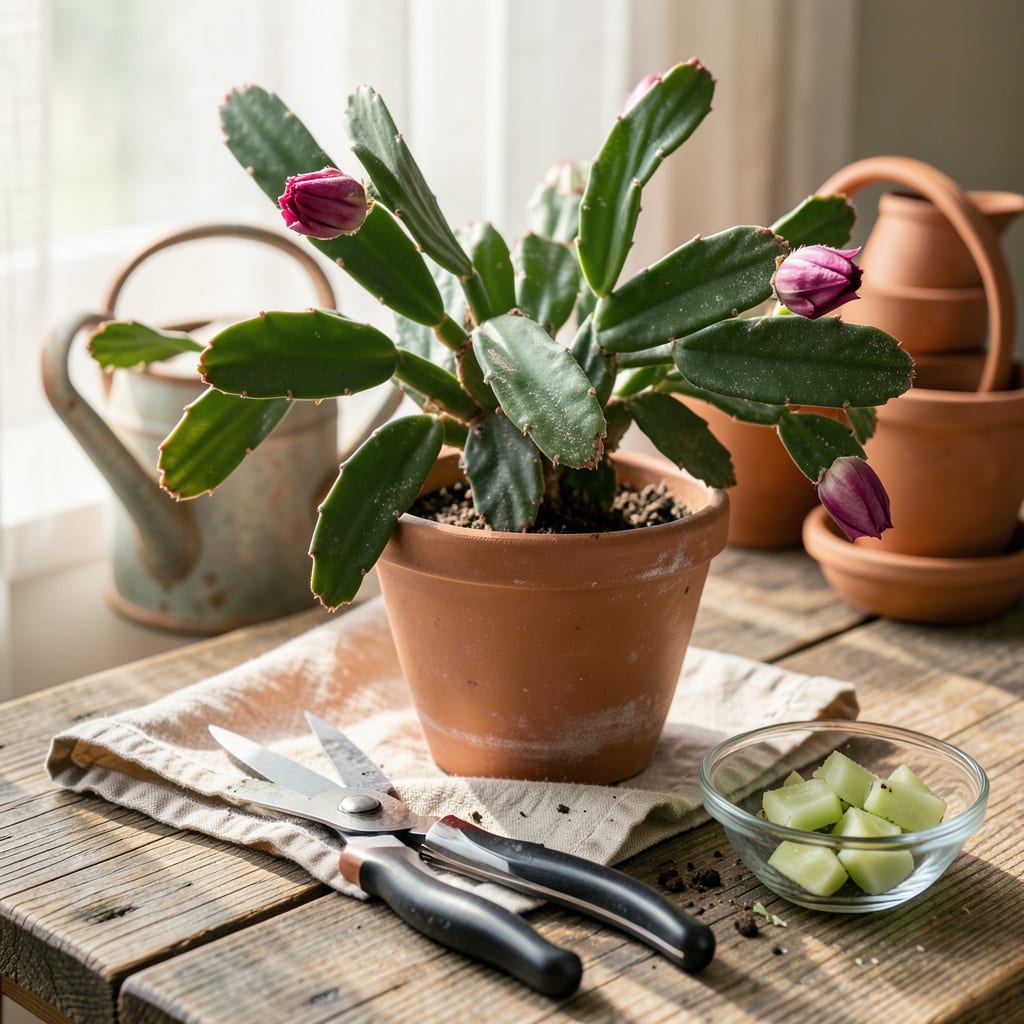
That Christmas cactus collecting dust on your windowsill? It’s secretly begging for a haircut. Pruning isn’t just about tidying up—it’s how you turn a leggy, sparse plant into a bushy, bloom-covered showstopper by the holidays. I used to let mine grow wild until I realized three simple snips could double the flowers next season.
The timing matters more than the technique. Do this in late spring or early summer—right after it finishes blooming—when the plant’s energy shifts to growing new segments. No fancy tools required: just clean scissors, a steady hand, and 10 minutes. You’ll end up with a fuller plant and free cuttings to propagate. Win-win.
📚 In This Guide
This simple process transforms leggy plants into bushy, bloom-covered specimens—all with just a few strategic cuts.
Time your pruning for late winter or early spring, immediately after flowering ends. Christmas cacti set buds in fall, so pruning after February but before June gives new growth time to mature before next season’s bloom cycle. I mark my calendar for March—it’s the sweet spot when plants are actively growing but not yet directing energy toward flowers.
Look for segments where growth appears uneven—long, straggly stems with sparse branching are prime candidates. You’ll also want to remove any damaged or discolored segments regardless of season. These won’t recover and may spread issues to healthy tissue.
Christmas cacti grow in distinct flattened stem segments (called cladodes) connected at visible joints. Never cut mid-segment—always prune at these natural junctions. I use my fingers to gently squeeze each segment’s base; the joint feels slightly softer than the firm stem tissue, making it easy to identify the correct cutting point.
For bushier growth, target segments with 3-5 joints. These longer sections encourage more vigorous branching from the cut point. Shorter cuts (1-2 joints) work for shaping but produce less dramatic regrowth. Real talk: the first time feels intimidating, but the plant will reward your boldness with double the stems.
With clean scissors or pruning shears, make each cut at a 45-degree angle just above the joint. This angled cut prevents water pooling on the wound surface. I rotate the pot as I work to ensure even pruning on all sides—aim to remove no more than 30% of the plant’s total volume in one session to avoid shocking the system.
The segments should separate with minimal resistance. If you encounter tough, fibrous tissue, your cut isn’t at the joint—reposition and try again. Immediately after pruning, you’ll notice the cut areas develop a slightly calloused appearance within 24 hours, which is the plant’s natural healing process.
Don’t discard those healthy cuttings—each 2-3 segment piece can root into a new plant. Let the cut ends dry (callous over) for 1-2 days in a warm, shaded spot. The segments should feel slightly leathery at the base when ready for planting. I use a mix of 60% perlite and 40% peat moss for propagation, as it provides ideal drainage while retaining enough moisture for root development.
Insert the calloused end about 1 inch deep into moist (not soggy) medium. Place in bright, indirect light and maintain 70-75°F soil temperature. You’ll see new growth at the base within 3-4 weeks, signaling successful rooting. This not only gives you free plants but also reduces waste from your pruning session.
After pruning, withhold water for 5-7 days to allow cuts to fully callous. When you resume watering, keep the soil evenly moist but never waterlogged—soggy conditions invite rot at the fresh wound sites. I reduce fertilizer by half for the first month post-pruning, using a balanced 10-10-10 solution at quarter strength to support new growth without overwhelming the plant.
Expect to see new segments emerging from the cut joints within 2-3 weeks. These will initially appear as small bumps, then elongate into full segments. The pruned areas will develop 2-3 new branches per cut site, creating that coveted full, bushy appearance. Come next holiday season, you’ll have noticeably more flower buds on these well-structured stems.
Pruning a Christmas cactus is simpler than it seems—here’s what I’ve learned from years of shaping these resilient plants.
Timing Precision: The window between February and June isn’t arbitrary. Pruning in March, as mentioned in Step 1, aligns with the plant’s natural growth surge post-bloom. If you prune too late (after June), new growth won’t have time to mature before fall bud formation, reducing next season’s flowers. Conversely, pruning in winter while the plant is dormant delays recovery and may stunt spring growth.
Joint Identification: In Step 2, the instruction to cut at natural joints is critical—these are the plant’s growth nodes. If you struggle to see them, run your fingers along the stem: joints feel slightly flexible compared to the rigid segments. For older plants with woody stems, use a magnifying glass to spot the faint horizontal lines marking each joint. Never force a cut; if the segment resists, you’re not at the joint.
Cutting Technique: The 45-degree angle in Step 3 isn’t just for aesthetics—it prevents water from pooling on the wound, which can lead to rot. Use sharp, clean scissors (I disinfect mine with rubbing alcohol) and make one decisive cut. Avoid crushing the stem, as jagged wounds take longer to callous. If you accidentally cut mid-segment, don’t panic—just trim back to the nearest joint immediately.
Post-Pruning Care: The 5-7 day watering pause in Step 5 is non-negotiable. During this time, keep the plant in bright, indirect light (no direct sun) to encourage callousing without stress. When you resume watering, use room-temperature water and avoid wetting the cut areas directly. I place my plants on a pebble tray to maintain humidity without soggy soil.
The ideal time is right after blooming (late winter to early spring). Avoid pruning in fall when flower buds form, as this can reduce blooms. A light trim in summer is okay if needed—just skip heavy pruning during dormancy!
Can I propagate the cuttings I remove while pruning?
Let cuttings dry (callus) for 24–48 hours, then plant them in moist cactus soil. Keep them warm (70°F+) and in bright, indirect light. Roots should form in 3–4 weeks—free new plants! Leggy growth often means too little light. Move it to a brighter spot (east/west window) and rotate weekly. Pair pruning with better light and occasional fertilizer (spring/summer) for bushier growth. Done correctly, pruning encourages blooms by redirecting energy! Just avoid heavy cuts after September, when buds develop. Light shaping is safe year-round—skip only if buds are visible. Yes, but sterilize them first (rubbing alcohol works). Sharp, clean blades prevent crushing stems. Avoid dull scissors—they can damage tissue and invite disease. For thick stems, shears are easier!
2
What if my Christmas cactus looks leggy even after pruning?
3
Will pruning hurt my cactus or prevent it from blooming?
4
Can I use regular scissors instead of pruning shears?
