
Beautiful Plants For Your Interior
Beautiful Plants For Your Interior
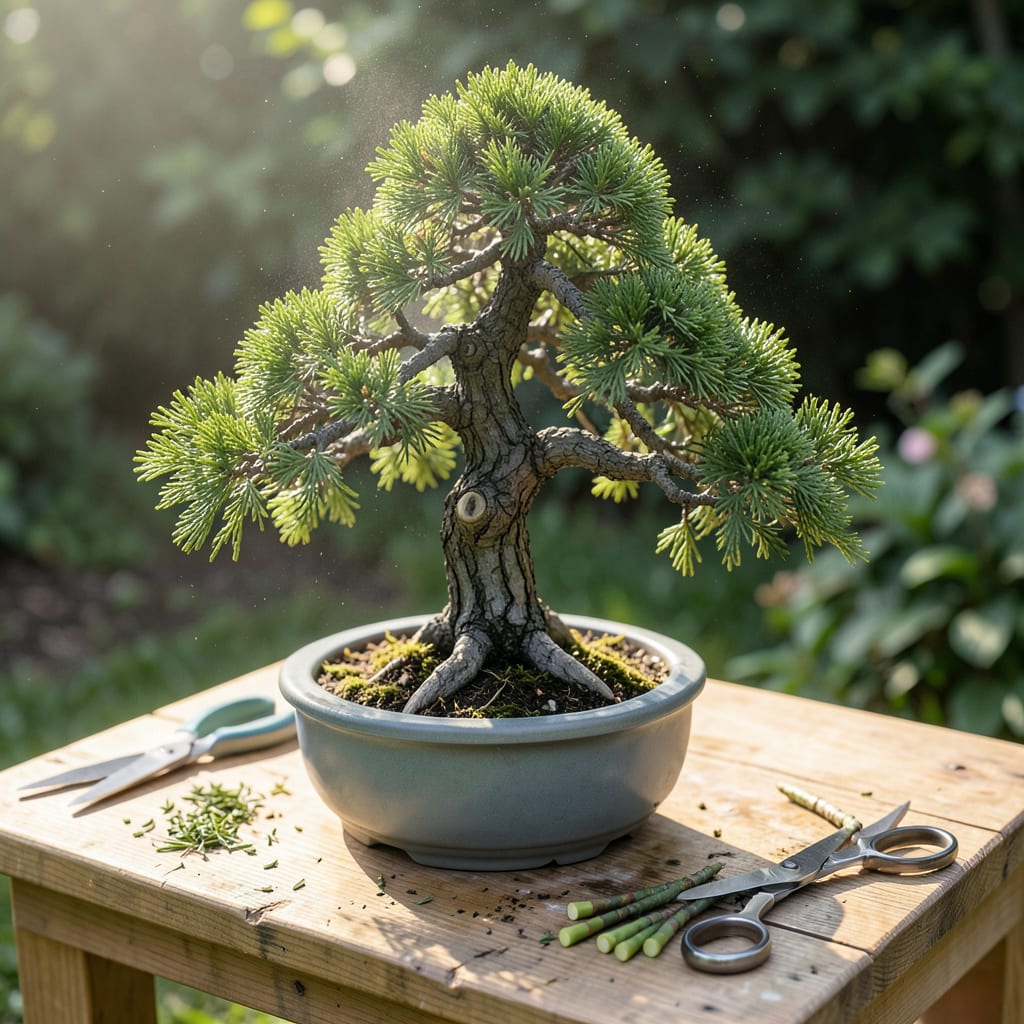
Every snip of the shears tells your bonsai what to become. I remember staring at my first juniper, scissors in hand, terrified of ruining it—until I learned pruning isn’t just maintenance, it’s how these miniature trees develop their character and strength. The right cuts encourage branching, control growth, and create that centuries-old-in-miniature look we all love.
What surprised me most? How forgiving bonsai actually are when you follow a few key rules. Timing matters (spring for most species), tools need to be sharp, and the difference between structural pruning (shaping the skeleton) and maintenance pruning (refining the details) changes everything. You’ll see new buds form exactly where you want them—no green thumb required, just patience and the right approach.
📚 In This Guide
This method transforms pruning from intimidating to intuitive—your tree will thrive with just a few careful cuts.
Begin by rotating the pot slowly to examine the tree from all angles. Look for branches crossing the trunk, parallel branches (two growing in the same direction), and downward-growing shoots—these are your first removal targets. I always start with the most problematic areas before refining the shape.
Check the branch collar (the swollen area where a branch meets the trunk) on each candidate cut. You’ll want to make your cuts just outside this collar to ensure proper healing. Avoid removing more than 30% of the foliage in a single session—bonsai recover best with gradual pruning.
Use sharp bonsai pruning shears to first eliminate any dead or yellowing branches. Cut at a 45-degree angle just above a healthy bud or node. This angle prevents water pooling on the wound, which can invite fungal infections. I always sterilize my tools with rubbing alcohol between cuts to avoid spreading pathogens.
Next, address inward-growing branches that clutter the tree’s interior. These block light and air circulation, weakening the tree over time. If two branches emerge from the same node, remove the weaker one completely—this prevents energy waste on competing growth.
Step back frequently to evaluate the tree’s silhouette. The goal is a triangular or rounded profile, depending on the style. Trim back long, leggy branches to encourage back-budding (new growth closer to the trunk). I like to leave 3-5 nodes on each branch to maintain vigor while controlling size.
For pine or juniper bonsai, pinch back new candle growth in spring with your fingers—this soft pruning creates denser foliage pads. Deciduous trees like maples respond better to cutting just above a leaf pair to stimulate branching. Always follow the tree’s natural growth patterns rather than forcing symmetry.
The lowest branch (called the sacrifice branch) often thickens the trunk but may need removal later. For now, trim it to one-third its length to maintain energy flow without letting it dominate. I use guy wires (if needed) to gently reposition branches before they become woody and resistant to shaping.
Check the nebari (surface roots) for any upward-growing roots that disrupt the tree’s base. These can be pruned flush with the soil line, but avoid cutting more than 20% of the visible roots at once. A well-defined nebari anchors the tree’s visual stability.
After pruning, mist the tree lightly and place it in bright, indirect light for 2-3 days to reduce stress. Avoid fertilizing for 2 weeks—fresh cuts are vulnerable to burn from nutrients. I apply a cut paste to larger wounds (over ¼ inch) to seal them and prevent desiccation.
Monitor the tree daily for new bud formation, which signals healthy recovery. Yellowing leaves within a week are normal as the tree redirects energy, but blackened cut surfaces indicate infection—treat immediately with a fungicide. Your next pruning session can occur in 6-8 weeks during the growing season.
Pruning bonsai is as much about patience as it is about technique. These insights will help you avoid common pitfalls while encouraging your tree’s long-term health and beauty.
The 30% Rule: In Step 1, when assessing your tree’s structure, remember that removing more than 30% of the foliage in one session can shock the tree. I learned this the hard way after defoliating a juniper too aggressively—it took months to recover. Instead, focus on the most problematic branches first, then refine the shape gradually over multiple sessions. This approach maintains the tree’s energy balance while still achieving your shaping goals.
Tool Maintenance Matters: The 45-degree angle cuts mentioned in Step 2 aren’t just about aesthetics—they’re critical for healing. Between us, I ruined several branches early on by using dull shears that crushed rather than cut cleanly. Always sterilize your bonsai pruning shears with rubbing alcohol before and after use, and sharpen them regularly. A clean cut heals faster and reduces infection risks dramatically.
Node Awareness: When shaping the canopy in Step 3, leaving 3-5 nodes on each branch isn’t arbitrary. This specific range maintains the branch’s vigor while controlling its length. I’ve found that leaving fewer than 3 nodes can weaken the branch, while more than 5 leads to leggy growth that defeats the purpose of pruning. For pine or juniper bonsai, use your fingernails to pinch back spring candles—this soft pruning creates those beautiful, dense foliage pads that define mature bonsai.
Aftercare Timing: The 2-3 days of bright, indirect light recommended in Step 5 isn’t just a suggestion—it’s when your tree is most vulnerable. I made the mistake of returning a freshly pruned maple to full sun immediately, and the stressed leaves scorched within hours. During this recovery window, monitor for new bud formation daily; their appearance is your first sign that the tree is redirecting energy properly. Also, resist the urge to fertilize during those first 2 weeks—fresh cuts are essentially open wounds that can burn from nutrient exposure.
Prune structural branches once or twice a year (early spring or late autumn), while maintenance pruning (trimming new growth) can be done every 4–6 weeks during the growing season. Deciduous trees need more frequent trimming than conifers. Always check your tree’s species for specific timing!
Regular scissors can work for soft new growth, but they often crush stems, causing damage. Invest in sharp bonsai shears or concave cutters for cleaner cuts and faster healing. For thick branches, use a branch cutter to avoid tearing the bark.
Some species (like maples or elms) “bleed” sap when pruned—this is normal! To minimize it, prune in late summer or early autumn when sap flow is slower. If bleeding occurs, avoid overwatering and let the tree heal naturally. A thin layer of cut paste can help seal larger wounds.
Yes! Root pruning is essential every 1–3 years to prevent root-bound stress. Trim up to ⅓ of the root mass with sharp scissors, focusing on thick, woody roots. Repot immediately after with fresh soil to support recovery. Avoid pruning roots and branches simultaneously—space them out!
Some leaf drop or slowed growth is normal post-pruning, but if branches turn brittle or yellow excessively, check for:
