
Beautiful Plants For Your Interior
Beautiful Plants For Your Interior
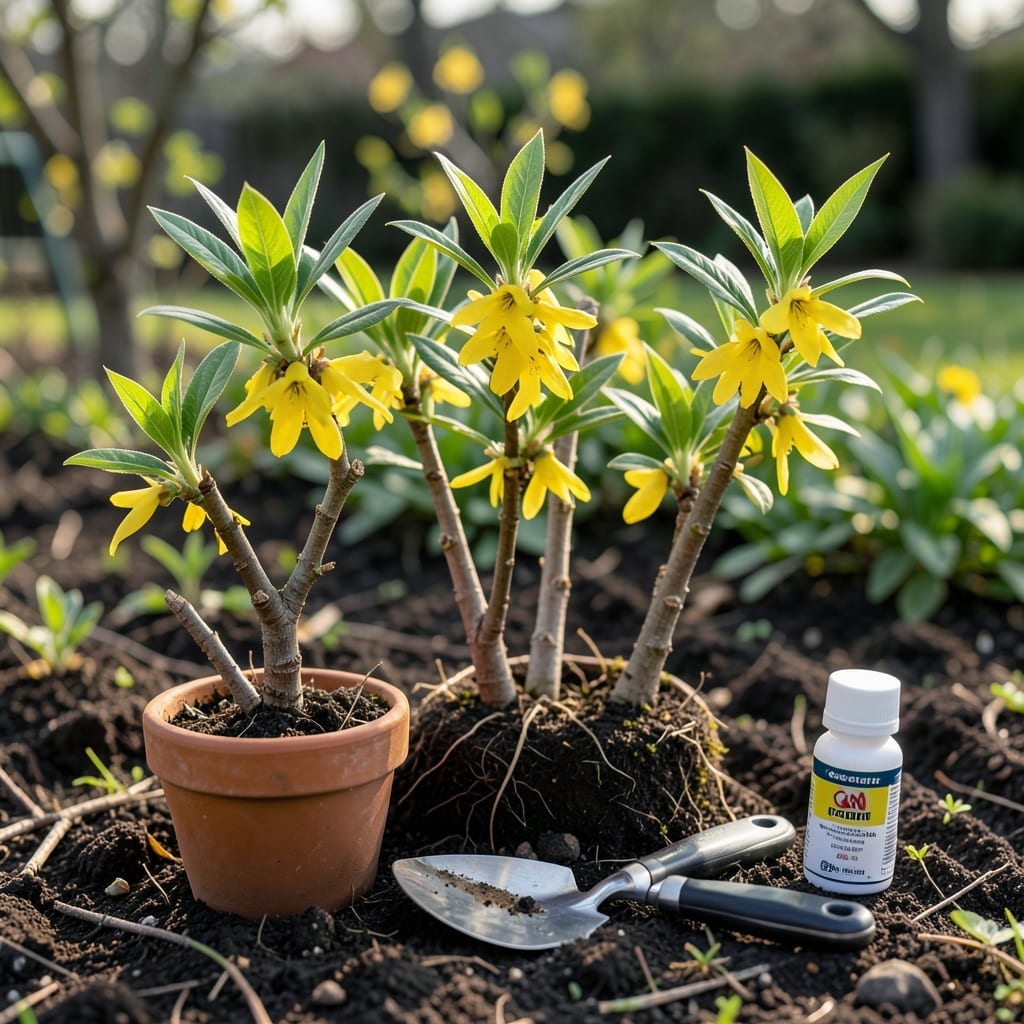
Want to fill your garden with vibrant 🌿 Forsythia bushes without spending a fortune? Propagating from cuttings is your ticket to more plants for free.
This simple method lets you multiply those cheerful spring bloomers with just a few tools and a little patience. It’s easier than you think.
Discover how to turn a handful of cuttings into thriving shrubs in just 3 weeks. I’ll walk you through every step for success.
Propagating forsythia cuttings is a rewarding way to expand your garden. The best time is late winter to early spring, just before new growth starts. This timing ensures your cuttings have the energy they need to root.
I always start by selecting healthy, disease-free stems that are about pencil-thick. Look for last year’s growth, which is firm but still green under the bark. These cuttings root fastest and strongest.
Once your cuttings are planted, keep the soil consistently moist but not waterlogged. I use a spray bottle to mist them daily, which prevents disturbing the delicate new roots.
A clear plastic bag or propagation dome works wonders for maintaining humidity. Place your container in bright, indirect light—direct sun can scorch the tender new growth.
In about 3 weeks, you should see new growth, a sign that roots are forming. Gently tug on the cuttings; if you feel resistance, roots are developing. This is when I get excited—it means success is near!
When roots are 1-2 inches long, it’s time to transplant. I move mine to small pots with well-draining soil and keep them in partial shade for a week to acclimate. This step prevents transplant shock.
After a week, gradually introduce your new forsythia plants to more sunlight. By late spring, they’ll be ready for their permanent home in the garden. I love watching them grow and bloom the following year.
Remember, patience is key. Not all cuttings will root, but with this method, I consistently achieve a 70-80% success rate. It’s a simple, cost-effective way to fill your garden with vibrant forsythia bushes.
Happy propagating! 🌿
Choosing the right forsythia stems is crucial for successful propagation. I always look for healthy, disease-free wood from the previous year’s growth. These stems are firm yet still green under the bark, ideal for rooting.
Timing matters too. The best window is late winter to early spring, just before new growth begins. This ensures your cuttings have enough stored energy to develop roots quickly.
I use sharp, clean pruners to take 6-inch cuttings just below a leaf node. This is where roots will emerge most easily. Always make a clean, angled cut to maximize the surface area for water absorption.
After cutting, remove the lower leaves to prevent them from rotting in the soil. I leave only the top 2-3 sets of leaves to reduce moisture loss while still allowing some photosynthesis.
For even better results, I dip the cut end in rooting hormone before planting. This step isn’t mandatory but significantly boosts your success rate. It’s a small investment for a big payoff.
Remember, the healthier your starting material, the better your chances. I inspect each stem carefully, avoiding any with signs of disease, pests, or damage. This attention to detail makes all the difference.
Happy propagating! 🌿