
Beautiful Plants For Your Interior
Beautiful Plants For Your Interior
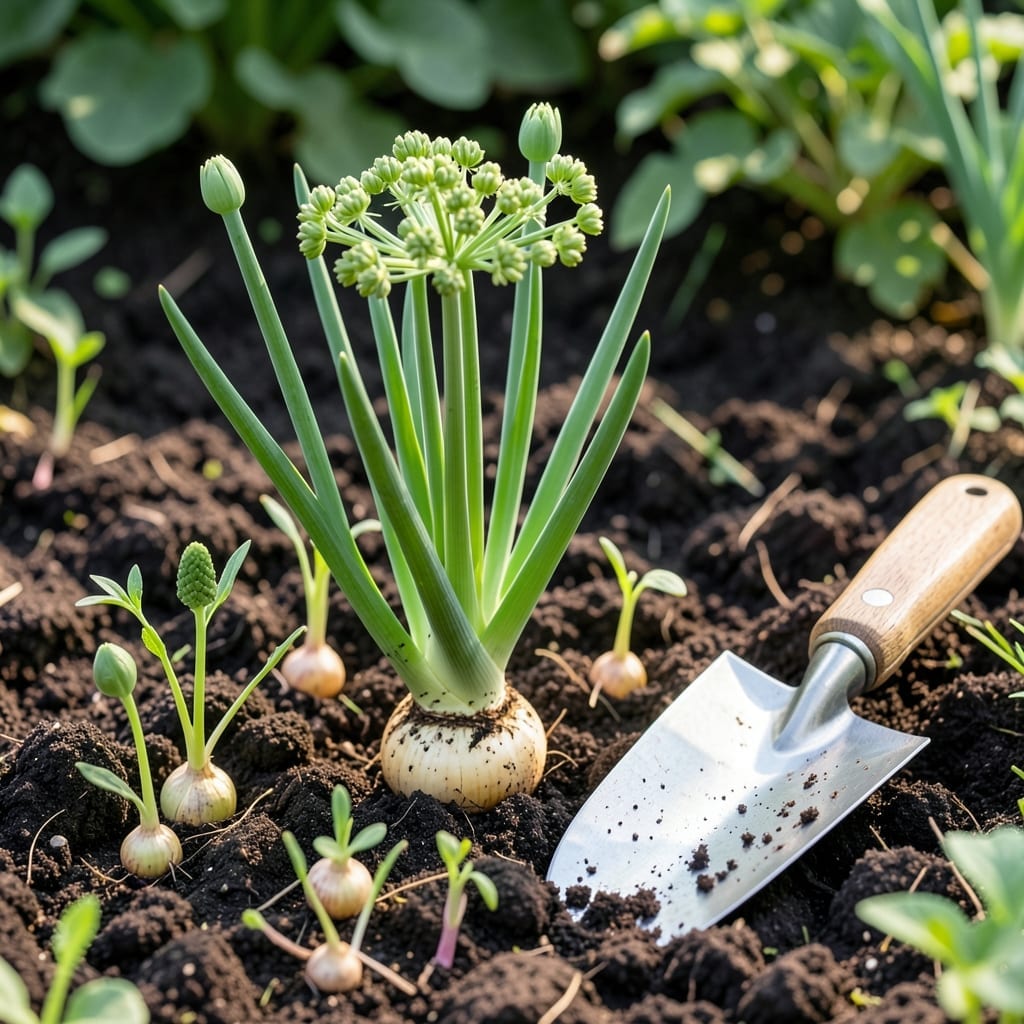
Imagine a plant that spreads on its own, requires minimal care, and delivers flavorful greens year-round. That’s the magic of the Egyptian Walking Onion 🧅.
This hardy perennial thrives in USDA zones 3-10, making it a versatile addition to any garden. Whether you’re a seasoned grower or just starting out, planting it is easier than you think.
I’ll walk you through the simple steps to get your patch started. Let’s dig in and discover how to grow this unique, self-sustaining plant.
Planting Egyptian walking onions is a rewarding experience that yields year-round harvests with minimal effort. I love how these perennials self-propagate, making them ideal for low-maintenance gardens.
Start by selecting a sunny location with well-draining soil. These onions thrive in USDA zones 3-10, so they’re perfect for most climates. The best time to plant is early spring or fall.
I always recommend testing soil pH before planting. These onions prefer a neutral to slightly acidic pH between 6.0 and 7.0. If your soil is too alkaline, amending it with sulfur can help.
The planting depth is crucial. Too shallow, and the bulblets may dry out. Too deep, and they’ll struggle to sprout. Aim for 1-2 inches to strike the perfect balance.
Spacing is another key factor. Crowded plants compete for nutrients, leading to stunted growth. I suggest 6-8 inches between each bulblet to allow room for expansion.
After planting, water deeply to encourage root development. These onions are drought-tolerant once established, but they need consistent moisture during the first few weeks.
A light mulch layer helps retain moisture and keeps weeds at bay. I prefer organic mulches like straw or shredded leaves, which also improve soil health as they decompose.
As your onions grow, you’ll notice topsets forming at the end of tall stems. These can be harvested for replanting or left to self-seed for a continuous supply.
Finally, remember that Egyptian walking onions are perennials. With proper care, they’ll return year after year, providing a steady supply of flavorful greens and bulblets. 🌱
For thriving Egyptian walking onions, the right conditions make all the difference. I’ve found they do best in full sun with at least 6 hours of direct light daily. Partial shade works, but growth slows significantly.
These hardy perennials adapt to varied climates but prefer well-draining, fertile soil. Heavy clay or waterlogged areas can rot bulblets, so amending with compost is key for success.
| Requirement | Specification |
|---|---|
| Sunlight | Full sun (6+ hours) |
| Soil Type | Well-draining, fertile |
| Soil pH | 6.0 – 7.0 |
| Watering | Weekly, 1 inch |
| USDA Zones | 3 – 10 |
Watering is another critical factor. I recommend 1 inch of water weekly, adjusting for rain. These onions tolerate drought but produce best with consistent moisture. Morning watering prevents fungal issues.
The ideal soil pH is between 6.0 and 7.0. If your soil is too acidic or alkaline, a simple test kit helps you adjust. Lime raises pH, while sulfur lowers it effectively.
Temperature-wise, Egyptian walking onions handle heat and cold well. In warmer zones, they may go dormant in summer but bounce back in fall. In cooler areas, mulch protects roots during winter.
Finally, companion planting can boost growth. I’ve had success planting them near carrots, lettuce, or chamomile, which deter pests naturally. Avoid planting near beans or peas, as they may compete for nutrients. 🌱