
Beautiful Plants For Your Interior
Beautiful Plants For Your Interior
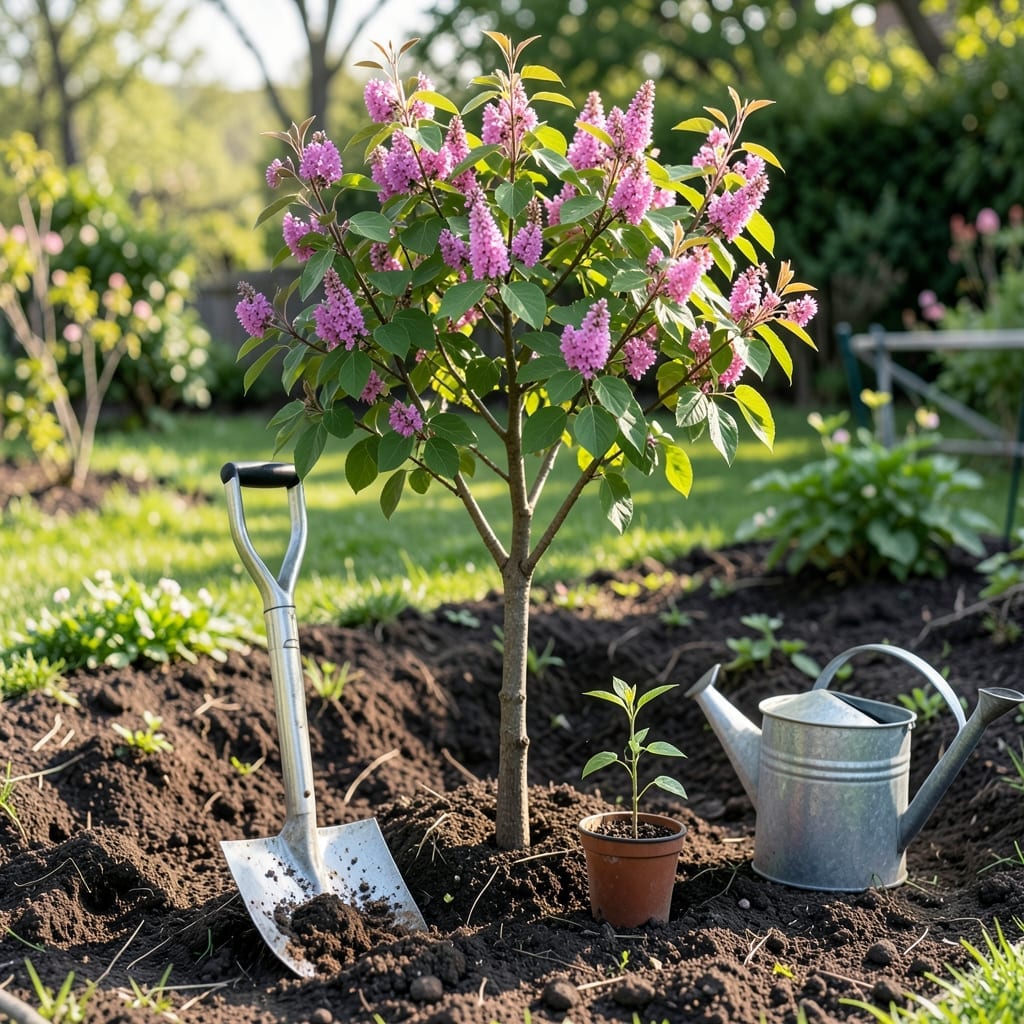
Planting a 🌳 Redbud can transform your yard with stunning spring color, but proper technique is key to ensuring strong growth and vibrant blooms. This guide will walk you through everything you need to know.
I’ve seen too many redbuds struggle because of simple planting mistakes. Whether you’re a beginner or seasoned gardener, getting the basics right makes all the difference for your tree’s success.
Discover the ideal conditions, step-by-step process, and aftercare tips to help your Redbud thrive in zones 4-9. Let’s get started.
Planting a Redbud tree starts with choosing the right time. I recommend early spring or fall for the best results. This timing allows roots to establish before extreme temperatures hit.
The ideal planting window is when the soil is workable but not soggy. Avoid planting during summer heat or winter freeze, as this stresses the young tree.
When digging the hole, ensure it’s wide enough to accommodate the root spread. A common mistake is planting too deep, which can suffocate the roots. Keep the root flare visible above ground.
Spacing matters for mature growth. Standard Redbuds need 20-30 feet apart, while dwarf varieties can be planted 10-15 feet apart. This prevents overcrowding as they grow.
After planting, water thoroughly to help the soil settle. I suggest using a slow drip for the first week to ensure deep penetration. This encourages strong root development.
For the first few months, check soil moisture weekly. Redbuds prefer consistent moisture but dislike soggy conditions. Adjust your watering schedule based on rainfall.
A 2-3 inch mulch layer helps retain moisture and regulate soil temperature. Use organic mulch like wood chips or bark, but avoid piling it against the trunk to prevent rot.
Finally, monitor your tree for signs of stress, such as wilting leaves or yellowing foliage. Early intervention can save your Redbud from common issues like pest infestations or disease. 🌳
Creating the perfect environment for your Redbud starts with understanding its needs. I’ve found these trees thrive in USDA zones 4-9, where they can handle both cold winters and warm summers.
They prefer well-draining soil that’s slightly acidic to neutral. Heavy clay or soggy soil can lead to root rot, so amend with organic matter if needed. 🌱
| Requirement | Specification |
|---|---|
| Sunlight | Full sun to partial shade |
| Soil Type | Well-draining, loamy |
| pH Range | 6.0-7.5 |
| Water Needs | Moderate, drought-tolerant once established |
| Mature Height | 20-30 ft |
Sunlight exposure is another key factor. Aim for 6+ hours of direct sun daily, though they tolerate partial shade. Too much shade can reduce blooming and lead to legs growth.
Avoid planting in low-lying areas where water pools. Redbuds hate “wet feet”, so good drainage is non-negotiable. A slight slope can help prevent waterlogging.
If your soil is poor or compacted, mix in compost or peanut hulls to improve structure. This gives roots room to spread and access to nutrients and oxygen.
Lastly, consider the microclimate in your yard. Redbuds do well near buildings or fences that offer wind protection, but avoid spots with reflected heat from pavement. 🌿