
Beautiful Plants For Your Interior
Beautiful Plants For Your Interior
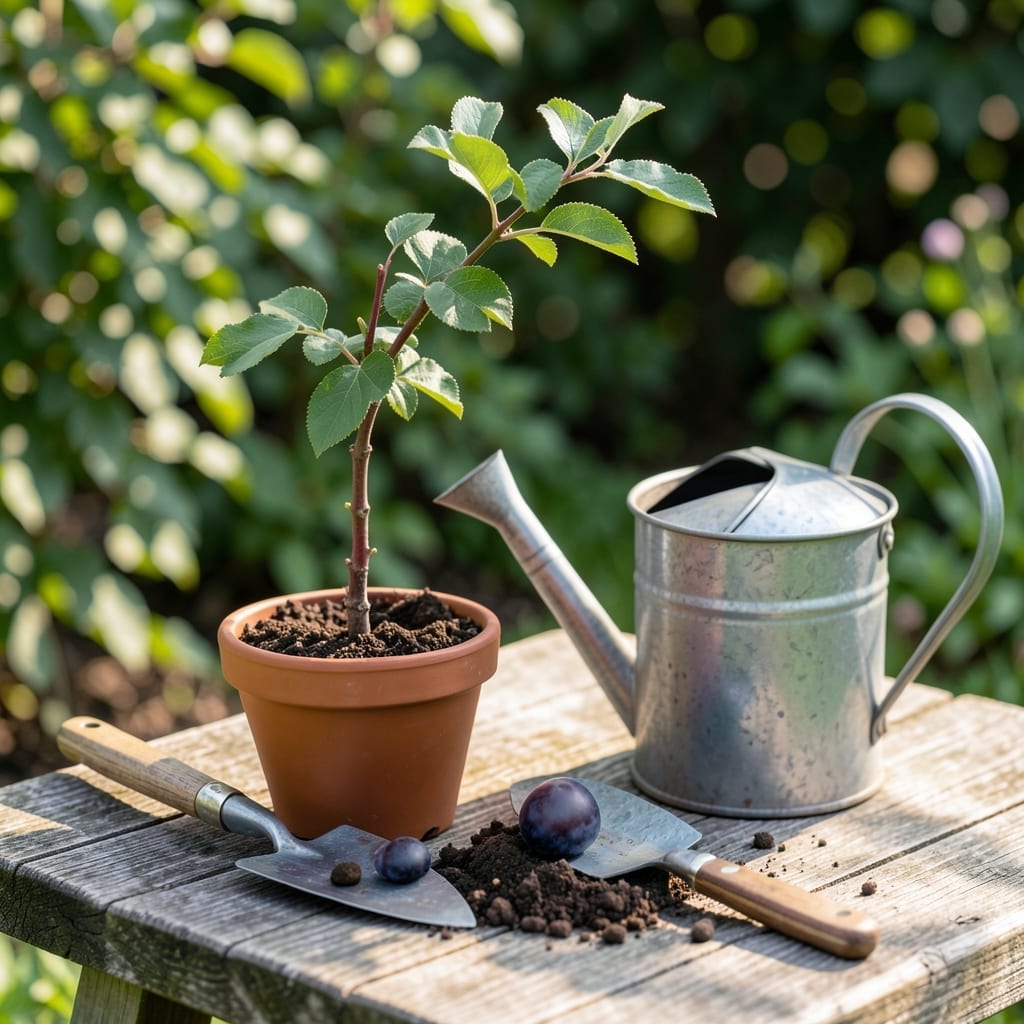
Transform that leftover plum pit into a thriving 🍑 Plum Tree with this simple guide. It’s surprisingly easy to grow your own fruit-bearing tree from seed, and the process is deeply rewarding.
I’ll walk you through each essential step, from preparing the seed to nurturing your young sapling. Whether you’re a gardening newbie or have some experience, these tips will set you up for success.
Discover how to turn a tiny seed into a lush tree that could one day produce delicious plums. Let’s get started on this exciting journey together.
Growing a plum tree from seed starts with proper pit preparation. First, I remove the seed from the fruit, clean off all flesh, and let it dry for 1-2 days to prevent mold during stratification. This initial step is crucial for success.
Next, I place the dried plum pit in a damp paper towel and seal it in a plastic bag. This mimics natural conditions and prepares the seed for germination. Then, I refrigerate it for 3-4 months to break dormancy.
After stratification, I plant the pit in a seed-starting mix about 1 inch deep. The soil should be consistently moist but never waterlogged. A warm location with indirect sunlight helps the seed germinate faster.
I find that using a seedling heat mat can speed up germination, especially in cooler climates. The ideal temperature is between 70-80°F. Once the seedling emerges, I move it to a sunnier spot but avoid direct, harsh sunlight at first.
When the plum seedling develops its first true leaves, I transplant it to a larger pot. At this stage, it needs more sunlight, so I gradually introduce it to full sun exposure over a week to prevent shock.
I recommend using a balanced fertilizer diluted to half strength once the seedling has 4-6 leaves. This provides essential nutrients without overwhelming the young plant. Regular feeding every 2-3 weeks supports healthy growth.
One common mistake I see is planting the pit too deep. Remember, 1 inch is ideal—any deeper and the seedling may struggle to break through the soil. Also, ensure your container has drainage holes to prevent root rot.
If you’re starting multiple seeds, space them 2-3 inches apart in a seed tray. This gives each seedling enough room to develop without competing for nutrients. Once they’re 3-4 inches tall, it’s time to transplant them individually.
With patience and proper care, your plum seedling will grow into a strong sapling. The stratification process may seem long, but it’s essential for breaking the seed’s dormancy and ensuring successful germination.
I’ve found that plum trees grown from seed often produce fruit that differs from the parent fruit. This genetic variation adds an element of surprise to your gardening journey. ☀️
Once your plum seed germinates, the real work begins. I focus on providing the right conditions for my seedling to grow strong. Light is crucial—I place my young plant in a spot with bright, indirect sunlight at first.
As the seedling grows, I gradually introduce it to full sun. This transition should be slow, over 7-10 days, to prevent shock. I also ensure the soil stays consistently moist but well-drained to avoid root issues.
🌱 Pro Gardening Tip: Use a grow light if natural sunlight is limited. Position it 6-12 inches above the seedling for 14-16 hours daily to mimic ideal growing conditions.
I transplant my plum seedling to a larger pot when it has 2-3 sets of true leaves. I choose a container that’s 2-3 inches wider than the current one to give the roots room to expand.
For fertilization, I start with a diluted balanced fertilizer when the seedling has 4-6 leaves. I apply it every 2-3 weeks during the growing season, following the package instructions for dilution rates.
Protecting the seedling from pests is important. I inspect the leaves regularly for signs of aphids or mites and treat with neem oil if needed. A gentle spray of water can also dislodge pests without harsh chemicals.
When the plum sapling reaches about 12 inches tall, I consider transplanting it outdoors. I wait until after the last frost and choose a location with full sun and well-draining soil. This gives my young tree the best start in its permanent home.
I always remember that patience is key with plum trees. With consistent care, my seedling will grow into a strong, fruit-bearing tree in a few years. 🌳