
Beautiful Plants For Your Interior
Beautiful Plants For Your Interior
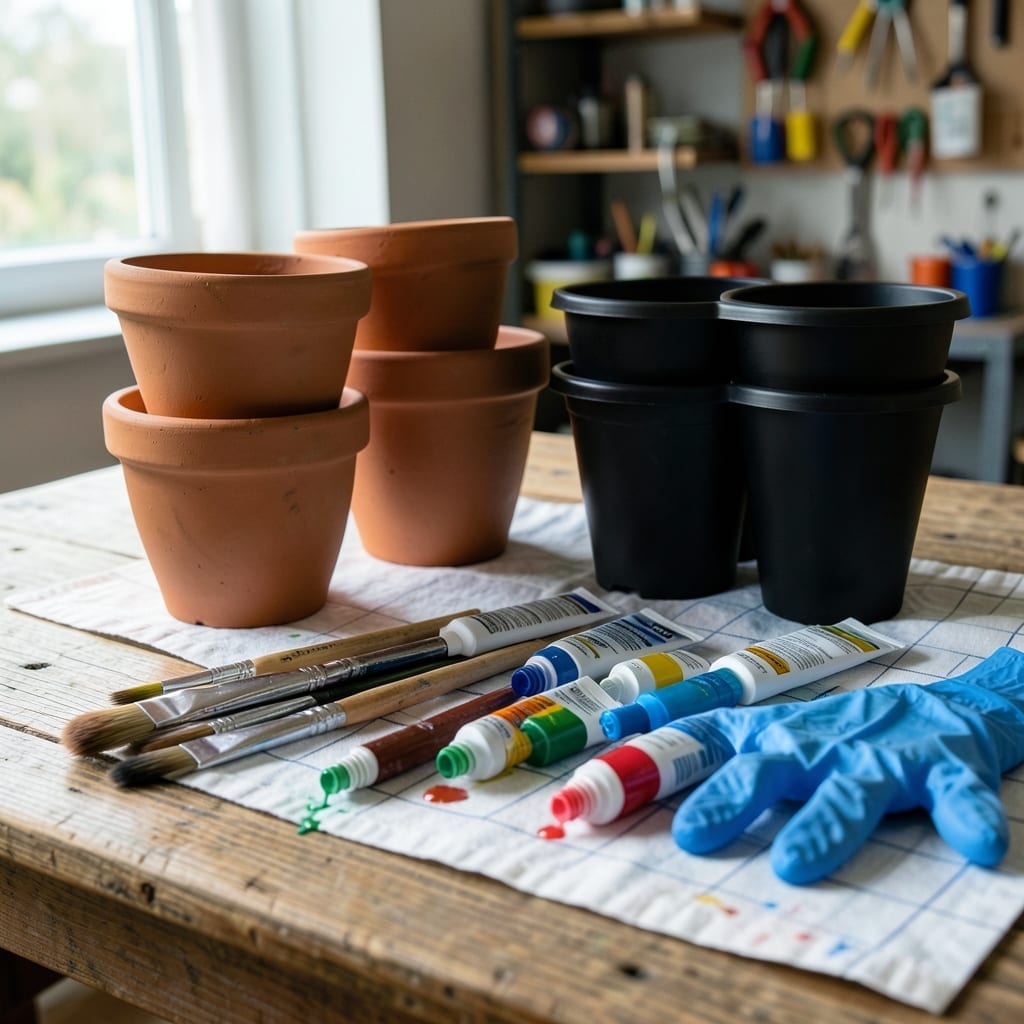
Tired of those boring plastic pots ruining your garden’s vibe? With the right approach, you can turn them into stunning, long-lasting decor that handles sun, rain, and seasonal shifts like a pro.
I’ve tested countless methods to find what actually works for outdoor durability. Skip the guesswork—these proven techniques will give your pots a fresh, custom look that lasts.
Discover how to prep, paint, and seal like an expert, even if you’ve never picked up a brush before. Let’s make your garden shine.
Transforming plastic pots into durable garden art starts with proper prep. I always begin by cleaning the surface with soap and water to remove dirt or residues that could prevent adhesion.
Next, lightly sand the plastic with 220-grit sandpaper to create a texture for the primer to grip. This step is critical—skipping it often leads to peeling paint later on.
Choosing the right primer makes all the difference. I recommend Rust-Oleum Plastic Primer or Krylon Fusion All-In-One for their strong bonding properties. These primers are formulated to stick to slick plastic surfaces.
For paint, opt for acrylic craft paint or spray paint labeled for plastic. Spray paints like Krylon Fusion offer even coverage and dry quickly, while acrylics allow for detailed hand-painted designs.
Let the primer dry completely—usually 15-30 minutes—before applying paint. I’ve found that two thin coats of paint work better than one thick coat, reducing drips and ensuring even coverage.
After painting, a clear sealant is essential for outdoor pots. Use a UV-resistant polyurethane or a spray sealant like Mod Podge Outdoor to protect against sun damage and moisture.
Allow each layer to dry fully between applications. Rushing this process can lead to sticky surfaces or uneven finishes. I typically wait 24 hours before handling painted pots.
For extra durability, consider adding a second sealant layer. This is especially important for pots that will be exposed to harsh weather or frequent watering.
Finally, let the pots cure for at least 48 hours before placing plants inside. This ensures the paint and sealant fully harden, preventing damage from soil or water contact. ✂️
Not all paints stick to plastic pots long-term. I’ve learned the hard way that regular paint often peels after a few rains. The key is using specialty products designed for plastic surfaces.
For primers, Rust-Oleum Plastic Primer and Krylon Fusion All-In-One are my go-to choices. These create a strong bond that prevents paint from flaking off over time.
| Product | Type | Drying Time | UV Resistance |
|---|---|---|---|
| Krylon Fusion | Spray Paint | 15 minutes | High |
| Rust-Oleum Plastic Primer | Primer | 30 minutes | Moderate |
| Mod Podge Outdoor | Sealant | 2 hours | High |
For the actual paint, Krylon Fusion spray paint is my top pick. It bonds directly to plastic without needing a primer, and its UV-resistant formula keeps colors vibrant for years.
Acrylic craft paints work well for detailed designs but require a primer and sealant. Brands like FolkArt Outdoor are waterproof and safe for garden use.
Eco-conscious gardeners should look for non-toxic options like ECOS Paints. These are free from harmful chemicals, making them ideal for pots holding edible plants.
Always check the label for plastic compatibility. Products labeled for metal or wood won’t adhere properly to plastic surfaces.
Remember, thin coats dry faster and last longer than thick, globby applications. I aim for 2-3 light coats with drying time between each. ☀️