
Beautiful Plants For Your Interior
Beautiful Plants For Your Interior
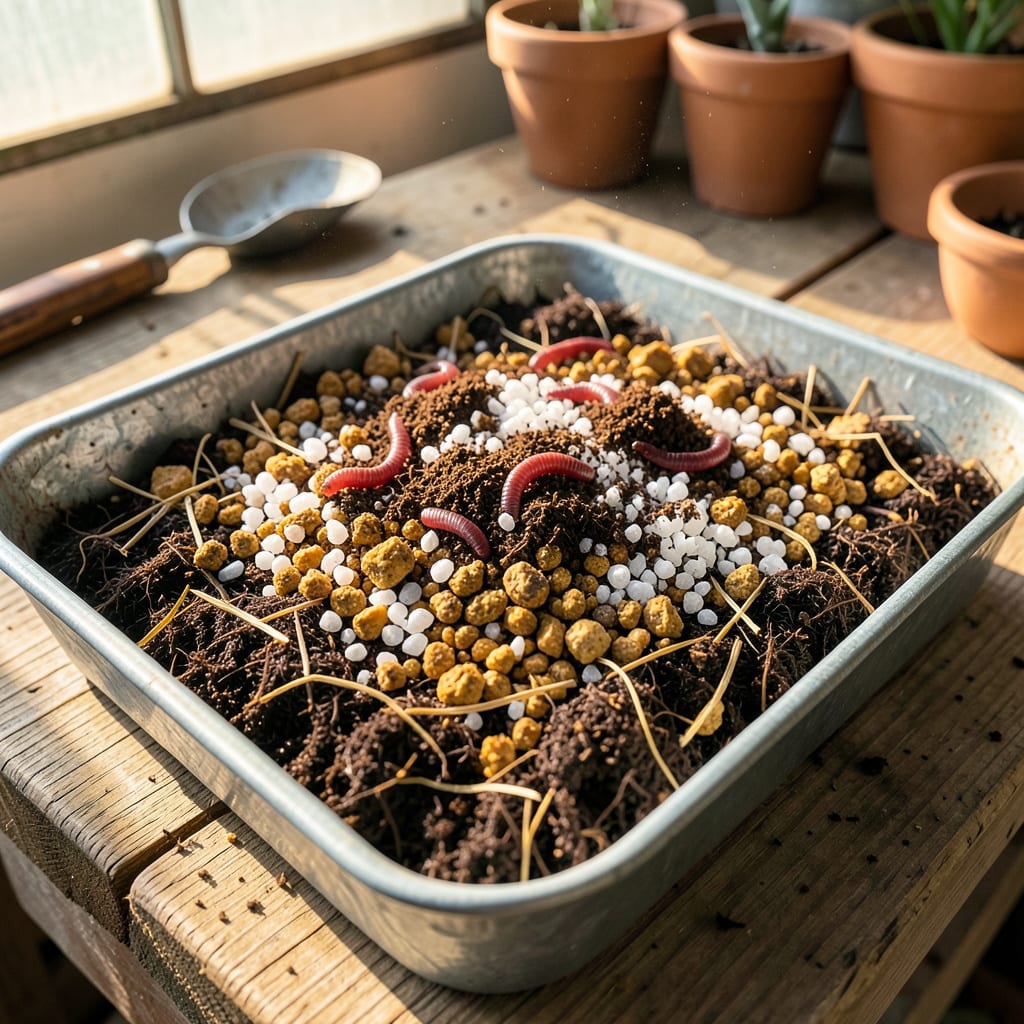
Store-bought potting mixes never quite matched what my plants needed—until I started blending my own. The difference is night and day: healthier roots, faster growth, and plants that actually thrive instead of just surviving. What surprised me most? How simple it is to customize blends for anything from succulents to tomatoes.
You’ll need just 3-4 basic ingredients (most of which you might already have) and about 20 minutes to mix up a batch. No fancy equipment, no guesswork—just a foolproof ratio that works every time. The best part? You’ll never waste money on another bag of lackluster soil again.
📚 In This Guide
This method delivers the ideal balance of drainage, nutrients, and structure—your plants will show the difference within weeks.
Begin with equal parts peat moss or coconut coir and compost as your foundation. I use a 5-gallon bucket as my measuring tool—one bucket of each gives me consistent ratios every time. The peat/coir provides moisture retention while the compost delivers essential nutrients and microbial life.
For improved aeration, add 1 part perlite or vermiculite to the 2 parts of your base mix. This prevents compaction and ensures oxygen reaches roots. I prefer perlite for succulents and vermiculite for moisture-loving plants like ferns—they each serve different water management needs.
Add 1 cup of worm castings and ½ cup of kelp meal per 5-gallon batch. The worm castings provide slow-release nutrients while the kelp meal contributes micronutrients and growth hormones. I sift these through a ¼-inch mesh screen first to eliminate clumps that could create hot spots in your mix.
For calcium and mineral content, include ½ cup of agricultural lime (if using peat) or ½ cup of gypsum (if using coir). This balances pH and prevents blossom-end rot in vegetables. Mix thoroughly until the color appears uniform—you shouldn’t see distinct layers or pockets of any single component.
For container plants, add 1 part coarse sand to improve drainage and weight. I use horticultural sand rather than beach sand, which contains salt that can harm plants. The ideal texture should hold together when squeezed but crumble easily when touched—like a well-made cookie dough.
Test moisture retention by wetting a handful of mix and squeezing. It should form a loose ball that holds shape but releases water when pressed. If it drips, add more perlite. If it crumbles immediately, increase the peat/coir ratio slightly in your next batch.
Spread the mix on a baking sheet and bake at 200°F for 30 minutes to eliminate weed seeds and pathogens. Don’t exceed 250°F or you’ll destroy beneficial microbes. The mix should reach an internal temperature of 160°F—use a meat thermometer to verify.
Store in a sealed container with several ventilation holes to maintain aeration. I keep mine in a 30-gallon trash can with a snap-on lid—it’s the perfect size for mixing and storing. Your homemade blend will remain viable for 6-8 months if kept dry and cool.
Fill a small pot with your mix and plant a sacrificial fast-growing seedling like radish or lettuce. Monitor for 7-10 days. Healthy growth indicates success; yellowing leaves suggest nutrient imbalance, while slow growth may mean poor drainage or compaction.
Adjust your next batch based on these results. I keep a gardening journal with notes on each blend’s performance—after three batches, you’ll develop an instinct for perfect proportions. Remember that different plants have varying needs: seed-starting mix requires finer texture, while mature plants benefit from chunkier components.
Creating your own potting mix is both science and art—these insights will help you avoid common pitfalls and achieve professional-grade results.
Component Ratio Precision: In Step 1, when measuring your base components, resist the temptation to eyeball the equal parts of peat moss/coconut coir and compost. I learned the hard way that even slight variations can dramatically affect moisture retention. Use the 5-gallon bucket method described—it’s the most reliable way to maintain consistent ratios batch after batch. The difference between a 40:60 and 50:50 ratio might seem minor, but your plants will notice through either waterlogged roots or nutrient deficiencies.
Sterilization Technique: During Step 4’s sterilization process, don’t rush the 30 minutes at 200°F. This precise time and temperature combination is critical for eliminating pathogens while preserving beneficial microbes. I use an oven thermometer to verify the internal temperature reaches exactly 160°F—this ensures complete sterilization without overheating. Remember that exceeding 250°F will destroy the very microorganisms we want to keep, turning your carefully crafted mix into a biological desert.
Texture Testing Method: The moisture retention test in Step 3 is more nuanced than it appears. When you squeeze that handful of wet mix, pay attention to how quickly it releases water. Ideal potting soil should hold its shape for 3-5 seconds before gently crumbling—not immediately (too dry) or dripping (too wet). I keep a spray bottle handy to make micro-adjustments: a few spritzes and another squeeze can reveal if you’ve achieved the perfect balance before committing to a full batch adjustment.
Storage Wisdom: The ventilation holes mentioned in Step 4’s storage instructions serve a dual purpose most gardeners overlook. While they prevent mold growth by allowing air circulation, they also help maintain the mix’s microbial activity. I drill 1/4-inch holes every 6 inches around my 30-gallon storage container—this specific spacing creates enough airflow to keep the mix alive without drying it out. During humid months, I add an extra hole or two to compensate for increased moisture in the air.
Nope! Garden soil is too heavy and may contain weeds, pests, or diseases. Potting mixes need to be lightweight, well-draining, and sterile. Stick to ingredients like peat moss, coco coir, or compost for a healthier blend.
How long does it take to make my own soil?
Most DIY potting mixes take under 30 minutes to assemble! The longest part is gathering ingredients. If you’re composting, expect 2-6 months for decomposition before mixing. Skip pricey additives! Use compost (free from your yard), perlite or sand (cheap at garden centers), and coco coir (affordable in bulk). Avoid peat moss if you’re on a tight budget. This usually happens if your mix has too much peat moss or dry coco coir. Fix it by pre-moistening ingredients before mixing or adding a wetting agent (like mild soap). Yes, but revitalize it first! Remove old roots/debris, bake at 200°F for 30 mins to kill pests, then mix with fresh compost (50/50 ratio) to restore nutrients.
2
What’s the cheapest way to make potting soil?
3
Why is my homemade soil repelling water?
4
Can I reuse old potting soil in my new mix?
