
Beautiful Plants For Your Interior
Beautiful Plants For Your Interior
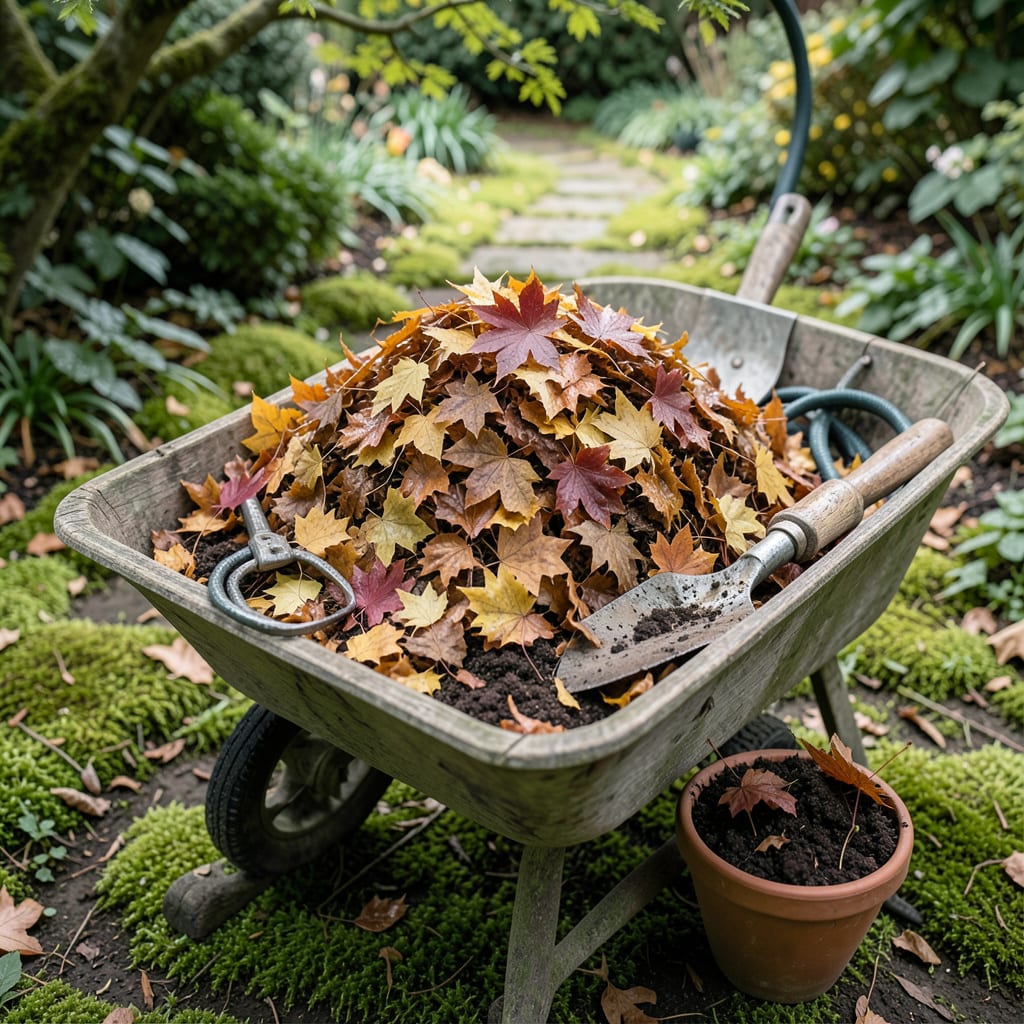
Turn fallen leaves into garden gold without a compost pile. I’ve been making leaf mold for years, and it’s the easiest way to enrich soil with natural nutrients.
This method takes 6-12 months but requires almost no effort—just a pile, a bin, or even a trash bag. The result is a dark, crumbly amendment that improves moisture retention and soil structure.
📚 In This Guide
This is the easiest way to turn fallen leaves into rich, crumbly leaf mold for your garden.
Gather fallen leaves from your yard, avoiding walnut leaves as they contain juglone which can inhibit plant growth. I like to use a lawn mower to shred them first—this speeds up decomposition by increasing surface area. Aim for pieces about 1-2 inches in size.
Don’t include diseased leaves or those treated with herbicides. A good mix of leaf types (maple, oak, birch) works best. You’ll need enough leaves to fill your chosen container about 3/4 full.
Select a shady corner of your yard or garden for the pile. You can use a simple wire mesh bin, a wooden pallet enclosure, or even large black plastic bags with holes punched in the sides for airflow. The location should get some air movement but not be in full sun.
If using bags, fill them loosely with shredded leaves—don’t pack them down. Moisten the leaves slightly as you add them; they should feel like a damp sponge. Too much water will cause anaerobic conditions and slow the process.
Check your leaf mold every 4-6 weeks to ensure it remains slightly moist. If it’s drying out, sprinkle with water. If it’s too wet, turn the pile to improve airflow. You’ll notice the leaves gradually darkening and breaking down.
This process is completely passive—no turning is strictly necessary, though it does speed things up. In 6-12 months, depending on your climate, you’ll have dark, crumbly leaf mold that smells earthy and fresh.
When the leaves have broken down into a dark, soil-like material, it’s ready to use. Screen out any remaining large pieces. I spread a 1-2 inch layer over garden beds as a mulch or work it into the top 4-6 inches of soil.
Leaf mold improves soil structure, retains moisture, and provides a slow-release source of nutrients. It’s particularly beneficial for improving sandy soils or lightening heavy clay. Store any unused portion in a dry place for future use.
These small adjustments will help you get the best results with minimal effort.
Shredding Size Matters: In Step 1, aim for those 1-2 inch pieces as specified—smaller is actually better for faster decomposition. I found that running the lawn mower over the leaves twice gives me the perfect texture without turning it into dust.
Moisture Balance: When you’re preparing the pile in Step 2, the “damp sponge” test is crucial. Squeeze a handful—if more than a few drops come out, you’ve added too much water. If it’s bone dry, mist lightly with a hose. This balance prevents both mold and slow decomposition.
Location Wisdom: That shady spot in Step 2 isn’t just about temperature—it’s about moisture retention. Full sun dries out leaves too quickly, while too much shade can make them stay soggy. A spot with dappled sunlight or morning sun only works perfectly.
Patience Pays Off: The 6-12 month timeline in Step 3 might seem long, but it’s worth it. I started checking mine at 6 months in our mild climate, and it was ready. In cooler areas, you might need the full year. Don’t rush it—under-decomposed leaves won’t give you that rich, crumbly texture.
Leaf mold typically takes 6 months to 2 years to fully decompose, depending on leaf type and pile management. Shredding leaves speeds up the process, while oak or pine may take longer.
Fresh leaf mold can be used right away as a mulch, but for soil amendment, it’s best to let it age 6+ months to avoid nitrogen competition with plants.
Leaf mold is purely decomposed leaves, rich in humus, while compost includes a mix of greens and browns for balanced nutrients. Leaf mold improves soil structure; compost adds fertility.
A foul odor means anaerobic conditions (too wet or compacted). Turn the pile, add dry leaves, or improve airflow to fix it. Properly managed leaf mold should smell earthy.
