
Beautiful Plants For Your Interior
Beautiful Plants For Your Interior
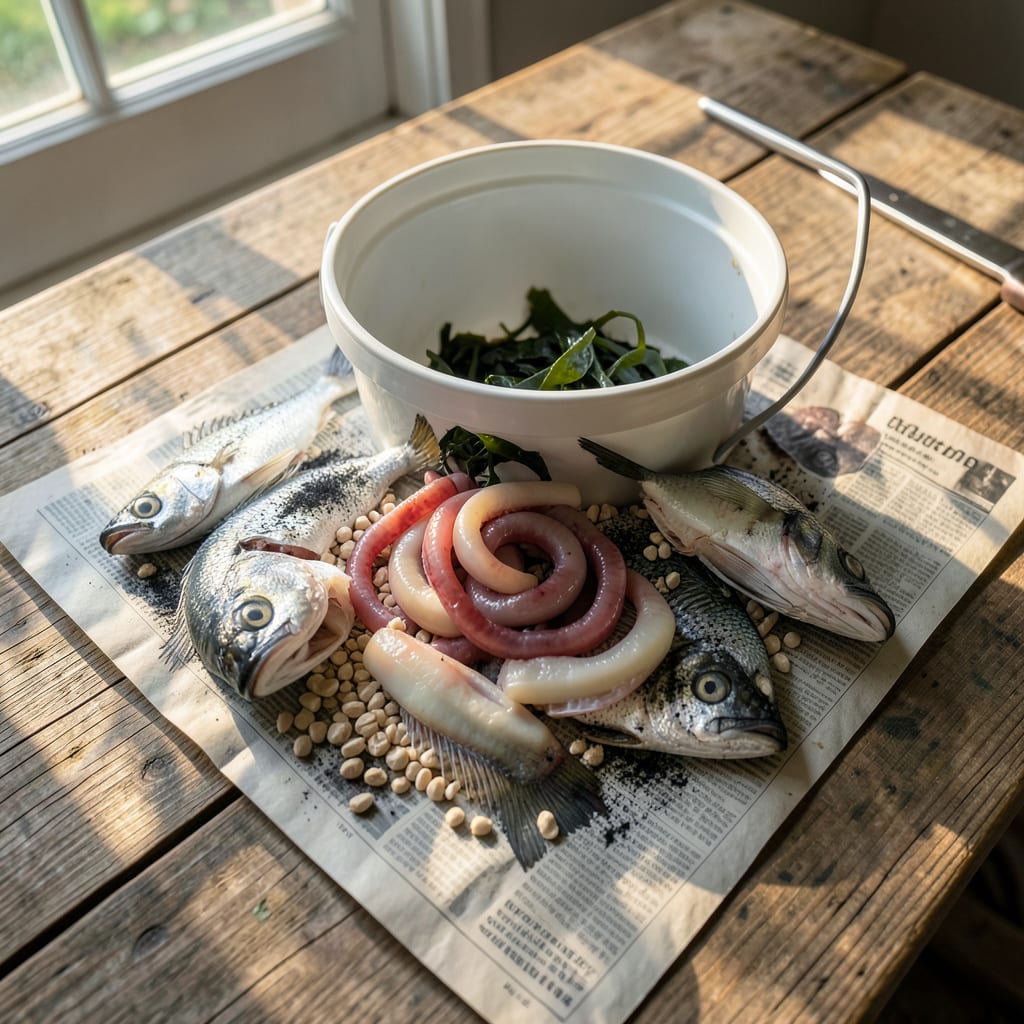
I used to spend $20 a bottle on organic fertilizers until I discovered how to make my own fish fertilizer for pennies. This homemade version packs the same nitrogen-packed punch as store-bought emulsions, but without the mystery ingredients or plastic waste. My vegetable beds responded with darker leaves and faster growth within two weeks of the first application.
The process is simpler than you’d expect—no fancy equipment, just fish scraps, water, and a little patience. What you get is a concentrated liquid fertilizer that works wonders on everything from tomatoes to houseplants. Best part? You control exactly what goes into it, and the plants reward you with healthier roots and bigger harvests than chemical alternatives ever delivered.
📚 In This Guide
This straightforward process transforms kitchen scraps into liquid gold for your garden—no fancy equipment required.
Gather fresh fish waste—heads, bones, and guts work best (avoid salted or smoked fish). Rinse the scraps under cool water to remove any residual blood or slime, which can attract pests during decomposition. I use a dedicated 5-gallon bucket with a tight-fitting lid to contain odors while working.
Chop the scraps into 1-inch pieces to accelerate breakdown. Smaller surface area means microbes can access nutrients faster. If you’re processing whole fish, remove and discard the gallbladder—its bile can inhibit decomposition. Work outdoors or in a well-ventilated area to minimize indoor odors.
Place the prepared fish scraps in a clean container (I prefer food-grade plastic barrels). Add enough water to cover the scraps by 2-3 inches—this prevents anaerobic pockets that cause putrefaction. The ideal ratio is 1 part fish to 3 parts water by volume for balanced nutrient extraction.
Stir in 1 tablespoon of unsulfured molasses per gallon of water. The molasses feeds beneficial microbes that break down proteins and prevents ammonia buildup. Cover the container with a breathable cloth (like cheesecloth) secured with a rubber band to allow gas exchange while keeping insects out.
Store the mixture in a shady outdoor location with temperatures between 60-80°F. Stir daily for the first week using a long wooden stick—this oxygenates the mixture and prevents scum formation. You’ll notice bubbles forming within 48 hours, signaling active fermentation.
The process completes when bubbles subside and the liquid turns dark brown (typically 2-4 weeks depending on temperature). Strain through a fine mesh sieve or old T-shirt to remove solids. The remaining liquid should have a mild, earthy smell—not putrid. If it reeks of ammonia, you need more molasses to balance the nitrogen.
Mix the finished fertilizer with water at a ratio of 1 part fish emulsion to 5 parts water for general use. For seedlings or sensitive plants, increase dilution to 1:10. Apply directly to soil—never to leaves—as the nitrogen can burn foliage. I use a watering can with the rose removed for even distribution.
Use every 2-3 weeks during active growth periods. You’ll see visible results within 7-10 days: deeper green foliage, increased stem thickness, and accelerated flowering. Store unused concentrate in a sealed container in a cool, dark place—it remains potent for up to 6 months.
Rinse all equipment with a 1:10 vinegar-water solution immediately after use to prevent bacterial buildup. The solids you strained out make excellent compost material—bury them 12 inches deep in your compost pile to avoid attracting rodents. I keep a dedicated set of tools just for fertilizer making to avoid cross-contamination.
For continuous production, start a new batch immediately after straining the previous one. The residual microbes in your container will jumpstart the next fermentation cycle. Real talk: the first batch always smells strongest—subsequent batches ferment more cleanly as beneficial microbial colonies establish in your equipment.
Here’s what I’ve learned through trial and error to get the most potent, odor-controlled fertilizer from your fish scraps.
Microbe Management: The 1 tablespoon of unsulfured molasses per gallon of water in Step 2 isn’t just for sweetness—it’s critical for feeding the right microbes. I’ve found that using blackstrap molasses (which contains more minerals) can actually speed up fermentation by 2-3 days within that 2-4 week window. Just don’t exceed 2 tablespoons per gallon, or you’ll create an environment too rich for beneficial bacteria.
Temperature Control: That 60-80°F range in Step 3 is absolutely crucial. Below 60°F, fermentation stalls; above 80°F, you risk putrefaction. In hot climates, I place my fermentation barrel in a shallow trench and cover it with damp burlap to maintain cooler temperatures. A simple thermometer stuck to the side of your container helps monitor this without opening the lid.
Odor Prevention: The first 48 hours are when odors peak. I’ve had excellent results adding 1 crushed aspirin tablet per gallon of water during Step 2—the salicylic acid helps neutralize fishy smells while actually benefiting plant root development. Also, stir more frequently during this initial period (every 12 hours instead of daily) to prevent ammonia pockets from forming.
Straining Technique: When you reach that dark brown color after 2-4 weeks, don’t rush the straining process in Step 3. I use a double-layer of cheesecloth inside a fine mesh sieve to catch even the smallest particles. The clearer your liquid, the less likely it is to clog sprayers or irrigation systems later. Squeeze the solids gently—don’t wring them out forcefully, or you’ll release bitter compounds into your fertilizer.
When stored in a cool, dark place (like a basement or garage), homemade fish fertilizer stays potent for 3–6 months. For longer shelf life (up to a year), freeze it in ice cube trays or airtight containers. Pro tip: Label with the date—potency fades over time!
Fish heads, bones, and guts work great—they’re packed with nutrients like phosphorus and nitrogen. Just avoid oily fish (like salmon skins), which can turn rancid faster. Chop scraps finely to speed up decomposition.
Dilute it first (1:10 ratio with water) and use every 2–4 weeks during growing season. Overuse can burn roots! Leafy greens love it weekly (weak dose), while flowering plants thrive with monthly feeds.
Blend 1 part fish (or scraps) with 2 parts water, then strain after 24–48 hours. For instant use, mix the liquid with compost tea or molasses to boost microbes. Note: This method smells stronger—apply to soil, not leaves!
Add citrus peels, vinegar (1 tbsp/gallon), or activated charcoal to the mix. Bury the container near your compost pile or use a sealed bucket with an airlock. Odor fades after application—water the soil afterward to help!
