
Beautiful Plants For Your Interior
Beautiful Plants For Your Interior
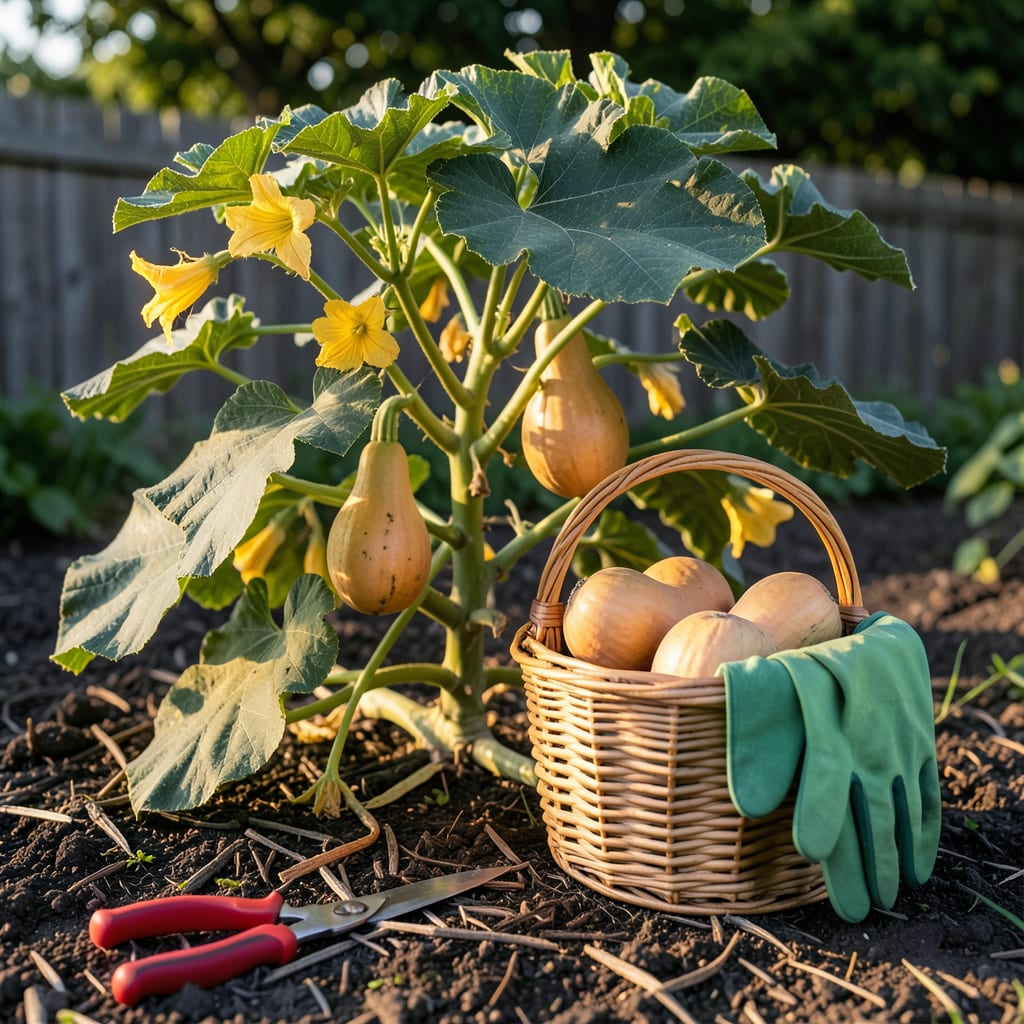
That moment when you’re staring at your 🎃 Butternut Squash patch, wondering if they’re actually ready—or if you’re about to ruin months of work. I’ve been there, and let me tell you: the difference between a perfectly ripe harvest and a disappointing one often comes down to one simple trick.
Most gardeners don’t realize that the vine itself holds the secret to ideal timing. We’ll break down exactly what to look for—no guesswork, no wasted squash. By the end, you’ll know precisely when to cut that stem for the sweetest, longest-lasting harvest of your season.


Timing your butternut squash harvest perfectly ensures the best flavor and storage life. Unlike summer squash, these winter varieties need to fully mature on the vine. I’ve found that checking for five key signs removes all the guesswork. Let’s break them down.
First, forget the calendar—visual and tactile cues are far more reliable. A butternut squash might reach its 90-day maturity mark, but if the plant isn’t showing these signs, it’s not ready. Trust me, I’ve rushed it before and ended up with squash that turned mushy in storage.
I always start with the thumbnail test—it’s the quickest way to rule out immaturity. If the skin resists, I move on to checking the stem. A squash can look ready from a distance, but that stem tells the real story. Pro tip: Use a magnifying glass if you’re unsure about the color uniformity.
The vines’ condition is another underrated clue. If your butternut squash plant’s leaves are still lush and green, the fruit is likely still maturing. But once you see 50% or more yellowing, it’s time to start testing individual squash. This die-back usually happens in late September to October, depending on your planting date.
Size matters, but it’s not the sole indicator. A mature butternut squash typically weighs 2–5 pounds and measures 8–12 inches long. However, I’ve had smaller squash that were fully ripe and larger ones that weren’t. Always cross-check size with the other four signs for accuracy.
If you’re growing multiple varieties, note that heirloom butternut squash often develops a more pronounced “bulb” at the base when ripe. Hybrid varieties might stay sleeker. Get to know your specific plant’s habits—it makes harvesting even easier the next season.
One mistake I see beginners make is waiting for the first frost to harvest. While a light frost can sweeten the squash, a hard freeze will damage it. Aim to pick before temperatures drop below 28°F (-2°C). Use a frost blanket if an early cold snap is forecasted.
Finally, if you’re still unsure, try the “twist test”. Gently twist the squash—if it separates easily from the vine with minimal effort, it’s ready. If it resists, give it a few more days. This method works best when combined with the stem dryness check for foolproof results.
Remember, a perfectly timed harvest means your butternut squash will store for 3–6 months in a cool, dry place. That’s the reward for patience! Now that you know the signs, you’ll never end up with underripe squash again. 🎃
I’ve tested every trick in the book for harvesting butternut squash, and nothing beats the vine drying method. This isn’t about guessing based on color or size—it’s about reading what the plant itself is telling you. When the vine starts to brown and dry at the base, your squash is sending a clear signal.
The magic happens when about 70-80% of the vine nearest the fruit turns brown and crispy. I check this by gently pressing on the vine—if it snaps easily instead of bending, we’re in business. This method works because the plant naturally redirects energy away from the vine as the fruit matures.
Don’t confuse drying with disease!
A healthy drying vine turns brown gradually from the base. If you see black spots or mushy texture, that’s likely powdery mildew—not ripeness. Always check the fruit stem too: it should be corky and dry, not green or wet.
Here’s my pro tip: Start checking vines when your squash hits full size (usually 8-12 inches long) and the skin turns that classic matte tan color. I use my thumbnail to test the skin—if it resists puncture, that’s your second confirmation. The vine drying is the final green light.
Timing matters because butternut squash won’t ripen further once picked. I learned this the hard way when I harvested a batch too early—they stayed watery and bland no matter how long I cured them. Now I wait until that vine is crispy to the touch and the stem looks like dried wood.
For those in cooler climates, watch the weather forecast. If frost is coming and your vines aren’t fully dried, harvest anyway—frost will damage the fruit. In warmer zones, you can afford to wait a few extra days for that perfect vine crispness. Either way, always leave 1-2 inches of stem attached when cutting.
After harvesting, I cure my squash in the sun for 7-10 days to toughen the skin. This step is non-negotiable for long-term storage. The vine drying method ensures you’re starting with perfectly mature fruit, so your curing process will preserve that sweet, nutty flavor for months to come. 🪴
If you’ve ever wondered why some gardeners seem to harvest perfectly ripe butternut squash every single year, here’s their secret: they’re not just looking at the fruit—they’re watching the vine. The vine drying method is the most reliable way to determine ripeness, and it’s surprisingly simple once you know what to look for.
As your squash matures, the vine closest to the fruit will begin to turn brown and dry out. This isn’t a sign of plant failure—it’s nature’s way of telling you the fruit is ready to separate from its lifeline. Unlike checking skin hardness or color, which can be subjective, the vine’s condition gives you a clear, objective signal.
⚠️ Don’t Confuse Drying with Disease
A healthy drying vine turns brown gradually from the fruit outward. If you see:
True readiness shows when 3-5 inches of vine nearest the squash is fully brown and brittle.
Here’s how to test it: Gently press on the vine about 2-3 inches from where it meets the squash. If it snaps easily and feels dry (like a twig), your squash is ready. If it bends or feels moist inside, give it 3-5 more days and check again. This method works because the plant itself cuts off nutrient flow to the fruit once it’s mature.
Timing matters too—aim to harvest when 50-70% of the vine connected to the squash has dried. In my experience, waiting until 70% drying gives the sweetest flavor, but don’t exceed 80% or you risk the fruit becoming overripe on the vine. Early mornings are ideal for harvesting, as the fruit is crispest after a cool night.
Remember, the vine drying method trumps all other signs. I’ve seen squash with perfect color and hard skin that weren’t actually ripe because the vine was still green. Conversely, I’ve harvested slightly green-tinged squash that were perfectly ripe because the vine had dried. Trust the vine, and you’ll never have a bland or stringy butternut again. 🪴
Wait a few more days! The vine drying is your most reliable indicator. Even if the skin is hard and the color looks right, a green vine means the squash is still receiving nutrients. Harvesting now could result in less sweet, shorter-storing fruit.
A light frost can actually sweeten the flavor, but don’t wait for a hard freeze (below 28°F/-2°C). If frost is forecasted and your vines aren’t fully dried, harvest immediately. Use a frost blanket for protection if you need a few extra days.
Watch for cracked skin, soft spots, or seeds that rattle when shaken. Overripe squash often develops a fibrous texture and may start fermenting inside. The vine will typically be completely dried and brittle (80%+ brown).
Always use clean pruners and leave 1-2 inches of stem. Twisting can damage the stem, creating entry points for rot. Cut at a 45° angle for best results. Never carry squash by the stem—it can break off and reduce storage life.
This usually means it wasn’t fully mature when picked. Check that the skin was hard enough to resist thumbnail pressure and the vine was 50-70% dried. Also, cure squash in sunlight for 7-10 days before storing in a cool, dry place (50-55°F).
