
Beautiful Plants For Your Interior
Beautiful Plants For Your Interior
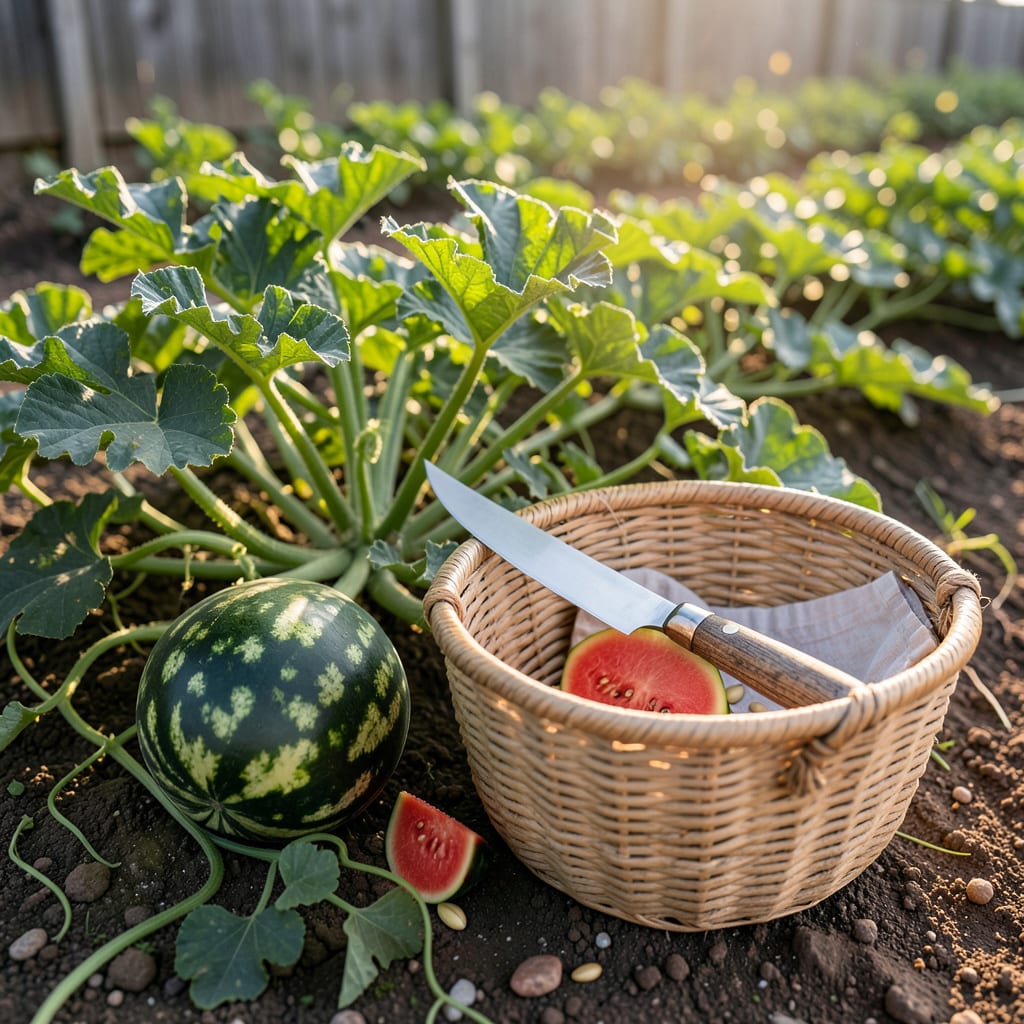
There’s nothing worse than cutting into a homegrown watermelon only to find it underripe—or worse, mushy and overdone. After months of tending your vines, nailing the harvest timing is what separates a juicy, sweet reward from a disappointing flop.
I’ve tested every trick—from the classic thump test to watching tendrils like a hawk—and the differences are shocking. Let me walk you through the foolproof signs your 🍉 is begging to be picked, so you’ll never second-guess that perfect moment again.


After weeks of watching your watermelon vines sprawl and those green globes swell, the real challenge begins: knowing exactly when to cut them free. Unlike store-bought melons, homegrown ones won’t have a handy sticker—so you’ll need to read the plant’s secret signals instead.
The good news? Your watermelon visually broadcasts its ripeness if you know where to look. I’ve narrowed it down to the three most reliable signs—no guesswork required. Let’s start with the easiest one to spot: the ground spot transformation.
That ground spot is my favorite indicator because it’s impossible to miss. Flip the melon gently (support the bottom!) and check the color. A bright white patch means it’s still pulling nutrients from the vine. But once it’s buttery yellow, you’re in the sweet zone.
The tendril test is where most gardeners get tripped up. Not all tendrils dry at once—only the one directly attached to the stem matters. I’ve seen gardeners mistake a neighboring tendril’s browning for ripeness, leading to premature picks. Always trace the stem to its closest curl.
Here’s a pro tip: Combine the ground spot and tendril check for near-perfect accuracy. If both signal readiness but the rind is still shiny, give it one more day in the sun. That extra time can boost sugar levels by 10–15%.
Don’t overlook the rind’s texture. An unripe watermelon’s skin feels almost slick, like a polished apple. As it matures, the surface develops a slightly rough, matte finish. Run your fingernail lightly across the rind—if it doesn’t leave a mark, you’re good to go.
I once harvested a Sugar Baby too early because I relied solely on the tendril test. The ground spot was still pale, and the flavor was disappointingly mild. Now I always check all three signs before cutting. That lesson saved last year’s Charleston Gray crop—each one was bursting with sweetness.
Remember, these visual cues work for 90% of varieties, but seedless types (like ‘Triple Crown’) often ripen a bit earlier. When in doubt, cross-reference with the days-to-maturity count on your seed packet. Most watermelons hit peak ripeness between 75–90 days after planting.
If you’re growing in cooler climates (Zones 5–6), watch for these signs to appear 7–10 days later than the packet suggests. Heat accumulates slower, delaying sugar development. I’ve found that black plastic mulch can speed ripening by 3–5 days in these areas by warming the soil.
Still unsure? Pair these visual checks with the tap test (we’ll dive deeper into that next) for foolproof results. The best watermelons I’ve grown passed all three visual tests and produced that deep, hollow thud. That’s when you know you’ve hit the jackpot.
Now that you can see ripeness, let’s talk about how to hear it—because your watermelon’s ready to sing when it’s perfectly sweet.
If you’ve ever thumped a watermelon at the store, you know that hollow sound means it’s ripe. The same trick works in your garden! I call it the “watermelon knock”—a simple but powerful way to gauge ripeness without cutting into the fruit.☀️
Here’s the secret: A ripe watermelon produces a deep, hollow thud when tapped, while an unripe one sounds more metallic or dull. Think of it like comparing a drum to a wooden block. The difference is subtle at first, but with practice, you’ll hear it clearly.🌱
Use your knuckles (not fingertips) for the most accurate sound. Tap near the center of the melon, not the ends. Compare sounds between melons—your ears will notice the difference faster than you think!
I always combine the tap test with visual cues for best results. If the ground spot is creamy yellow and the tendril near the stem is brown, a hollow thud confirms it’s time to pick. But if the sound is dull, wait 2-3 more days and test again.⏰
Common mistake: Tapping too lightly. You need a firm knock to hear the true resonance. Another error? Testing right after rain—waterlogged melons sound different. Wait for a dry morning for the most reliable results.💧
For Sugar Baby varieties, the tap test is especially useful since their smaller size makes visual signs harder to spot. Larger melons like Charleston Gray often have a more pronounced hollow sound when fully ripe. Always compare multiple melons to train your ear.🪴
Remember, no single test is foolproof. I use the tap test as the final confirmation after checking the tendril and ground spot. When all three signs align—dry tendril, creamy spot, and hollow thud—you’ve got a winner ready for harvest!🍉
Not all watermelons ripen on the same schedule. While visual cues like the ground spot and tendril drying apply universally, each variety has its own timeline. I’ve grown everything from Sugar Babies to Charleston Grays, and timing varies wildly.
For example, smaller varieties like Sugar Baby mature in as few as 75 days, while giant heirlooms may need 100+ days. Climate plays a role too—hotter zones speed up ripening. Below is my go-to cheat sheet for the most popular types.
🌱 Pro Tip: Start counting “days to maturity” from the date you transplant seedlings, not from seeding. Warm soil speeds up growth!
If you’re growing a seedless variety like Triploid, add 5–7 extra days to the estimate. These types often ripen slower because they lack the natural growth hormones from seeds. I mark my calendar with the earliest possible harvest date and start checking daily.
For heirloom watermelons, watch the vine health. As fruits near ripeness, the vine may start to yellow or decline—this is normal! But if the vine dies prematurely, the melon won’t sweeten further. In that case, harvest immediately regardless of other signs.
Remember, these timelines are guidelines, not rules. A cool, rainy season can delay ripening by 1–2 weeks, while a heatwave might rush it. Always combine the days-to-maturity estimate with the visual and tactile tests we covered earlier for best results. 🪴
If the tendril is only half-brown or still slightly green, give it 2-3 more days before checking again. A fully dried, crispy tendril is the gold standard for ripeness.
Sometimes humidity slows the drying process. In that case, rely more on the ground spot color and tap test to confirm readiness. Patience pays off with sweeter fruit!
Yes, harvest immediately if the vine is yellowing or collapsing. Once the vine dies, the melon stops receiving sugars and won’t ripen further.
Even if other signs aren’t perfect, a dying vine means it’s now or never. Cut the melon and let it ripen indoors at room temperature for 1-2 days if needed.
Overripe watermelons develop a dull, thud-like sound when tapped (deeper than the ideal hollow echo). The rind may also feel soft or mushy when pressed.
If you cut into one and find the flesh mealy or fibrous, your next melon needs to come off the vine 3-5 days earlier. Take notes for next season!
Not directly! While most varieties reach a predictable size at maturity, focus on the tendril, ground spot, and tap test instead. A giant melon might still be unripe.
That said, if your watermelon is significantly smaller than expected for its variety, it may need more time. Compare it to the size estimates on your seed packet.
