
Beautiful Plants For Your Interior
Beautiful Plants For Your Interior
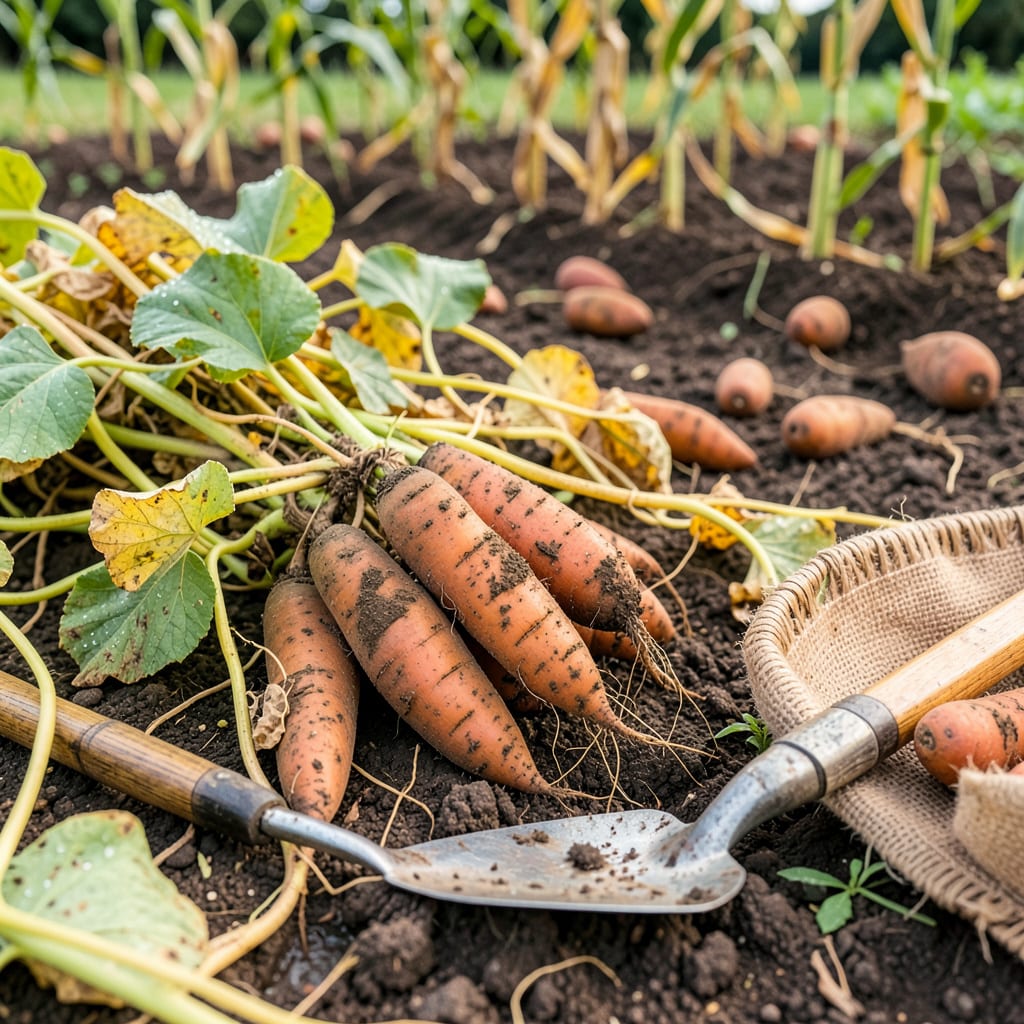
There’s nothing quite like digging up your first sweet potato—until you realize you’ve pulled it too soon. I’ve been there, staring at undersized tubers because I misread the signs. The secret isn’t just counting days; it’s watching for three key indicators that nature gives you when they’re truly ready.
You’ll know it’s time when the vines start yellowing and the growth slows to a crawl. Most varieties need 90-170 days, but your plants will tell you more than any calendar. The real test? Gently brushing away soil to check tuber size—when they’re 3-5 inches long with firm skin, you’ve hit the sweet spot for harvesting.
📚 In This Guide
Timing is everything when it comes to harvesting sweet potatoes—wait too long or pick too early, and you’ll miss that perfect flavor and texture.
The most reliable indicator is the plant’s leaves. Sweet potatoes are ready to harvest when the vines begin to yellow and wilt, typically 90-120 days after planting. This signals that the plant has stopped putting energy into leaf growth and is now focusing on the tubers below.
Don’t rush this process—wait until at least 50% of the foliage has turned yellow. If frost threatens before this happens, you’ll need to harvest immediately, but otherwise, let nature take its course. The leaves will eventually turn brown and crispy, which is perfectly normal.
Sweet potatoes develop their best flavor when harvested in dry weather with soil temperatures above 55°F. Avoid harvesting when the soil is waterlogged—this makes the tubers more prone to rot during curing. I always check the forecast and aim for a stretch of 3-5 dry days before digging.
If you’ve had recent rains, wait until the soil is dry to the touch at the surface. Digging in muddy conditions compacts the soil and can damage the tender skins of the potatoes. A light, crumbly soil texture is ideal for easy harvesting and minimal tuber damage.
Before committing to a full harvest, I like to do a test dig. Carefully brush away soil at the base of one plant to check tuber size. Mature sweet potatoes typically measure 3-6 inches long with a diameter of 1-3 inches. If they’re still small, wait another week and check again.
Use your hands or a digging fork to loosen the soil 8-12 inches away from the plant’s base to avoid piercing the tubers. Sweet potatoes bruise easily, so handle them like eggs during harvest. I find early morning is the best time to dig—the cooler temperatures keep the potatoes firmer.
Once harvested, sweet potatoes need proper curing to develop their signature sweetness. Place them in a warm (80-85°F), humid (85-90%) environment for 5-10 days. A cardboard box lined with newspaper in a warm room works perfectly.
You’ll know the curing process is complete when any minor scratches on the skin have healed and the potatoes feel slightly firmer. This step is crucial—skipping it results in potatoes that taste starchy rather than sweet. After curing, store them in a cool (55-60°F), dark place where they’ll keep for months.
Getting the timing just right makes all the difference between starchy disappointment and sweet perfection.
Foliage Timing: The 90-120 day window mentioned in Step 1 is critical, but don’t rely solely on the calendar. I’ve found that watching for that 50% yellowing of leaves is more reliable than counting days, especially since growing conditions vary. If your plants are still mostly green at day 120, give them another week – the extra patience pays off in flavor.
Soil Condition Secret: In Step 2, when checking for dry soil, here’s what nobody tells you: dig down about 2 inches, not just at the surface. Soil can appear dry on top while staying damp below. I use the “squeeze test” – grab a handful of soil from 2 inches deep. If it crumbles when you open your hand, you’re good to go. If it holds shape or feels cool, wait another day.
Harvesting Technique: For Step 3’s gentle dig test, I’ve learned to use my hands first before reaching for tools. Start by carefully removing soil with your fingers around the plant’s base, feeling for tubers. This tactile approach helps you gauge size without risking damage. Only then do I use a fork, and I always work from the outside in, maintaining that 8-12 inch buffer zone.
Curing Environment: The 80-85°F range in Step 4 is non-negotiable for proper curing. Here’s my trick for maintaining humidity: place a shallow dish of water in your curing box and cover it with a damp towel. This creates the perfect microclimate without needing special equipment. I check daily, adding more water as needed to keep that 85-90% humidity level consistent throughout the 5-10 day period.
Sweet potatoes typically take 90–170 days to mature, depending on the variety and growing conditions. Early varieties (like Georgia Jet) may be ready in 90 days, while main-crop types (like Beauregard) often need 100–120 days. Check the seed packet for specifics—patience pays off with sweeter spuds!
Yes, but only if the vines die due to natural maturity (yellowing, wilting) or a light frost. If they die from disease/pests, harvest immediately to prevent rot. Early harvests yield smaller tubers with less sweetness, so wait if possible—unless frost threatens!
Small sweet potatoes usually mean overcrowding, poor soil, or early harvesting. Next season, space plants 12–18 inches apart, amend soil with compost, and wait the full growing period. Tiny spuds are still edible—roast them whole for a sweet bite!
Nope! Once vines die back (a key harvest sign), tubers stop sizing up. Leaving them in the ground too long risks rotting or pest damage. Harvest within 1–2 weeks of vine death for best quality. Pro tip: Cure them for 10 days post-harvest to boost sweetness!
Unlike white potatoes, sweet potatoes don’t store well in the ground. Harvest all at once when mature to avoid spoilage. If you must dig early, handle gently and cure properly. For a staggered supply, plant successions 3–4 weeks apart!
