
Beautiful Plants For Your Interior
Beautiful Plants For Your Interior
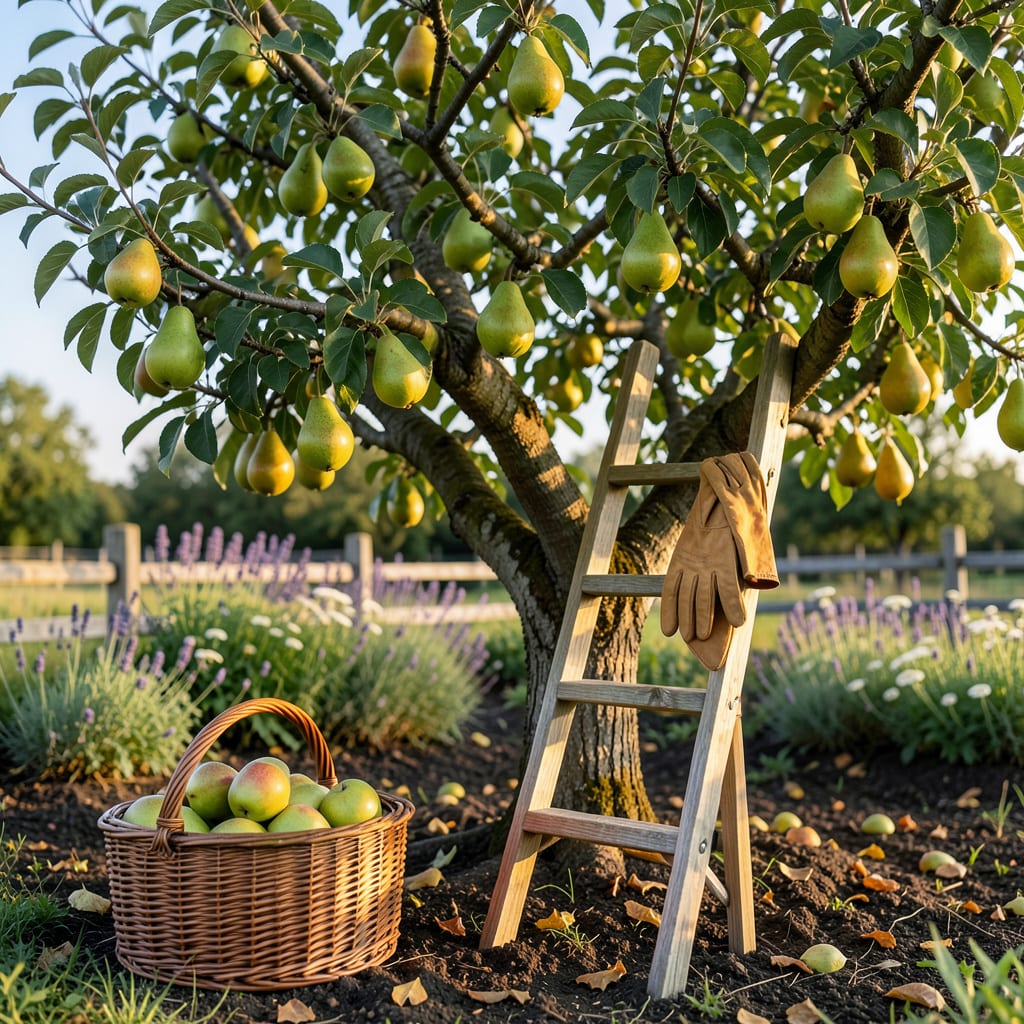
There’s nothing worse than biting into a pear expecting juicy sweetness—only to get a mouthful of hard, flavorless disappointment. The difference between perfect and pitiful? Timing. Pears don’t ripen like other fruits, and knowing when to pick them is the secret to that melt-in-your-mouth experience.
I’ve spent seasons watching my pear trees, testing methods, and learning the subtle signs that signal readiness. It’s not just about color—it’s about a gentle twist, a slight give, and understanding your variety. Let me show you how to get it right every time, so you never waste another harvest.


If you’ve ever bitten into a rock-hard pear straight from the tree, you know the frustration of mistimed harvesting. Pears are unique—they reach peak ripeness after picking, not on the branch. That’s why the gentle twist test is my go-to method for perfect timing.
Unlike apples, pears won’t ripen properly if left too long on the tree. Instead, they’ll turn gritty and mushy. The key is picking them at mature firmness, then letting them soften indoors. But how do you know when they’re ready? Let’s break it down step by step.
Here’s the science behind it: Pears produce ethylene gas after picking, which triggers ripening. If you wait until they’re soft on the tree, they’ll be overripe and mealy by the time you eat them. That’s why the twist test works—it catches them at the ideal firm stage.
I always start checking pears about 120 days after bloom (or when they reach full size for the variety). Early varieties like Bartlett ripen in late summer, while Anjou and Bosc often need until early fall. Climate matters too—hotter zones may speed up ripening by a week or two.
Pro tip: If your pears resist the twist test but colors are changing, try the “lift test”—cup the fruit in your palm and tilt it horizontally. If the stem detaches cleanly, it’s ready. If it clings, give it more time. This works especially well for Asian pears, which stay firmer than European varieties.
Don’t rely on color alone! Some pears (like Seckel) stay green even when ripe. Others, like Red Anjou, develop a deep crimson blush. Always combine visual cues with the twist test for accuracy. And remember: size matters. Pears should reach their expected diameter (check variety guides) before testing.
Once picked, store pears at room temperature to ripen—never in the fridge until they’re soft. A paper bag speeds up the process by trapping ethylene. Check daily; they can go from firm to overripe in 24–48 hours! For long-term storage, refrigerate ripe pears for up to 3 weeks.
If you’re new to pear harvesting, start with a small test batch. Pick 2–3 pears at different stages, label them, and track which ripens best. I keep a harvest journal with notes on variety, pick date, and ripening time—it’s a game-changer for future seasons!
Finally, watch the weather. A cold snap can stunt ripening, while a heatwave may rush it. Adjust your twist tests accordingly, and don’t hesitate to harvest early if storms are forecasted—pears ripen fine indoors but won’t recover from bruising.
With practice, you’ll recognize the perfect window: that magical moment when the pear almost falls into your hand with the gentlest twist. That’s when you know you’ve nailed it—and your taste buds will thank you! 🌱
Not all pears ripen the same way—what works for a Bartlett won’t apply to a Bosc. Each variety has its own color cues, texture shifts, and harvest windows. I’ve found that Asian pears (like Shinseiki) often ripen on the tree, while European types need post-harvest ripening indoors.
Timing matters too: Early-season pears (July–August) ripen faster than late-season varieties (September–October). Climate plays a role—cooler regions may delay ripening by 1–2 weeks. That’s why I always check my tree’s microclimate and adjust expectations accordingly.
Tip: Asian pears (like Hosui) ripen on the tree—pick when crisp and golden. 🌳
For Bartlett pears, I watch for the shoulder color to shift from green to yellow—this happens 1–2 days before they’re ready. Anjou pears are trickier; they stay green even when ripe, so I rely on the twist test and a subtle sweet scent at the stem.
Bosc pears develop a russeted bronze hue when mature, but they’ll still feel firm. I’ve learned to check the neck area—if it yields slightly to pressure, they’re ready. Comice pears are my favorite for gift boxes because their buttery texture peaks after 3–5 days indoors.
Pro tip: If you’re growing multiple varieties, label branches with harvest dates using garden tags. I keep a notebook to track yearly ripening trends—last year’s late frost delayed my Bartletts by 10 days, but my Bosc crop was right on schedule.
Remember, pears ripen from the inside out. If you cut one open and the seeds are dark brown, it’s mature. White seeds? Give it another week. And always harvest on a dry day—wet fruit spoils faster in storage. 🌿
Even experienced gardeners can sabotage their pear harvest with simple oversights. I’ve seen it happen—perfectly good pears turn mealy or rot because of timing errors. The biggest mistake? Waiting too long to pick. Pears left on the tree too late become overripe, attracting pests and losing texture.
Another critical error is picking pears too early. If they’re still rock-hard and refuse to budge during the twist test, they’ll never ripen properly indoors. I always remind gardeners: Pears ripen best off the tree, but only if harvested at the right stage. Test a few fruits first to gauge readiness.
Temperature and storage also play a huge role. Storing pears in the fridge before they ripen halts the process entirely. Instead, keep them at room temperature until they soften slightly at the neck. I use a cardboard box lined with paper to ripen them evenly—no plastic bags!
Climate can throw off your timing too. In hotter zones, pears may mature 1-2 weeks earlier than expected. Conversely, cool summers delay ripening. Always check your local harvest calendar and adjust based on weather patterns. When in doubt, test a single pear for sweetness and texture.
Finally, handle pears gently post-harvest. Bruised fruit spoils faster, so I use two hands when picking and place them in shallow trays. Avoid washing until ready to eat—moisture speeds up decay. With these fixes, you’ll enjoy juicy, flavorful pears every season. 🌳
Use the gentle twist test: cup the pear in your palm, lift slightly, and twist upward. If it separates easily, it’s ready. No tugging? Wait a few days. This method works better than color alone, especially for varieties like Anjou that stay green when ripe.
Most pears ripen in 3–7 days at room temperature. Speed it up by placing them in a paper bag with a banana (ethylene gas helps). Check daily—once the neck yields to gentle pressure, they’re perfect. Refrigerate only after fully ripened to extend freshness.
Yes! Pears picked too soon won’t ripen properly—they’ll stay hard and flavorless. Wait until they reach full size and pass the twist test. If seeds inside are still white, they need more time. Patience pays off with juicy, sweet results.
Variety matters! Bartletts turn yellow, Bosc develop bronze russeting, but Anjou stay green even when ripe. Always combine visual cues with the twist test for accuracy. When in doubt, sample one to check sweetness and seed color.
Store unripened pears at room temperature in a single layer (not stacked). Once ripe, refrigerate for up to 3 weeks. Avoid plastic bags—they trap moisture and cause rot. For long-term storage, can or freeze sliced pears in lemon water.
