
Beautiful Plants For Your Interior
Beautiful Plants For Your Interior
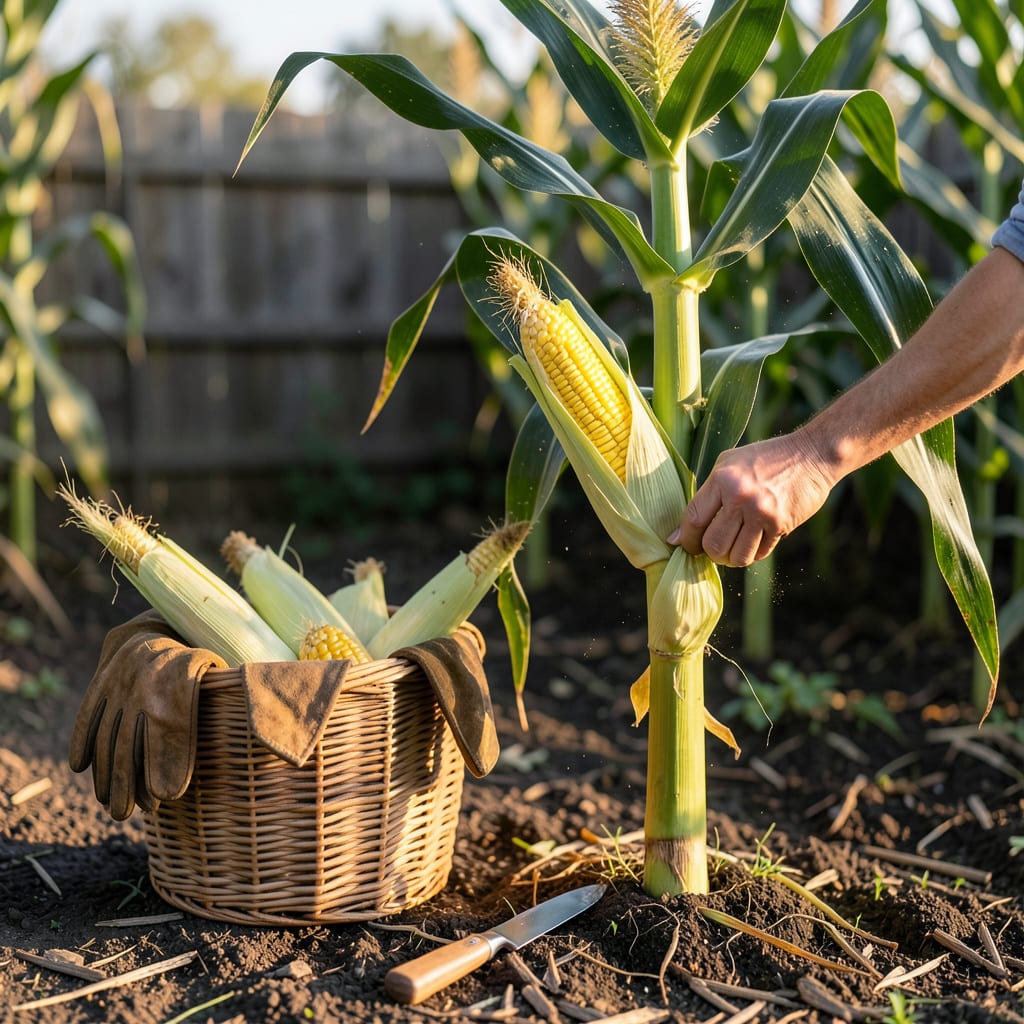
There’s nothing worse than sinking your teeth into corn only to find it tough or underwhelming. That perfect burst of sweetness? It all comes down to timing—miss the window, and you’re left with starchy disappointment.
I’ve spent seasons testing the subtle cues that separate mediocre corn from the juicy, tender ears you dream about. From the milky kernel test to husk clues, I’ll show you exactly how to pinpoint peak ripeness—so every bite delivers that just-picked flavor. Let’s get it right.


Timing is everything when it comes to harvesting corn. Pick too early, and you’ll get underdeveloped kernels. Wait too long, and the sugars turn starchy. The sweet spot? It’s all about reading the visual and tactile cues your corn gives you.
I’ve learned the hard way that corn doesn’t ripen all at once—even on the same stalk. That’s why checking each ear individually is key. Let’s break down the five foolproof signs that tell you it’s time to harvest, so you never second-guess again.
Here’s a pro tip: Check the tassels at the top of the ear. If they’re turning brown and brittle, your corn is likely nearing readiness. But don’t rely on this alone—always combine it with the kernel and silk tests for accuracy.
One common mistake I see is assuming all ears on a stalk ripen simultaneously. In reality, the top ears often mature first, while lower ones may need an extra day or two. That’s why I recommend checking each ear daily once the first signs appear.
If you’re growing sweet corn varieties like ‘Peaches and Cream’ or ‘Honey & Pearl’, timing is even more critical. These hybrids convert sugar to starch faster than heirloom types, so harvest them immediately when the signs align—waiting even a day can cost you sweetness.
Still unsure? Try the “twist test”: Grasp the ear and give it a gentle twist downward. If it separates easily from the stalk, it’s ready. If it resists, leave it for another day. This method works best for mature ears that have fully developed abscission layers (the natural separation point).
Remember, corn doesn’t ripen after picking—unlike tomatoes or bananas. Once harvested, the sugar starts converting to starch within hours. That’s why I always harvest in the early morning and chill the ears immediately to lock in freshness.
For popcorn or field corn, the rules change slightly. These varieties are harvested when kernels are hard and dry (not milky), usually 100–120 days after planting. But for sweet corn, stick to the five signs above, and you’ll never be disappointed.
Finally, trust your instincts. If the ear looks and feels right but you’re still hesitant, peel back just a corner of the husk to inspect the kernels. A little curiosity now saves a lot of regret later. Happy harvesting! 🌽
Even when the silk turns brown and the husk looks ready, the real test happens under that leafy wrapper. That’s where the finger test comes in—a foolproof way to confirm your corn is at peak sweetness before you commit to harvesting.
I’ve used this method for years, and it’s never let me down. The key is knowing exactly what to feel for and how to inspect the kernels without damaging the ear. Let’s walk through the steps so you can test like a pro and avoid those disappointing, underripe bites. 🌽
Step 1: Gently peel back just the top of the husk—enough to expose a few rows of kernels. Avoid tearing it completely; you want to protect the ear from pests.
Step 2: Press a kernel with your thumbnail or fingernail. If it’s ready, it should feel firm and plump, not soft or hollow. Underripe kernels will dent easily.
Step 3: Pierce a kernel. Ideal ripeness means a milky-white liquid spurts out. Clear liquid? Too early. Thick or doughy? Too late.
Step 4: Check multiple spots on the ear—sometimes the tip matures slower than the base. If 80% of the kernels pass the test, it’s go time!
The milky stage is your gold standard. This is when the kernels are packed with sugars but haven’t yet converted to starch. If you wait until the liquid turns creamy or pasty, you’ve missed the window—the corn will taste mealy instead of sweet.
For sugar-enhanced or supersweet varieties (like ‘Ambrosia’ or ‘Miracle’), this test is even more critical. These types hold their sweetness longer but can turn starchy within 24 hours of reaching peak ripeness. I check these varieties twice daily once the silk starts browning.
Here’s a trick I swear by: Use the “squeeze test” before even peeling the husk. Run your hand along the ear—if you feel uniform bumps from plump kernels, it’s a great sign. If the ear feels thin or lumpy, give it another day. This saves time and avoids unnecessary husk damage.
Timing matters too. I always do my tests in the early morning, when the corn is cool and the sugars are most concentrated. If you check during the heat of the day, the kernels can feel softer due to warmth, leading to false readings. Consistency is key!
Remember, corn doesn’t improve after picking. Once separated from the stalk, the sugars begin breaking down immediately. That’s why I harvest straight into a cool, shaded bucket and rush the ears to the fridge—or better yet, the pot—within hours. Your patience in testing will pay off in every sweet, juicy bite.
Not all corn is created equal—what works for sweet corn won’t apply to field corn or popcorn. Each type has its own timeline and telltale signs of readiness. Knowing these differences ensures you harvest at the perfect moment for your variety’s intended use.
I’ve grown all three types in my garden, and trust me, nothing’s worse than picking sweet corn like it’s popcorn—or vice versa. Below is a breakdown of the key differences, so you can time your harvest like a pro and avoid those “oops” moments in the garden. 🌽
| Variety | Days to Harvest | Ready When… | Best For |
|---|---|---|---|
| Sweet Corn | 60–100 days | Kernels release milky liquid, silk is brown/dry | Fresh eating, grilling, freezing |
| Field Corn | 100–120 days | Kernels are hard/dent-like, husks fully dried | Animal feed, cornmeal, flour |
| Popcorn | 90–120 days | Kernels rock-hard, moisture ~13–14% | Popping, snacking, decorations |
For sweet corn, timing is everything. Varieties like ‘Peaches and Cream’ or ‘Silver Queen’ hit their peak sweetness in as little as 70–80 days. I mark my calendar when I plant and start checking ears around day 60—once the silk browns, it’s a daily inspection until harvest.
Field corn and popcorn are a different story. These varieties are left on the stalk until the husks turn brown and the kernels harden. For popcorn, I wait until the kernels can’t be dented with a fingernail—then I let them dry further off the stalk for another 2–3 weeks before shelling.
Here’s a trick for sugar-enhanced hybrids like ‘Ambrosia’: They stay sweet longer but can turn starchy fast. I harvest these earlier in the day when sugars are highest and chill them immediately. For heirloom varieties, I give them an extra day or two—they’re more forgiving but less sweet overall.
If you’re growing multiple varieties, label your rows with planting dates and expected harvest windows. I use color-coded stakes to track sweet corn (green), field corn (yellow), and popcorn (red). This keeps me organized and ensures I don’t accidentally pick a popcorn ear thinking it’s sweet corn—yes, I’ve done that! 🌽
Picking too soon means underdeveloped kernels that taste starchy and bland. The silk will still be green, and kernels won’t release that telltale milky liquid. Give it 2-3 more days and retest for sweetness.
Yes, but the window is short! Overripe corn loses sweetness as sugars convert to starch. Kernels become doughy instead of juicy, and the texture turns mealy. Harvest within 1-2 days of peak ripeness.
No—unlike tomatoes, corn doesn’t ripen further once picked. The sugar content actually starts declining within hours. For best flavor, harvest in the cool morning and cook or refrigerate immediately.
Keep it unhusked in the fridge for up to 3 days. For longer storage, blanch ears for 4 minutes, then freeze in airtight bags. Avoid room temperature—sweetness fades fast!
Ears at the top of the stalk usually mature first due to better sunlight exposure. Varieties also differ—sugar-enhanced types ripen faster than heirlooms. Check each ear individually for the best results.
