
Beautiful Plants For Your Interior
Beautiful Plants For Your Interior
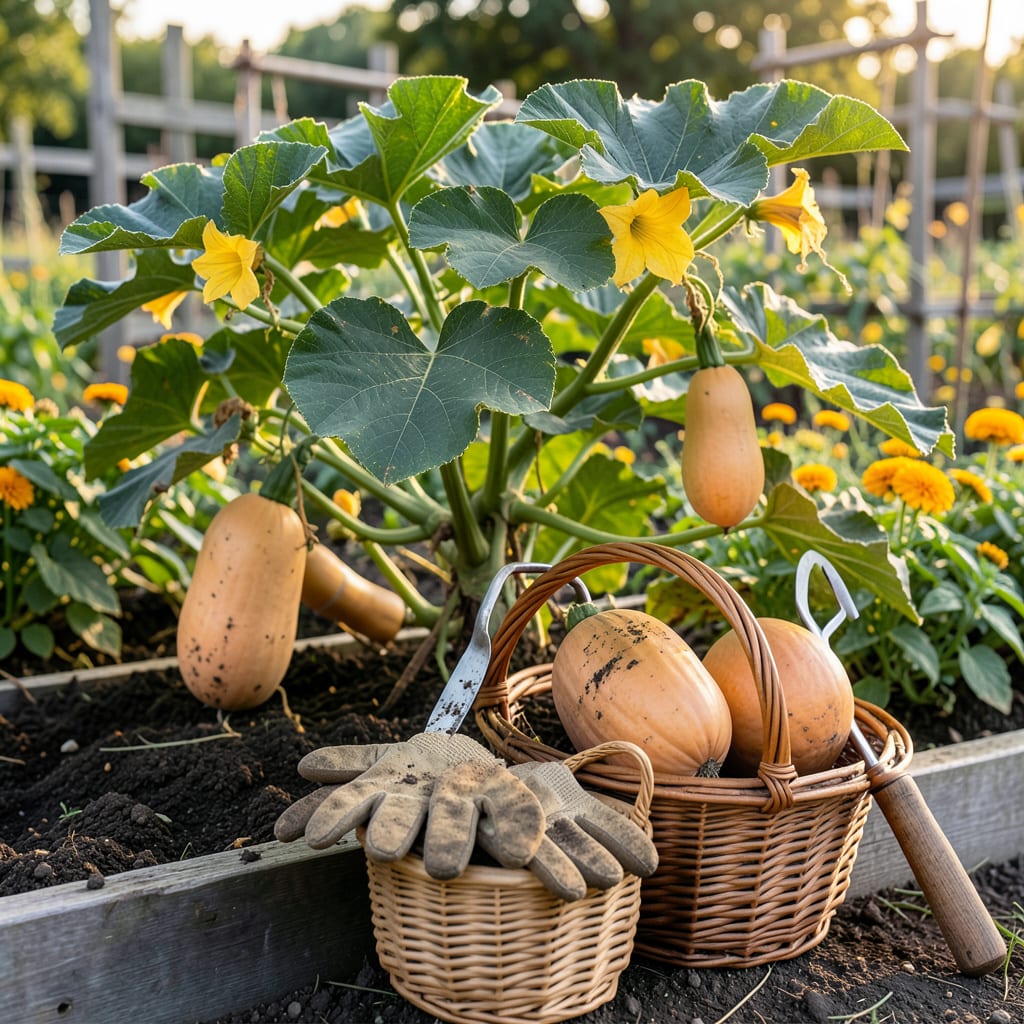
There’s nothing worse than cutting into a butternut squash only to find it underripe—or worse, past its prime. After months of tending your vines, nailing that perfect harvest window makes all the difference between sweet, creamy flesh and a disappointing meal.
I’ve learned the hard way that timing is everything with 🎃 Butternut Squash. The good news? Three simple, foolproof signs reveal exactly when to pick—no guesswork required. Let me show you how to spot them before your first frost hits.


After months of tending your butternut squash vines, the moment of truth arrives: Is it time to pick? Unlike tomatoes or peppers, squash won’t keep ripening once harvested, so timing is everything. I’ve ruined batches by picking too early—only to get watery, flavorless flesh.
Fortunately, your plants give clear signals when they’re ready. The three most reliable indicators are rind hardness, stem condition, and vine health. Skip the guesswork and focus on these visual cues instead of counting days alone. Here’s how to read them like a pro 🌱
Let’s dive deeper into the rind test, since it’s the most misunderstood. Many gardeners assume a tan color means readiness, but green patches or a glossy sheen are dead giveaways it needs more time. I once harvested a batch with pale spots—only to find the flesh was stringy and bitter.
The stem check is equally critical. A squash with a green stem is like a baby bird still in the nest—it’s not independent yet! The stem should snap cleanly when you twist the squash gently. If it bends or fibers tear, wait a few more days. This ensures the sugar content has fully developed.
Now, about those dying vines. It might look alarming, but it’s actually the plant’s way of saying, “Mission accomplished!” The squash has absorbed all the nutrients it needs, and the vine is shutting down. In cool climates, this often happens right before the first frost, so keep an eye on the forecast.
Here’s a pro tip: If you’re still unsure, lift the squash gently. A ripe butternut will feel heavy for its size, thanks to dense flesh and developed seeds. Compare it to an unripe one—you’ll notice the difference immediately. I use this trick when the rind test is borderline.
One common mistake is confusing sunburn or disease spots with immaturity. If the squash has orange-brown patches but the stem is dry, it’s likely just weather-related. Focus on the overall rind hardness and stem condition instead of minor discolorations.
Remember, butternut squash won’t sweeten after picking, so patience pays off. If you’re in a warm climate, you might get a second flush of squash later in the season. In cooler zones, aim to harvest before the first frost, as cold damages the fruit’s storage potential.
Once you’ve confirmed all three signs, use pruning shears to cut the stem, leaving 1–2 inches attached. This prevents rot during curing. Avoid carrying squash by the stem—it can break, creating an entry point for bacteria. Now you’re ready for the next step: curing and storage! 🪴
While visual cues are your best guide, knowing the days to maturity for your variety helps confirm readiness. Most butternut squash take 80–100 days from planting to harvest, but climate plays a role. Cool summers may delay ripening by 10–14 days, while warm regions speed it up.
I always cross-check the calendar with my plant’s progress. If your seed packet says 90 days and it’s day 85, start watching closely. Remember, days count from germination, not planting—so adjust if you started seeds indoors. The chart below breaks down timing for popular varieties.
| Variety | Days to Maturity | Ideal Harvest Window |
|---|---|---|
| Waltham Butternut | 85–100 days | Late summer to early fall |
| Ponca Butternut | 100–110 days | Early to mid-fall |
| Ultra Butternut | 75–85 days | Late summer |
In my Zone 6 garden, I aim to harvest by early October, before frost threatens. If you’re in a warmer zone (7–9), you might gain an extra 2–3 weeks. For cool climates (Zones 4–5), start seeds indoors or choose early-maturing varieties like Ultra.
Pro tip: Mark your planting date on a calendar and set a reminder for day 70. That’s when I start my daily ripeness checks. Use the fingernail test (press gently—if the skin resists, it’s close!) and watch for stem drying.
If your squash hits the maximum days but isn’t ripe, don’t panic. A late-season warm spell can help. Just protect fruits from early frosts with row covers. I once saved a crop by covering vines with old blankets overnight!
After harvesting, let squash cure in the sun for 7–10 days to harden the skin. Store in a cool, dry place (55–60°F) and they’ll keep for 3–6 months. Now that’s a winter pantry win! 🎃
Timing your butternut squash harvest can feel like a high-stakes game. Pick too soon, and you’ll end up with watery, flavorless flesh that lacks the signature sweetness. Wait too long, and the seeds overdevelop, leaving you with stringy, mushy texture. I’ve seen both scenarios play out in my garden!
The biggest risk of early picking is underdeveloped sugars. That deep tan rind isn’t just for looks—it signals the starch-to-sugar conversion is complete. If the skin still dents under your fingernail, the squash needs more time. Trust me, patience pays off with richer flavor.
If you’ve accidentally harvested early, don’t panic. Place the squash in a sunny windowsill for a week to artificially cure it. This won’t fully replicate vine-ripening, but it can improve flavor and storage life. I’ve salvaged many early picks this way!
On the flip side, overripe squash isn’t a total loss. The flesh might be stringier, but it’s still edible—just better for soups or purées where texture matters less. The seeds, however, will be too tough for roasting, so compost those instead.
The golden rule? When in doubt, check the stem and rind hardness first. A dry, corky stem and fingernail-resistant skin are your best indicators. And remember: butternut squash won’t ripen further once picked, so wait for those key signs! 🪴
If the rind has turned tan but dents under fingernail pressure, it’s not ready yet. The skin should feel hard like a pumpkin, not flexible. Give it 3–5 more days of warm weather and retest—patience ensures sweeter flavor.
Avoid waiting until after frost—even a light one can damage the squash. If frost is forecast, harvest immediately, even if the stem isn’t fully dry. Cure indoors at 70–80°F for 10 days to salvage quality.
Orange coloring often signals overripeness, especially in warm climates. Harvest immediately if the stem is dry and skin hard. Orange squash is still edible but may have softer flesh—best for soups or purées.
Use the squash within 2 weeks—a broken stem speeds up spoilage. Store in a cool, dark place (55–60°F) and check for soft spots daily. Avoid washing until ready to use to prevent mold.
