
Beautiful Plants For Your Interior
Beautiful Plants For Your Interior
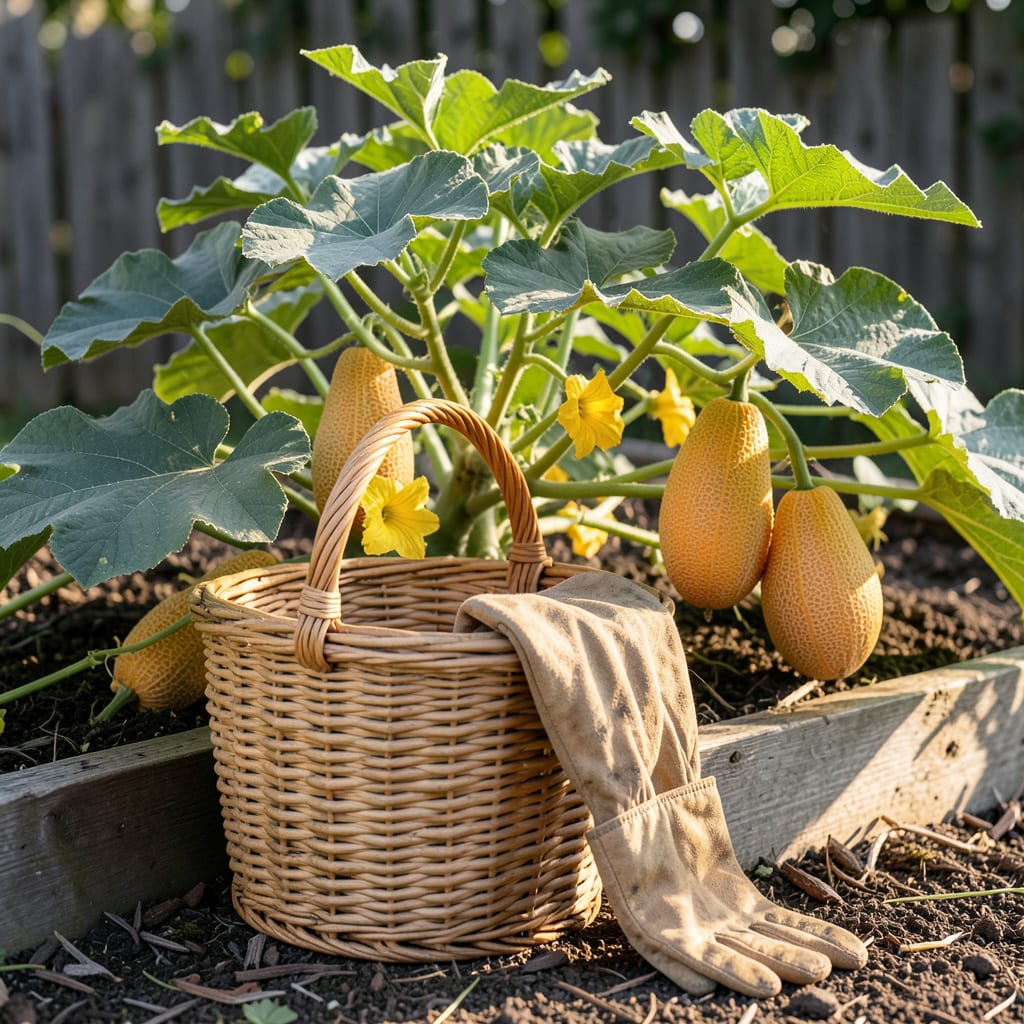
There’s nothing worse than cutting into a cantaloupe only to find it underripe—or worse, overripe and mushy. After months of tending your vines, nailing that perfect harvest moment feels like the ultimate gardening victory.
I’ve lost count of how many times I second-guessed myself until I mastered the stem-slip test. It’s the foolproof trick that takes the guesswork out of picking. Let me show you exactly how to use it—and what other clues your 🍈 is sending when it’s ready.


If you’ve ever cut into a cantaloupe only to find it underwhelmingly bland or disappointingly mushy, you’re not alone. The difference between a perfectly ripe melon and one that’s past its prime often comes down to one simple test: the stem-slip method. Unlike thumping or sniffing, this technique gives you a clear, foolproof signal straight from the plant itself.
I’ve lost count of how many gardeners I’ve met who swear by this method after years of hit-or-miss harvests. The stem-slip test works because cantaloupes naturally detach from the vine when fully ripe—a process called abscission. No guesswork, no wasted fruit. Here’s how to master it in your own garden. 🌱
Pro Tip: Perform this test in the early morning when temperatures are cooler—stems are more pliable, and you’ll get the most accurate result.
The science behind this method is fascinating. As cantaloupes ripen, the plant produces ethylene gas, which triggers the stem cells to weaken and separate. This is the plant’s way of telling you, “I’m done growing—time to enjoy!” Ignoring this signal can lead to overripe fruit that ferments on the vine.
One common mistake I see is confusing a “half slip” (where the stem partially detaches but doesn’t fully release) with a full slip. A half slip means the melon needs 1–2 more days on the vine. Picking too early at this stage results in a cantaloupe that’s starchy and lacks sweetness. Patience pays off here!
If you’re growing multiple cantaloupes, prioritize harvesting the ones with full slips first. Leaving overripe melons on the vine can attract pests like squash bugs or fruit flies, which may then target your other fruits. A quick daily check during harvest season keeps your crop in top shape. 🪴
For those wondering why this method beats thumping or sniffing: stem slip is objective. Thumping relies on hearing a “hollow” sound (which varies by melon size and personal interpretation), and sniffing depends on your sense of smell that day. The stem-slip test removes the guesswork entirely.
What if your cantaloupe passes the stem-slip test but still feels firm? Don’t worry—some varieties stay slightly firm when ripe. The key is the stem separation, not the fruit’s give. However, if the stem slips but the rind is still green, double-check for disease or poor pollination, as these can cause premature slipping.
I like to pair the stem-slip test with a quick aroma check. A ripe cantaloupe will have a sweet, musky fragrance at the stem end—almost like a mix of honeydew and cucumber. No smell? Give it another day. Overpowering or fermented odor? It’s likely overripe. Trust your nose as a secondary confirmation. 👃
Finally, remember that weather impacts ripening. Hot, dry spells can speed up the process, while cool, rainy weeks may delay it. If your cantaloupes are taking longer than the 75–85 days listed on the seed packet, don’t panic—just keep testing stems daily once they near maturity. Consistency is your best tool for a bountiful harvest.
While the stem-slip test is my go-to method, I always double-check with these visual cues to confirm ripeness. Cantaloupes send subtle signals through their rind, netting, and even their posture on the vine. Learning to read these clues ensures you never harvest too early or too late again. 🌱
First, examine the rind color. An unripe cantaloupe wears a greenish hue, but as it matures, the background shifts to a creamy tan or yellow-beige. This change happens from the blossom end (opposite the stem) upward. If you spot green patches, give it more time—those are sure signs it’s not ready.
Quick Tip: Use these signs with the stem-slip test—never rely on just one indicator!
The netting pattern is another dead giveaway. Immature cantaloupes have smooth, faint netting, but as they ripen, the webbing becomes raised and coarse. Run your fingers over the surface—a ready melon will feel like fine sandpaper. The netting also lightens from gray-green to a creamy white when fully ripe.
Don’t overlook the blossom end (the side opposite the stem). Press gently with your thumb—it should give slightly, like pressing a ripe peach. If it’s rock-hard, wait another day. If it’s overly soft or leaves a dent, you’ve waited too long. This spot ripens first because it was closest to the ground during growth.
I also watch how the cantaloupe sits on the vine. A ripe melon often tilts slightly due to its weight, while unripe ones stay upright. Combine this with the other signs, and you’ll rarely misjudge. Remember: cantaloupes don’t ripen further once picked, so patience on the vine is key. 🪴
For hybrid varieties like ‘Athena’ or ‘Hale’s Best’, these visual cues are especially reliable. Heirlooms may show more color variation, so lean heavier on the stem-slip test with those. If you’re growing mini cantaloupes, they’ll exhibit the same signs but on a smaller scale—watch their netting closely, as it matures faster.
Finally, trust your instincts. If most signs point to ripe but the stem hasn’t slipped yet, check again in 12–24 hours. Cantaloupes can go from perfect to overripe surprisingly fast in hot weather. When in doubt, harvest slightly early and let it sit at room temperature for a day—it’s better than losing it to vine rot! ☀️
While the stem-slip test is my go-to method for picking cantaloupes, I always double-check with these visual cues to confirm ripeness. These signs help you avoid false slips caused by rough handling or disease, ensuring you harvest at peak flavor every time. 🌱
First, examine the rind color. An unripe cantaloupe wears a greenish hue, while a ripe one shifts to a tan or yellow-beige. This change happens from the blossom end (opposite the stem) upward. If you see green patches, give it more time on the vine.
Note: These signs work best when combined with the stem-slip test for 100% accuracy.
The “netting” (that web-like pattern on the rind) also tells a story. On unripe melons, it appears smooth and faint. As the fruit matures, the netting becomes raised and coarse—almost like sandpaper. Run your fingers over it: if it feels rough, you’re close to harvest time.
Next, test the blossom end (the side opposite the stem). Place your palm against it and apply gentle pressure. A ripe cantaloupe will give just slightly, like pressing a firm pillow. Too hard? It needs more time. Too soft? It may be overripe. This test works best when paired with the stem-slip method.
Finally, trust your garden journal. Note how many days to maturity your variety needs (usually 75–85 days from planting). When your cantaloupes hit that window, start checking daily. Weather plays a role too: hot spells speed up ripening, while cool, rainy weeks may delay it by 3–5 days.
Wait another 24–48 hours and retest. The stem-slip method is the most reliable indicator, even if visual cues suggest ripeness. Forcing the stem can damage both the fruit and vine.
Unlike tomatoes, cantaloupes won’t ripen further once picked. They may soften slightly at room temperature but won’t develop more sweetness. Always wait for the stem to slip naturally.
This can happen in hot, dry weather when sugars develop faster than the stem weakens. Check for a “half slip” (partial detachment) and give it 12–24 more hours before testing again.
Keep whole melons at room temperature for up to 3 days to preserve flavor. Once cut, refrigerate in an airtight container for 4–5 days. Avoid washing until ready to eat.
Early morning is ideal—temperatures are cooler, and the fruit is crispest. Avoid midday heat, which can cause stress to both the plant and the harvested melon.
