
Beautiful Plants For Your Interior
Beautiful Plants For Your Interior
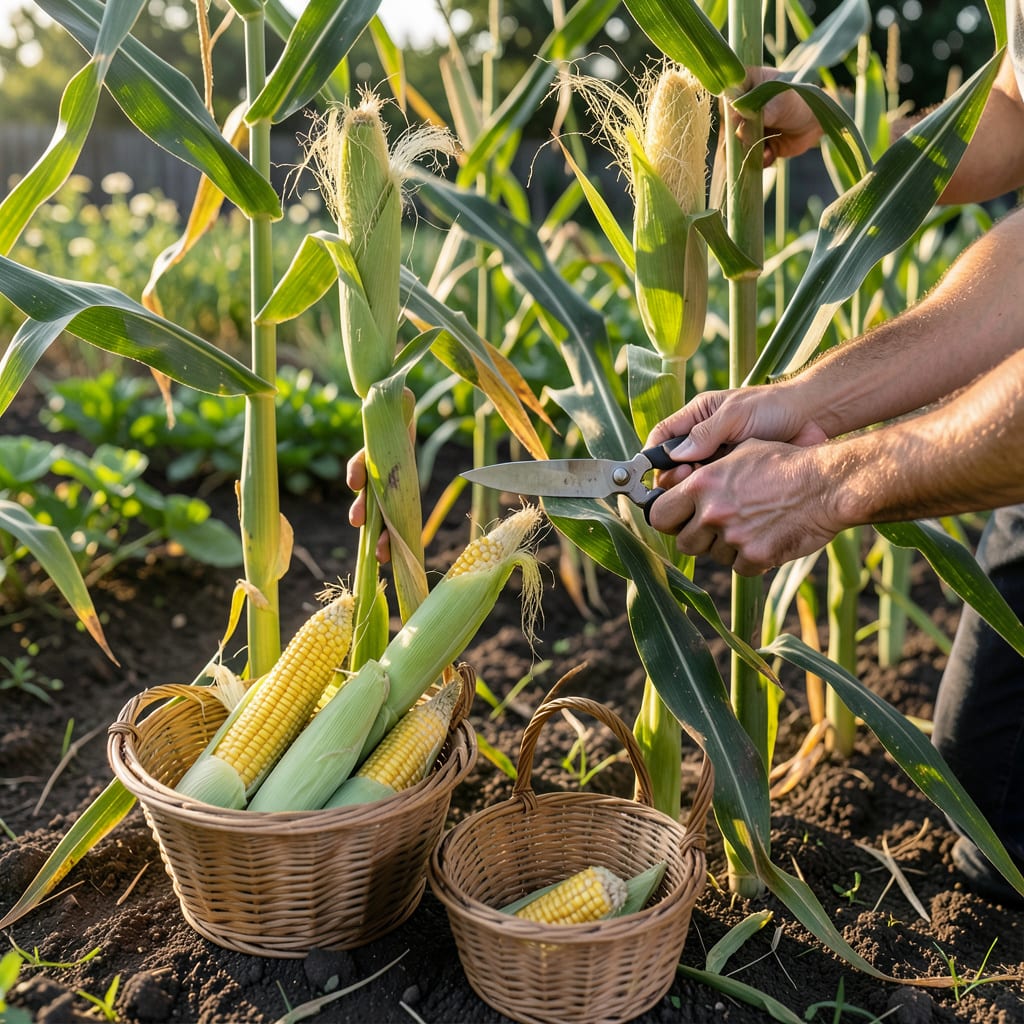
Nothing beats the satisfaction of growing your own 🌽 Popping Corn, but timing the harvest is everything. Pick too soon, and the kernels won’t pop; wait too long, and they’ll lose their magic.
I’ll walk you through the foolproof signs and simple methods to ensure your harvest is perfect every time. Let’s get started.


Timing is everything with popping corn. The difference between a perfect pop and a dud often comes down to harvesting at the right maturity stage. I’ve seen many gardeners struggle with this, but it’s simpler than you think.
You’ll want to watch for visual cues like brown, dry husks and hard kernels. These are the first signs your corn is nearing readiness. The stalks may also start to yellow, which is a good indicator.
| Sign | Description |
|---|---|
| Husk Color | Completely brown and dry |
| Kernel Texture | Hard and glossy when scraped |
| Ear Firmness | Feels solid when squeezed |
| Moisture Level | 13-14% for best popping |
| Stalk Appearance | Begins to yellow and dry |
The nail test is my go-to method. Press your thumbnail into a kernel—if it doesn’t dent, it’s ready. If it leaves an indentation, give it more time. This simple test removes all the guesswork.
Moisture content is critical. Too much moisture means the kernels won’t pop properly. Aim for 13-14% moisture. You can test this by microwaving a few kernels—if most pop, your corn is ready.
I’ve found that early morning harvesting works best. The kernels are at their driest after a cool night. Avoid harvesting after rain or heavy dew, as excess moisture can ruin your batch.
Another tip: listen to your corn. If you hear the kernels rattle inside the husk when you shake the ear, that’s a great sign they’re dry enough. This auditory cue is often overlooked but incredibly reliable.
Don’t rush the process. Popping corn takes about 110 days to mature, but this can vary based on your climate and growing conditions. Patience truly pays off here.
Finally, remember that over-mature corn can be just as problematic as under-mature. If the husks start to split open or the kernels begin to sprout, you’ve waited too long. Keep a close eye as the harvest window approaches.
With these signs and tests, you’ll never second-guess your harvest timing again. Trust the process, and your popping corn will reward you with perfect pops every time 🌽
Once your popping corn shows all the readiness signs, it’s time to harvest. I always start by wearing gloves to protect my hands from the sharp husks. Early morning is ideal for the driest kernels.
For small gardens, hand-picking works perfectly. Grasp the ear firmly and twist it downward. For larger plots, a mechanical picker can save time, but be gentle to avoid damaging the ears.
After harvesting, remove the husks immediately to speed up drying. Spread the ears in a single layer in a dry, airy space. I use my garage with a fan for even airflow.
For faster drying, you can use an oven at 170°F for 2-3 hours. Just spread kernels on a baking sheet and stir occasionally. A dehydrator works too, but keep the temp below 180°F.
The moisture test is crucial. Use a moisture meter or microwave a few kernels—if they pop, they’re dry enough. Aim for that 13-14% moisture sweet spot we discussed earlier.
Finally, store your dried corn in airtight containers in a cool, dark place. I use mason jars with silica packets to absorb any lingering moisture. Proper storage keeps kernels fresh for months 🌽
Even experienced gardeners make mistakes with popping corn harvests. The most common error I see is picking too early. Green husks or soft kernels mean your corn isn’t ready, and those kernels simply won’t pop.
Another frequent misstep is improper drying. Leaving ears in damp conditions or stacking them too closely can lead to mold growth or uneven drying. Always ensure good airflow during the drying process.
Picking Too Early: Kernels won’t pop if moisture is too high
Over-Drying: Makes kernels brittle and reduces poppability
Poor Storage: Exposure to moisture or pests ruins the harvest
Ignoring Tests: Skipping the nail test or moisture check leads to guesswork
I’ve also seen gardeners over-dry their corn, making kernels too brittle. This happens when using high heat or leaving ears in the sun too long. Stick to gentle drying methods to preserve quality.
Storage mistakes are just as damaging. Using non-airtight containers or storing in humid areas invites pests and moisture. Always use sealed containers with silica packets for best results.
Finally, don’t skip the readiness tests. The nail test and microwave test take minutes but save hours of frustration. Trust these simple checks to guide your harvest timing.
Avoid these common errors, and you’ll enjoy perfectly poppable corn every time 🌽
Use the nail test: press your thumbnail into a kernel. If it doesn’t dent, it’s ready. For extra confirmation, microwave a few—if they pop, your corn is at the perfect 13-14% moisture.
Avoid harvesting after rain or heavy dew. Excess moisture can ruin the kernels’ poppability. Wait for a dry day, ideally in the early morning, when kernels are at their driest.
Air-drying in a warm, well-ventilated area typically takes 1-2 weeks. For faster results, use an oven at 170°F for 2-3 hours, stirring occasionally. Always test moisture before storing.
Use airtight containers like mason jars with silica packets. Store in a cool, dark place to prevent moisture and pests. Proper storage keeps kernels fresh for months.
