
Beautiful Plants For Your Interior
Beautiful Plants For Your Interior
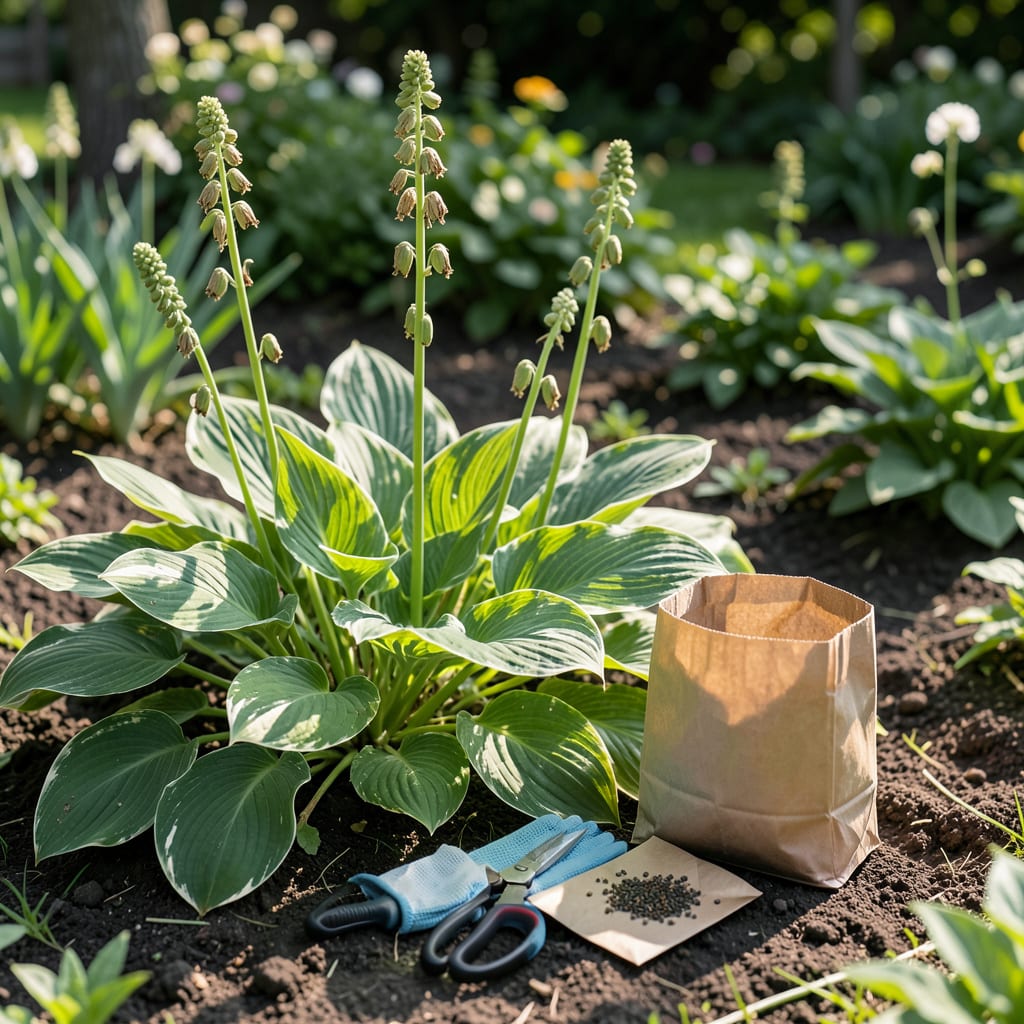
Want to grow more of your favorite 🌿 Hosta plants without spending a dime? Collecting seeds is your ticket to free propagation.
I’ll show you exactly when and how to harvest those tiny powerhouses for maximum success. Let’s get started.


If you want to propagate hostas from seed, timing is everything. I wait until late summer or early fall when the seed pods turn brown and start splitting. This is when the seeds inside are mature and ready for collection.
I always check for three key signs of readiness: brown pods, easy splitting, and firm black seeds. If the pods are still green or closed, the seeds aren’t ripe yet, so I leave them be.
I use sharp scissors or pruning shears to snip the seed pods from the plant. This prevents damage to the hosta foliage and ensures a clean cut. Always sterilize your tools first to avoid spreading diseases.
After harvesting, I spread the seeds on paper towels in a single layer. I place them in a well-ventilated area away from direct sunlight. This drying process usually takes 1-2 weeks for the seeds to fully mature.
Once dry, I transfer the hosta seeds to paper envelopes or small glass jars. I label them with the harvest date and hosta variety to keep track. Proper labeling helps me remember which seeds are which next spring.
For storage, I choose a cool, dark place like a basement or pantry. I avoid plastic bags because they can trap moisture and cause mold growth. Keeping seeds dry is critical for long-term viability.
I’ve found that stratifying hosta seeds improves germination rates. I place the dried seeds in a damp paper towel inside a sealed plastic bag and refrigerate them for 4-6 weeks before planting.
When spring arrives, I sow the stratified seeds in seed-starting mix and keep them moist. Germination can be slow, so I’m patient. It often takes 2-4 weeks for the first sprouts to appear.
Harvesting hosta seeds is a rewarding way to expand your garden without spending money. With a little care and attention to detail, you can grow new hosta plants from seed and even share them with friends. 🌿
Once I’ve harvested my hosta seeds, proper storage is key to maintaining viability. I always ensure they’re completely dry before storing to prevent mold growth or rot during the off-season.
For best results, I store seeds in paper envelopes or glass containers in a cool, dark place. This keeps them protected from moisture and temperature fluctuations that can reduce their lifespan.
🌱 Pro Tip: Stratify hosta seeds by refrigerating them in a damp paper towel for 4-6 weeks to boost germination rates.
When I’m ready to plant, I use a seed-starting mix for the best results. This ensures good drainage and aeration, which are critical for delicate hosta seedlings.
I sow the stratified seeds just below the soil surface and keep the mix consistently moist. Germination can be slow, so I’m patient and avoid overwatering, which can cause the seeds to rot.
It typically takes 2-4 weeks for the first sprouts to appear. Once they do, I place the seedlings under grow lights or in a bright, indirect light location to encourage strong growth.
If I notice mold or low germination rates, I check my storage conditions and ensure the seeds weren’t exposed to excess moisture or heat. Proper care from harvest to planting makes all the difference. 🌿
When expanding your 🌿 hosta collection, you have two main options: seed harvesting or plant division. Each approach has unique benefits and drawbacks depending on your goals and timeline.
I love that seed propagation offers genetic diversity and costs nothing, but it requires patience since hostas grown from seed take 3-5 years to mature. Division gives you instant mature plants but limits variety.
With division, I get identical plants to the parent, which is perfect for preserving favorite varieties. It’s also faster, with new plants establishing in just 1-2 seasons. However, it requires digging and can stress the original plant.
For immediate results, I choose division. For experimentation and fun, I harvest seeds. Often, I do both to enjoy the best of both worlds in my garden.
Remember that seed-grown hostas may not look exactly like the parent plant. This unpredictability can be exciting, as you might discover a new favorite variety through seed propagation.
Harvest in late summer or early fall when pods turn brown and begin splitting. Seeds inside should be black and firm for best viability.
Yes! Spread seeds on paper towels in a well-ventilated area for 1-2 weeks. This prevents mold and ensures they store properly.
Properly dried seeds stay viable for 1-2 years in a cool, dark place. Use paper envelopes or glass jars to keep them dry.
Stratify them first by refrigerating in a damp paper towel for 4-6 weeks. Without this cold period, germination rates can drop significantly.
