
Beautiful Plants For Your Interior
Beautiful Plants For Your Interior
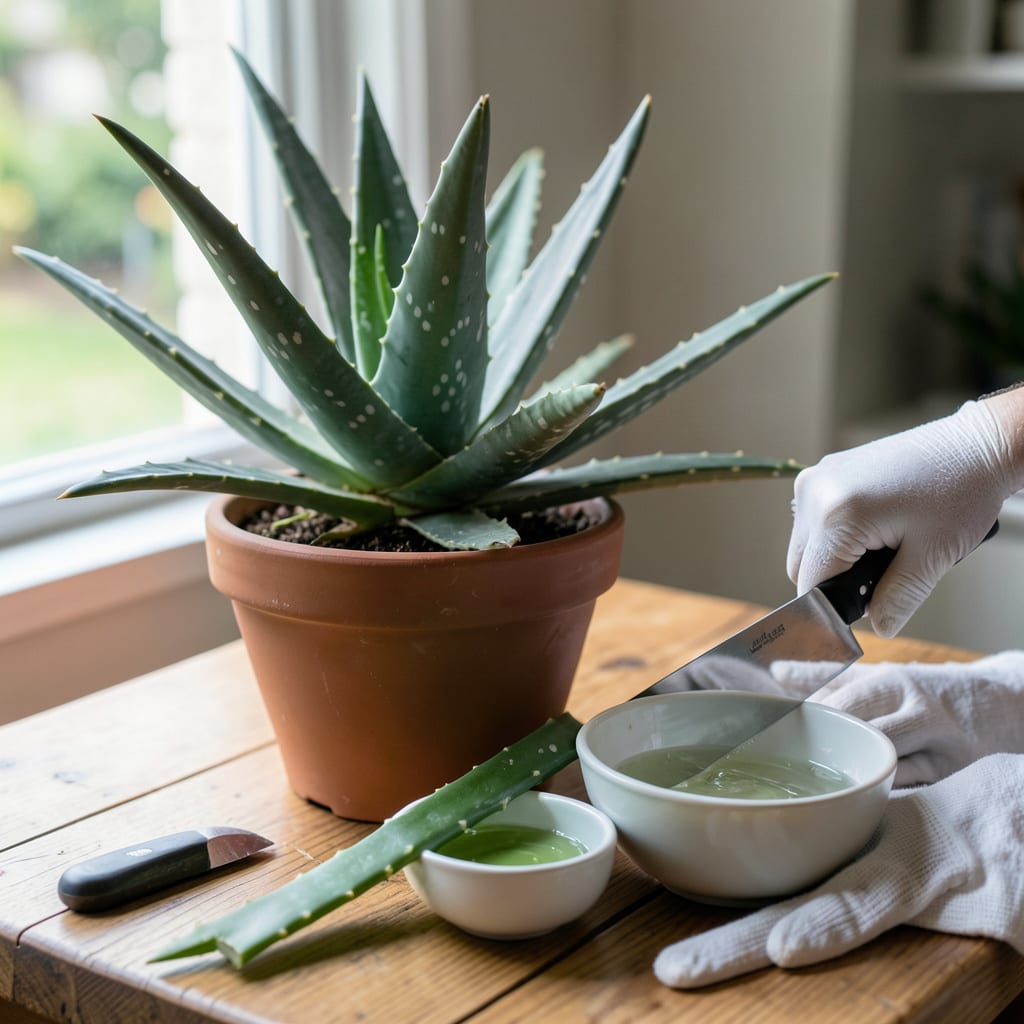
Tired of store-bought aloe with mystery ingredients? Harvesting fresh gel from your own 🌱 Aloe plant gives you pure, natural healing power in minutes.
I’ll show you the simple process to extract this versatile gel safely while keeping your plant healthy for future harvests. Let’s get started.


Harvesting aloe gel is a straightforward process that anyone can do at home with the right approach. I always start by selecting a mature aloe leaf from the outer part of the plant, as these contain the most gel.
Make sure your aloe plant is healthy and at least 3 years old for the best results. The leaves should be thick and plump, indicating they’re full of that beneficial gel we want.
After cutting the leaf, I let it sit upright in a bowl or on a rack for 10 to 15 minutes. This step is crucial because it allows the yellow aloin, a natural laxative, to drain out completely.
Once drained, I rinse the leaf under cool running water to remove any lingering aloin. This ensures the gel I extract is pure and safe for skin application or other uses.
Next, I place the leaf on a cutting board and use a sharp knife to trim off the spiky edges. Then, I carefully slice off the top skin of the leaf, exposing the clear gel inside.
With a spoon, I scoop out the aloe gel, which is now ready to use. For immediate use, I apply it directly to my skin. For storage, I place it in an airtight container in the fridge.
The gel can last for up to a week in the refrigerator, but it’s best used fresh. If I’ve harvested more than I can use, I sometimes freeze the gel in ice cube trays for longer storage.
Harvesting aloe gel this way ensures I get the purest form without any additives or chemicals. Plus, it’s a great way to make the most of my homegrown aloe plant. 🌱
Once you’ve extracted the aloe gel, proper storage is key to preserving its freshness and potency. I always start by transferring the gel to a clean, airtight container to prevent contamination.
For short-term use, I store the gel in the refrigerator, where it stays fresh for up to 7 days. This keeps the gel cool and ready for immediate skin applications or other uses.
Use glass containers for best results. For longer storage, freeze the gel in ice cube trays for up to 6 months.
If I’ve harvested more gel than I can use within a week, I portion it into ice cube trays and freeze it. This method extends the shelf life to 6 months without losing effectiveness.
When freezing, I
For the best quality, I avoid exposing the gel to direct sunlight or heat sources, which can degrade its properties. Always use clean utensils when scooping out gel to prevent bacterial growth.
By following these storage practices, I ensure my aloe gel remains pure and effective for all my gardening and skincare needs. It’s a simple way to maximize the benefits of my homegrown aloe plant. 🌿
Harvesting aloe gel seems simple, but I’ve learned that a few common mistakes can ruin your harvest or even harm your aloe plant. Avoiding these pitfalls ensures you get the best quality gel every time.
One major mistake is harvesting from a young aloe plant. I always wait until my plant is at least 3 years old to ensure the leaves have enough gel. Harvesting too early can stress the plant and yield minimal gel.
Never harvest immature leaves or skip draining aloin. Always use clean tools to avoid contamination.
Another error is not letting the yellow aloin drain from the leaf. This bitter substance can irritate the skin, so I always let the cut leaf sit upright for 10 to 15 minutes to allow it to fully drain out.
Using unclean tools or surfaces can introduce bacteria, which shortens the gel’s shelf life. I always sanitize my knife and cutting board before starting to keep the gel pure and safe for use.
Finally, avoid harvesting too many leaves at once. I limit myself to 2-3 leaves per plant to prevent stressing it. This practice keeps my aloe healthy and ready for future harvests. 🌿
Let the cut leaf sit upright for 10-15 minutes to allow the yellow aloin to fully drain. This step is crucial for pure gel extraction.
Always choose outer leaves that are at least 8 inches long and thick. These contain the most gel and are safest for harvesting.
Store fresh gel in a clean, airtight container in the fridge for up to 7 days. For longer storage, freeze in ice cube trays for 6 months.
Yellow discoloration usually means you didn’t fully drain the aloin. Always let the leaf drain and rinse it before extraction.
