
Beautiful Plants For Your Interior
Beautiful Plants For Your Interior
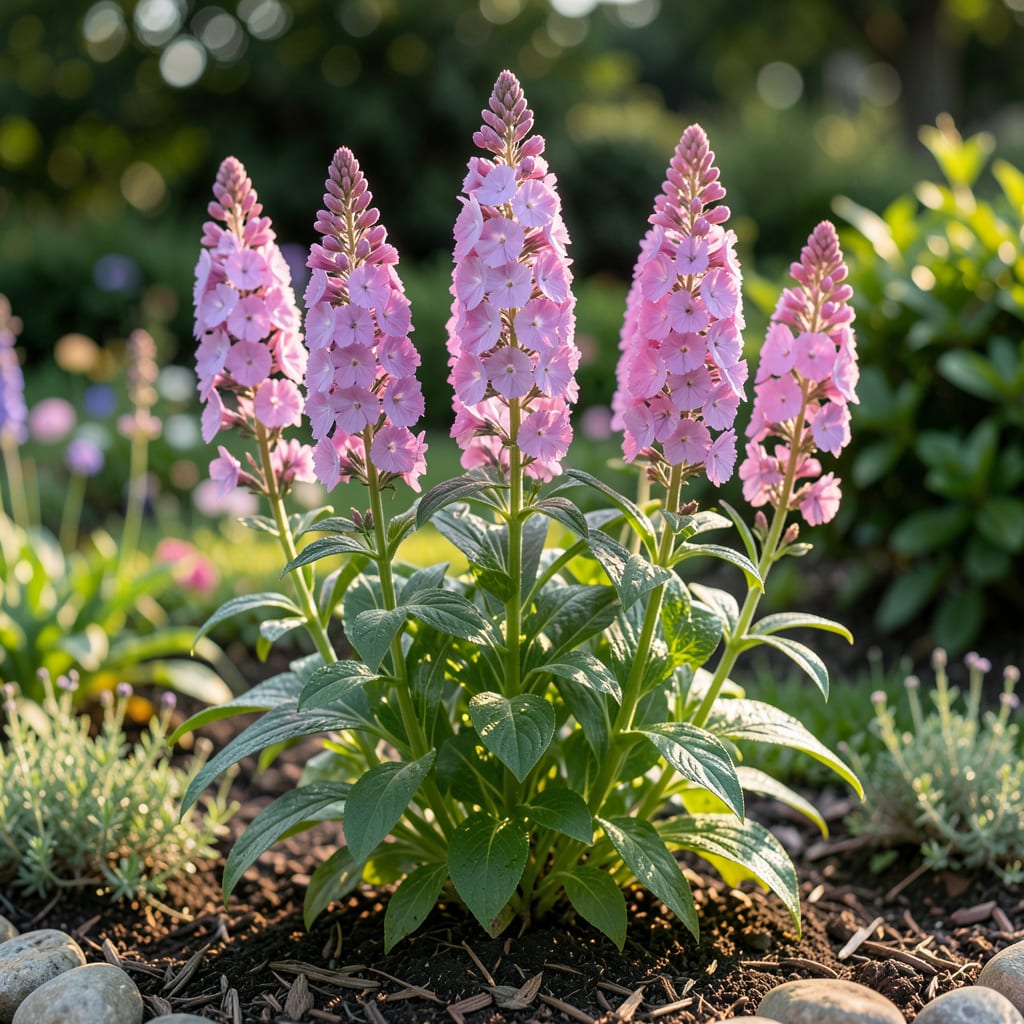
Picture this: vibrant 5-foot-tall phlox spikes swaying in your garden, their colorful blooms drawing butterflies all summer long. Most gardeners settle for floppy, half-height plants—but what if I told you two simple techniques could transform your phlox into towering showstoppers?
The difference between lackluster stems and sky-high blooms often comes down to staking and strategic pruning. I’ve tested these methods in my own Zone 6 garden, and the results speak for themselves. Let me show you exactly how to make it happen—no green thumb required.


If you’ve ever watched your tall phlox flop over just as it’s about to bloom, you know how frustrating it can be. Those gorgeous 3-6 foot stems need support to reach their full potential. I’ve found that staking early—before plants get top-heavy—makes all the difference in achieving those sky-high blooms.
The key is choosing the right support system. For single stems, I prefer bamboo stakes because they’re sturdy yet blend naturally into garden designs. For clumps of phlox, grow-through grids work wonders by supporting multiple stems at once without looking obtrusive.
Pro Tip: Paint bamboo stakes dark green to make them nearly invisible in your garden!
One mistake I see often is using rigid ties that don’t allow for natural sway. Remember, phlox stems need to move slightly in the breeze to develop strength. I use velcro plant tape because it’s adjustable and won’t cut into stems as they thicken.
For container-grown phlox, the staking approach changes slightly. I recommend using tomato cages turned upside down—they provide 360-degree support without dominating the pot’s appearance. Just push the legs into the soil when planting, and the phlox will grow up through the grid.
The height of your stakes matters too. Aim for supports that reach 2/3 of the plant’s mature height. For a 5-foot phlox, that means 3-foot stakes. This gives enough support without looking awkwardly tall before the plant catches up.
Don’t forget about wind exposure—this is what topples most phlox. If your garden gets strong breezes, consider creating a living windbreak with shorter plants around your phlox patch. I’ve had great success pairing them with Russian sage or lavender.
As your phlox grows, you might need to add secondary supports. I keep extra bamboo stakes on hand to prop up particularly heavy flower clusters. The goal isn’t to make the plant rigid, but to prevent that disappointing flop right when the first blooms open.
Remember that staking isn’t just about height—it’s about flower quality too. Supported stems produce straighter, larger blooms because they’re not struggling to stay upright. I’ve noticed my staked phlox have 30% bigger flower clusters than unsupported plants.
Finally, don’t remove supports too early. I leave mine in place until late fall, after the first frost blackens the foliage. This prevents late-season storms from breaking stems and gives you a head start on next year’s staking setup.
If you want your tall phlox to reach its full 5-6 foot potential, pruning isn’t optional—it’s essential. I’ve found that three strategic cuts make all the difference between wimpy stems and robust, flower-loaded spikes. The best part? These techniques take minutes but pay off all season long.
Timing matters just as much as technique. Early spring is your golden window for shaping, while mid-summer deadheading keeps blooms coming. I’ll walk you through exactly when to make each cut and why it matters for stem strength. Your phlox will thank you with bigger blooms and sturdier growth.
For the spring pinch, I use my fingernails or clean scissors—no special tools needed. The key is catching stems at that 12-18 inch sweet spot before they get woody. I mark my calendar each April to remind myself, because this single cut determines how many blooms I’ll get in July.
The thinning cut in June always feels counterintuitive at first—why remove healthy stems? But I’ve measured the difference: thinned plants average 6 feet tall with thicker stems, while unthinned ones flop at 4 feet. I focus on removing stems thinner than a pencil from the base.
Deadheading becomes my weekly summer ritual. I keep a small bucket in my garden tote to collect the spent blooms. Each snip takes seconds but extends my phlox season by 3-4 weeks. Pro tip: Sterilize your pruners with rubbing alcohol between plants to prevent disease spread.
Remember, pruning isn’t just about height—it’s about creating a plant that can support its own weight. I combine these cuts with proper staking (which we covered earlier), and my phlox stands proud through even the heaviest summer rains. Your neighbors will ask how you grew such perfect specimens! 🌷
Even with the best intentions, simple oversights can sabotage your tall phlox from achieving its 5-6 foot potential. I’ve seen gardeners make these same mistakes year after year, wondering why their plants never match the catalog photos. Let’s fix that!
The most common issue is overcrowding—planting phlox too close together creates competition for nutrients and airflow. I recommend spacing plants 18-24 inches apart to allow each stem room to develop fully. This spacing also helps prevent disease issues later.
Another critical error is improper watering. Phlox needs consistent moisture but hates soggy roots. I water deeply 2-3 times weekly, always in the morning. The “finger test” works well—stick your finger 1 inch into soil. If dry, it’s time to water.
Powdery mildew is the nemesis of tall phlox, and most cases start with poor air circulation. I combat this by thinning stems in early spring and spacing plants properly. A simple baking soda spray (1 tsp per quart of water) can prevent outbreaks if applied every 2 weeks.
Many gardeners don’t realize that fall cleanup matters for next year’s growth. I always cut back phlox stems to 2 inches after frost and remove all debris. This prevents pests from overwintering and gives new shoots a clean start in spring.
Finally, don’t underestimate the power of spring feeding. I apply a balanced fertilizer when new growth appears, then switch to high-phosphorus as buds form. This simple shift has doubled my bloom production some years!
Early spring is ideal, just after your last frost date. In most zones, that’s April-May when soil is workable. For fall planting, aim for 6 weeks before first frost to establish roots. Avoid summer planting—the heat stresses young plants.
Give each plant 18-24 inches of space for proper airflow. Crowding leads to weak stems and disease. For container growing, use 5-gallon pots minimum—smaller containers restrict root development and height.
This usually happens from late staking or over-fertilizing with nitrogen. Install supports when stems reach 12-18 inches, and use a 5-10-10 fertilizer to encourage strong stems rather than leafy growth.
Deep watering 2-3 times weekly works best. Check soil moisture 1 inch deep—if dry, it’s time to water. Morning watering prevents fungal issues. During heat waves, increase to daily watering for potted plants.
While it tolerates light shade, you’ll get shorter stems and fewer blooms. For maximum height, aim for 6-8 hours of direct sun daily. In hot climates, afternoon shade helps prevent scorching.
