
Beautiful Plants For Your Interior
Beautiful Plants For Your Interior
That moment when your orchid’s roots nestle into perfect, springy moss? Game-changer for both plant and grower. I’ve been growing moss specifically for orchids for nearly a decade, and the difference it makes in root health and bloom quality is shocking. The right moss bed holds just enough moisture without suffocating roots, mimics natural growing […]
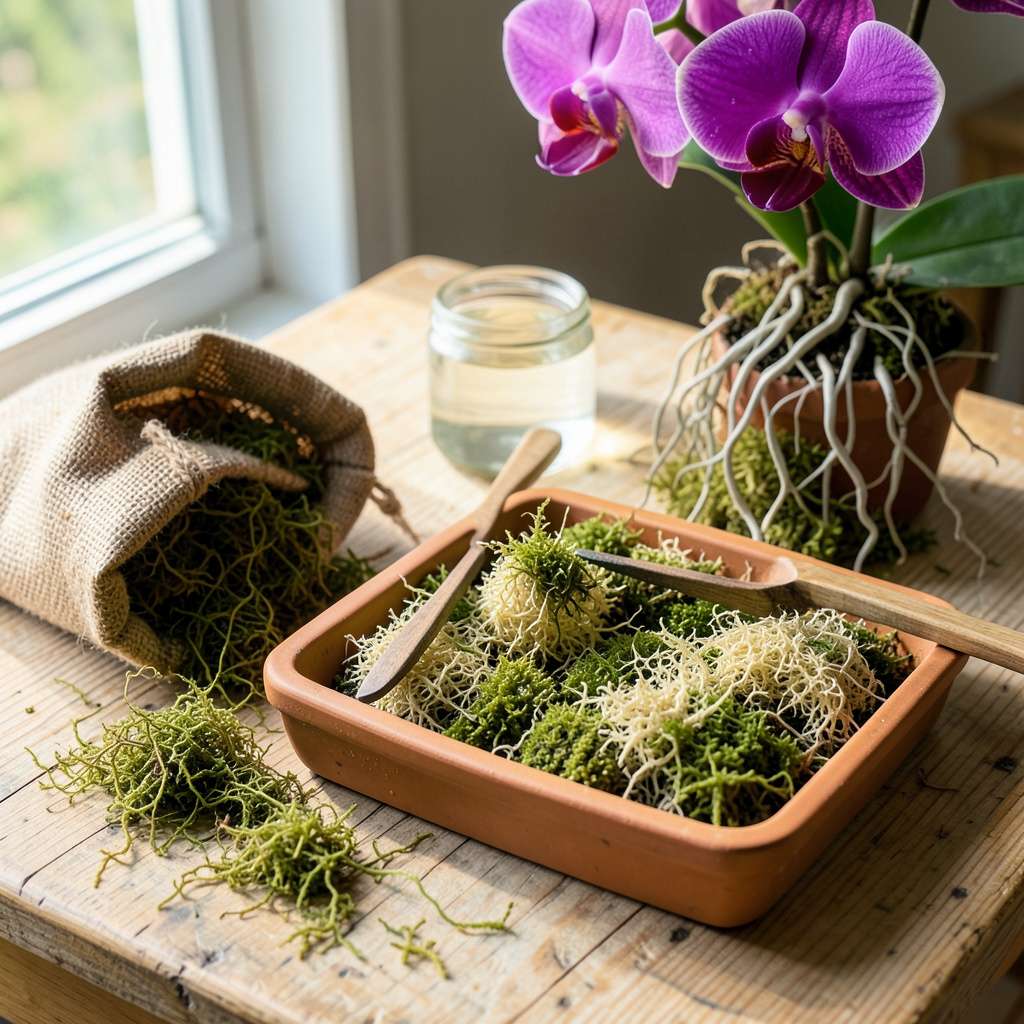
That moment when your orchid’s roots nestle into perfect, springy moss? Game-changer for both plant and grower. I’ve been growing moss specifically for orchids for nearly a decade, and the difference it makes in root health and bloom quality is shocking. The right moss bed holds just enough moisture without suffocating roots, mimics natural growing conditions, and eliminates the guesswork of traditional bark mixes.
Here’s the thing—store-bought moss often arrives dried, compressed, or treated with preservatives that actually harm orchid roots over time. When you grow your own, you control the texture, purity, and moisture retention. My phalaenopsis plants now produce twice as many blooms since switching to homegrown moss beds, and the roots stay plump and silver-green instead of shriveled or rotten.
You’ll start seeing usable moss in about 6-8 weeks, with the ideal velvety texture that orchid roots crave. The process requires minimal space—just a shallow tray, some patience, and the right moisture balance. I keep my moss-growing setup on a bathroom shelf where it gets consistent humidity without direct light, and it thrives with almost no maintenance.
Works equally well for mounted orchids, potted specimens, or even as a humidity booster in terrariums. The same technique adapts to different moss varieties depending on your orchid’s native habitat needs. Let’s get that perfect growing medium started!
📚 In This Guide
Creating the perfect moisture-retaining moss bed takes patience, but the results transform your orchid care completely.
For orchids, I exclusively use sphagnum moss (either New Zealand or Chilean varieties) because its fibrous structure holds 10-20 times its weight in water while still allowing airflow. Avoid sheet moss or cushion moss—they compact too easily and suffocate roots. Purchase from reputable suppliers who sell live, green moss (not dried or bleached).
Examine the moss before purchasing: it should feel slightly damp but not soggy, with vibrant green color and no brown patches. If buying dried moss, soak it in distilled or rainwater for 24 hours before use to rehydrate fully. The strands should separate easily when squeezed—this indicates proper hydration for orchid roots.
Moss thrives in 70-80°F with 80% humidity and indirect light. I use a clear plastic storage box with ventilation holes drilled in the sides as a makeshift terrarium. Line the bottom with 1 inch of pebbles for drainage, then add a layer of activated charcoal (about ¼ inch) to prevent mold. This setup mimics the humid, airy conditions moss needs to establish.
Mist the base layer lightly with distilled water until the pebbles glisten but no standing water remains. The charcoal will absorb excess moisture while keeping the environment fresh. Place the container in a spot with bright, indirect light—east-facing windowsills work beautifully, or under fluorescent grow lights for 12-14 hours daily.
Spread the prepared moss evenly over the base layer, pressing down gently so it makes contact but isn’t compacted. The ideal thickness is 1-2 inches—enough to retain moisture but not so dense that air can’t circulate. Mist the surface until uniformly damp but not dripping. Cover the container with a clear lid or plastic wrap to maintain humidity, but leave a ½-inch gap for airflow.
Within 2-3 weeks, you’ll see new growth emerging as bright green tips. This is the critical establishment phase: keep the moss consistently moist (never soggy) and maintain high humidity. I check daily by lifting the lid—if condensation disappears within 30 minutes, the environment is too dry. The moss should feel like a damp sponge when pressed, with water beading slightly on the surface.
Once established (after 4-6 weeks when the moss forms a dense mat), gradually acclimate it to lower humidity by increasing ventilation time. Start with 1 hour of open air daily, increasing by 30 minutes weekly until it tolerates room conditions. This hardening-off process prevents shock when you introduce orchids.
For orchid use, harvest sections by gently lifting with a fork—never pull, as this damages the rhizomes. The moss is ready when it holds together in your hand but separates easily into sheets. Before placing orchids, soak the moss in lukewarm water for 10 minutes, then squeeze out excess until it’s damp but not dripping. This creates the perfect moist yet airy medium that orchid roots crave.
Growing moss for orchids requires attention to detail, but these practical insights will help you avoid common pitfalls and achieve lush results.
Moisture Management: The key to success lies in maintaining consistent moisture without oversaturation. During the initial 24-hour soaking period for dried moss, use only distilled or rainwater—tap water minerals can inhibit growth. After spreading the moss in your container, mist until it feels like a damp sponge, not dripping wet. I check moisture levels daily by pressing the surface; it should spring back slightly when properly hydrated.
Environmental Control: The 70-80°F temperature range and 80% humidity mentioned in Step 2 are non-negotiable for optimal growth. I’ve found that placing a small digital hygrometer inside the container helps monitor conditions precisely. If your humidity drops below 70%, increase misting frequency or add a small dish of water to the pebble layer. Remember that condensation should persist for at least 30 minutes after lifting the lid—this indicates proper humidity levels.
Light Exposure: The 12-14 hours of daily indirect light specified in Step 2 is crucial for photosynthesis without scorching delicate moss. I recommend using a timer for grow lights to maintain consistency. East-facing windowsills work well, but avoid south-facing windows where intense afternoon sun can raise temperatures beyond the ideal range. If using fluorescent lights, position them 6-12 inches above the moss to prevent heat stress while ensuring adequate light penetration.
Harvesting Technique: When preparing moss for orchid use after 4-6 weeks, the 10-minute soaking in lukewarm water is essential for proper hydration. I use a salad spinner to remove excess water gently—this gives more consistent moisture levels than hand-squeezing. Always harvest with a fork as directed, never by pulling, to preserve the rhizome structure for future growth.
Most moss varieties (like sphagnum or sheet moss) take 4–8 weeks to establish under ideal conditions (high humidity, indirect light, and consistent moisture). Speed it up by misting daily or using a humidity dome!
Pre-grown sphagnum moss or orchid moss mixes (sold at garden centers) work great—just soak and rinse to remove debris. However, homegrown moss adapts better to your orchid’s environment long-term.
Brown moss usually means underwatering or too much direct sunlight. Revive it by soaking in water for 10–15 minutes, then move to a shadier spot. If it’s mushy, cut back on water—overwatering causes rot!
What’s the best moss for mounting orchids (like Phalaenopsis or Vandas)?
Sheet moss (e.g., Hypnum) or cushion moss works best for mounting—they hold moisture well and provide a sturdy base. Avoid loose mosses that crumble easily.
Nope! Moss thrives in low-nutrient environments. In fact, fertilizer can harm it. Stick to rainwater or distilled water for misting to avoid mineral buildup. Pure H₂O is all it needs!
Growing moss for your orchids is simpler than it seems! With the right materials, a little patience, and these four easy steps, you’ll create a lush, moisture-retaining bed that keeps your orchids thriving. 🌿 Whether you’re using sphagnum, sheet moss, or even homegrown varieties, the key is consistency—keep it damp, shaded, and free from contaminants.
Now that you’re equipped with the know-how, why not start small? Grab a shallow tray, some moss spores or clumps, and give it a try! Your orchids will thank you with healthier roots and stunning blooms. Happy growing! 🌱
