
Beautiful Plants For Your Interior
Beautiful Plants For Your Interior
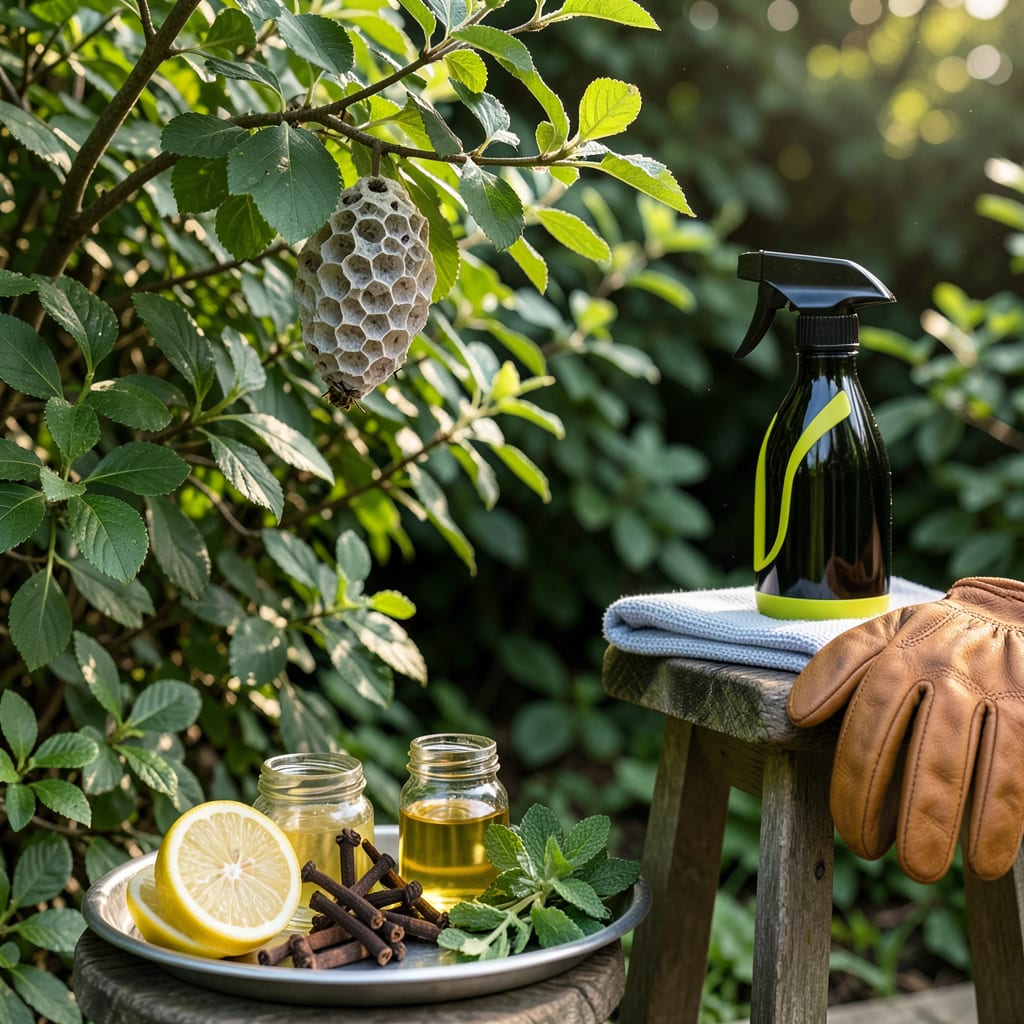
Nothing ruins garden peace like discovering wasps have claimed your bushes. I’ve dealt with my share of these uninvited guests—aggressive, territorial, and seemingly everywhere. The good news? You don’t need harsh chemicals to reclaim your space safely.
With a few simple tools and timing (dusk is your best ally), you can remove nests without harming your plants or pollinators. I’ll walk you through the exact steps—from natural sprays to strategic traps—that work without risking your garden’s health.
📚 In This Guide
This method prioritizes safety for you, your plants, and the ecosystem while effectively addressing the problem.
Before taking action, observe the wasps from a safe distance of at least 10-15 feet during late afternoon when they’re less active. Note their flight patterns – paper wasps build open-comb nests under leaves, while yellowjackets nest in dense shrubbery or underground. Hornets construct large, enclosed paper nests in branches.
The nest’s precise location dictates your approach. Look for concentrated wasp traffic entering/exiting a specific area. I use binoculars to spot nests hidden deep in foliage without disturbing the colony. Never attempt removal if you’re allergic or if the nest exceeds basketball size – call professionals for those situations.
Wear long sleeves, pants tucked into socks, closed-toe shoes, and leather gloves – wasps can sting through thin fabric. A veil-style beekeeping hat provides optimal face protection. I keep a first-aid kit with antihistamines nearby, though I’ve rarely needed it with proper precautions.
Clear the area of pets and people, especially those with allergies. Mark a 20-foot safety perimeter around the bush. Water the surrounding soil lightly – this discourages ground-nesting wasps from emerging during treatment. Avoid using perfumes or scented products that might provoke the colony.
Choose a cool evening (below 50°F) when wasps are sluggish and most workers are in the nest. For exposed nests, I use a wasp-specific jet spray that projects 15-20 feet, allowing treatment from a safe distance. Direct the stream at the nest entrance for 10-15 seconds until thoroughly saturated.
For nests hidden within dense foliage, a dust formulation works better. Use a duster with an extended wand to puff the powder into the nest opening – the wasps will carry it inside. Real talk: you’ll hear increased buzzing immediately after application. This is normal as they react to the treatment. Resist the urge to check the nest for at least 24 hours.
Check the nest after 48 hours from a safe distance. Successful treatment shows no wasp activity at the entrance. If you still see wasps entering/exiting, apply a second treatment in the evening. I’ve found that paper wasp nests typically require only one application, while yellowjacket colonies often need follow-up.
Watch for satellite nests – some species build multiple smaller nests nearby. Inspect adjacent bushes and eaves. The absence of new nest construction after 7-10 days confirms complete removal. Document the location; wasps often return to previous nesting sites the following year.
Once the colony is eliminated, trim back overgrown branches to reduce hiding spots. I apply a thin layer of diatomaceous earth around the bush base – this creates a barrier against ground-nesting species. Hang fake wasp nests (available at garden centers) nearby; wasps are territorial and will avoid areas they believe are already claimed.
Regularly inspect bushes starting in early spring when queen wasps emerge. Remove any small, developing nests immediately before they grow. Planting mint, wormwood, or citronella around vulnerable areas can deter future nesting – though no plant guarantees complete protection against determined wasps.
These practical insights will help you execute the removal process with maximum safety and effectiveness.
Optimal Timing Strategy: The 50°F evening temperature threshold in Step 3 isn’t arbitrary—wasps become significantly less aggressive below this point. I’ve found that treating between 8-10 PM during cooler months (when temperatures naturally dip below 50°F) gives you the best window of opportunity. Use a reliable outdoor thermometer to confirm conditions rather than guessing based on time of day.
Safety Perimeter Insight: The 20-foot safety perimeter in Step 2 accounts for wasp defense behavior patterns. When disturbed, yellowjackets can pursue threats up to 15 feet, while hornets may travel even farther. I mark my perimeter with bright surveyor’s tape tied to stakes—this creates both a visual barrier for others and a psychological boundary that helps me maintain proper distance during treatment.
Application Technique Refinement: During Step 3’s 10-15 second spray application, use a sweeping motion rather than a stationary stream. Begin at the nest’s base and move upward in a Z-pattern—this ensures complete coverage as the spray’s momentum carries it into hidden crevices. For dust applications, gently “pulse” the duster rather than using continuous pressure; this mimics natural wind dispersal and reduces the likelihood of provoking defensive behavior.
Post-Treatment Protocol: The 24-hour waiting period after initial treatment serves two critical purposes: it allows the insecticide to circulate throughout the colony, and it gives agitated wasps time to either die or abandon the nest. I set a phone reminder for exactly 25 hours—this accounts for any minor time discrepancies while ensuring I don’t check too early. When inspecting after 48 hours as directed in Step 4, use binoculars from your original 10-15 foot observation distance to avoid disturbing any remaining wasps.
Wear protective clothing (long sleeves, gloves, and a veil) and work at dusk or dawn when wasps are less active. Use a wasp spray with a long-range nozzle (10+ feet) or a soapy water trap placed away from the bush. Avoid swatting—slow movements reduce aggression.
For immediate results, use a jet spray wasp killer (like Ortho Home Defense) to drench the nest at night. If the nest is small, knock it down with a long pole into a bucket of soapy water. Repeat after 24 hours to kill stragglers.
Yes! Mix 1 cup dish soap + 1 cup water in a spray bottle and coat the nest—soapy water clogs their pores. Hang fake wasp nests (decoys) nearby to deter them, or plant wasp-repelling herbs like mint, basil, or wormwood around the bush.
Aim for early spring (March–April) when nests are small and wasps are fewer. Avoid late summer/fall—colonies peak then, making removal riskier. If you miss the window, wait for cold weather (below 50°F); wasps become sluggish or die off.
Wasps return if food sources (fallen fruit, trash) or shelter (dense foliage) remain. Trim bushes to reduce hiding spots, seal garbage cans, and remove pet food. Consider preventative sprays (like permethrin-based ones) every 2–3 weeks in warm months.
