
Beautiful Plants For Your Interior
Beautiful Plants For Your Interior
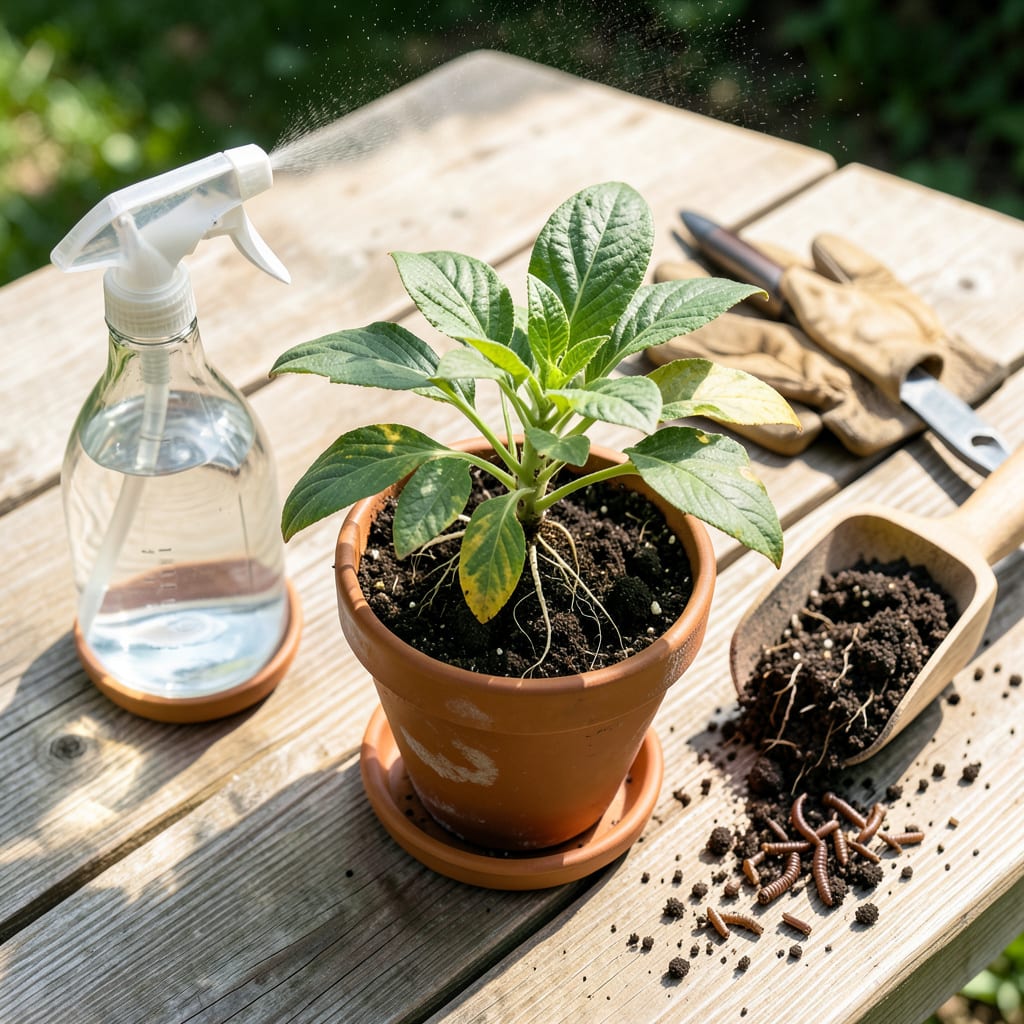
That moment when your newly transplanted seedlings wilt overnight—heartbreaking, but fixable. I’ve saved dozens of shock-stricken plants with a few key moves that work whether you’re dealing with droopy tomatoes or stressed shrubs. The secret? Acting fast before roots give up.
You’ll see improvement in 24-48 hours with the right watering, shade, and a simple pruning trick most gardeners skip. No fancy tools needed—just consistency and a little patience. Even my most dramatic plant rescues (yes, including that nearly-dead hydrangea) bounced back stronger than before.
📚 In This Guide
These are the exact methods I use to bring wilted, stressed transplants back to full health—usually within days.
First, examine your plant for specific stress indicators. Mild shock shows as slight wilting or leaf droop, while severe cases include brown leaf edges, complete leaf drop, or stem collapse. Check the root zone by gently tugging the base—resistance means roots are still anchoring, while loose movement signals potential root damage.
Look at the soil moisture level. Surprisingly, transplant shock often occurs when roots can’t absorb water properly, leaving soil damp while the plant appears dehydrated. I always dig my finger 1-2 inches deep to verify moisture—don’t rely on surface appearance alone.
Using clean pruners, remove any leaves that are more than 50% brown or crispy. These damaged tissues won’t recover and actually drain energy from the plant. Focus on the worst-affected areas first, but don’t remove more than one-third of the total foliage in a single pruning—this prevents additional stress.
For herbaceous plants, I make cuts just above a leaf node or branching point. With woody plants, cut back to healthy tissue where the pith (inner stem) still appears green and moist. Sterilize your pruners with rubbing alcohol between cuts if dealing with multiple affected plants to prevent disease spread.
Move the plant to a location with bright, indirect light—direct sun intensifies stress. I use a sheer curtain or shade cloth to filter sunlight during peak hours. Maintain ambient temperatures between 65-75°F; avoid drafts from air conditioners or heaters which accelerate moisture loss.
Increase humidity around the plant by placing it on a pebble tray filled with water (ensure the pot sits above water level) or misting leaves 2-3 times daily with room-temperature water. This reduces transpiration stress while roots recover. For outdoor plants, erect a temporary windbreak using burlap or landscape fabric.
Water deeply but slowly at the soil level until you see moisture emerge from drainage holes. I use a watering wand on a gentle shower setting to avoid soil compaction. For container plants, submerge the pot in a bucket of water for 10-15 minutes until bubbles stop rising—this ensures complete root ball saturation.
Add 1 teaspoon of vitamin B1 solution per gallon of water (available at garden centers) to stimulate root growth. Avoid fertilizers at this stage—they’ll burn recovering roots. Check soil moisture daily; the goal is consistently moist but never soggy soil. Wilting may continue for 24-48 hours as roots re-establish.
Three days after initial treatment, apply a root stimulator containing indole-3-butyric acid (IBA) according to package directions. I’ve found liquid formulations work fastest when applied as a soil drench. This hormone encourages new root formation and helps the plant establish in its new location.
Track recovery by observing new growth—healthy plants will show firm new leaves within 7-10 days. Continue protective measures until you see 1-2 inches of new growth or notice the plant maintaining turgor (firmness) overnight. Severe cases may require 3-4 weeks of careful monitoring before full recovery.
After years of rescuing struggling plants, I’ve learned these subtle techniques make all the difference between recovery and permanent damage.
Assessment Precision: In Step 1, when checking soil moisture by digging 1-2 inches deep, pay special attention to the texture—not just dampness. Healthy soil should feel like a wrung-out sponge, not muddy or bone-dry. I’ve found that morning assessments give the most accurate readings, as afternoon heat can create misleading surface dryness while deeper soil remains properly moist.
Pruning Strategy: During Step 2, when removing damaged foliage, prioritize leaves showing brown edges first, as these indicate advanced cellular damage. Make clean cuts at a 45-degree angle just above leaf nodes—this angle prevents water pooling that could lead to fungal issues. Between us, I’ve ruined more plants by over-pruning than under-pruning, so when in doubt, remove less rather than more of that one-third maximum.
Microclimate Nuances: For Step 3’s humidity requirements, room-temperature water for misting is critical—cold water can shock stressed plants further. I maintain the 65-75°F range by using a digital thermometer near the plant rather than relying on room thermostats, which often don’t reflect the immediate plant environment. The pebble tray method works best with lava rocks, as they hold and release moisture more effectively than standard pebbles.
Rehydration Technique: When submerging pots in Step 4, the 10-15 minutes soak time is perfect for most plants, but I’ve noticed succulents only need 5-7 minutes to avoid root rot. Always use lukewarm water for the vitamin B1 solution—hot water can damage delicate root hairs, while cold water may cause root contraction. The bubbles stopping indicates complete saturation, which is more reliable than timing alone.
Most plants recover within 1–3 weeks, but severe cases (like large trees or sensitive species) may take months. Speed up recovery by maintaining consistent moisture, providing shade, and avoiding fertilizers until new growth appears. Patience is key—don’t panic if leaves wilt or yellow initially!
Great news: most plants bounce back with proper care! Focus on reducing stress: water deeply (but don’t drown roots), prune damaged foliage, and use a root stimulator (like seaweed extract). If the stem is still firm and green, there’s hope—dead plants turn brittle and brown.
Prioritize these quick fixes:
No! Fertilizer = salt overload for struggling roots. Wait until you see new growth (usually 2–4 weeks), then use a mild, phosphorus-rich formula (e.g., 5-10-5) to encourage root development. Stick to water and compost tea in the meantime.
Avoid transplanting if temps exceed 85°F (29°C)—heat stresses plants further. If you must, work in early morning, keep roots moist, and use shade cloth. Cool, overcast days or early spring/fall are ideal for minimal shock. Pro tip: Check your USDA zone for optimal timing!
