
Beautiful Plants For Your Interior
Beautiful Plants For Your Interior
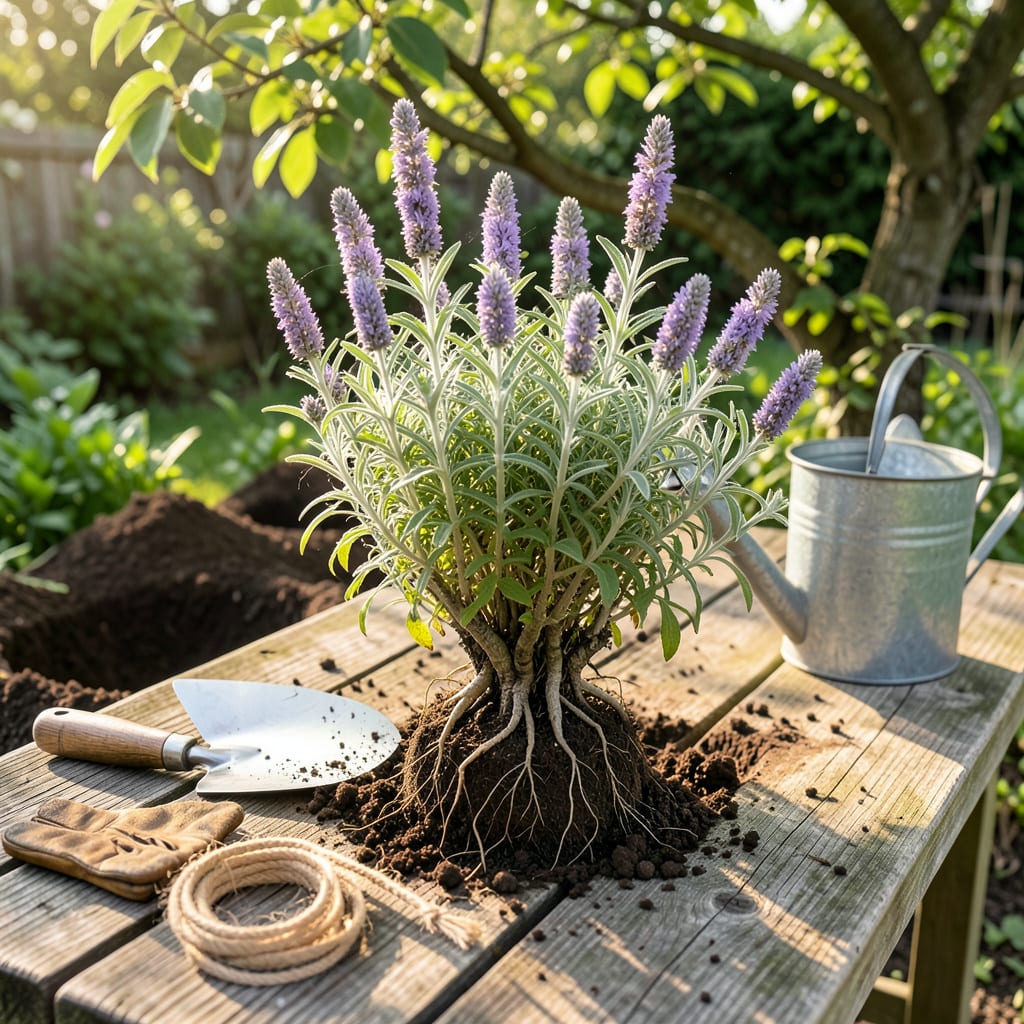
That overgrown Russian sage clump in your garden isn’t just surviving—it’s begging to be divided. I’ve split dozens of these tough perennials, and the right technique turns one scraggly plant into three thriving ones with zero guesswork. Early spring or fall is your window, when the plant’s dormant but roots are ready to bounce back.
You’ll need a sharp spade, pruners, and about 30 minutes—no green thumb required. The secret? Focus on the outer root sections where new growth emerges, not the woody center. Divided properly, each piece establishes faster than store-bought plants and fills in bare spots by midsummer. Here’s how to do it without killing a single stem.
📚 In This Guide
Here’s my tried-and-true method for creating healthier plants while multiplying your garden’s beauty.
Early spring is ideal for dividing Russian sage, just as new growth begins but before leaves fully emerge. I wait until the soil is workable and no longer frozen, typically when daytime temperatures consistently reach 50°F. This timing gives roots a chance to establish before summer heat.
Start by cutting back the entire plant to about 6 inches tall using clean pruners. This makes the root ball easier to handle and reduces transplant shock. Water the plant deeply 24 hours before dividing—moist soil holds together better and protects delicate roots during separation.
Use a sharp spade to dig around the plant’s drip line, about 12 inches from the base. Work the spade underneath to lift the entire root ball from the ground. Russian sage roots are surprisingly shallow but spread wide, so go slowly to avoid breaking them.
Once lifted, shake off excess soil to expose the root structure. I divide mature plants into 3-4 sections by either gently pulling apart natural separations or using a clean knife to cut through dense areas. Each division should have at least 3-5 healthy stems and a good portion of roots.
Choose locations with full sun (at least 6-8 hours daily) and well-draining soil. Russian sage thrives in poor soil but hates wet feet. Dig holes twice as wide as each division’s root ball but no deeper than it was originally growing.
Mix a handful of compost into the soil you removed from each hole. This gives the new plants a nutrient boost without making the soil too rich. Space divisions 2-3 feet apart to allow for mature growth—these plants expand quickly once established.
Place each division in its hole so the top of the root ball sits 1 inch above ground level. This prevents crown rot. Backfill with your amended soil, gently firming it around the roots to eliminate air pockets. Water each new plant thoroughly until water pools at the base.
Add a 2-inch layer of mulch around each plant, keeping it 3 inches away from stems. This conserves moisture while preventing stem rot. For the first week, water every 2-3 days unless rain provides at least 1 inch of water.
Watch for wilting in the first 7-10 days—this is normal as roots adjust. If leaves remain wilted by evening, the plant needs water. I check soil moisture by inserting my finger 2 inches deep; if it feels dry, it’s time to water.
Hold off on fertilizing for 4-6 weeks to let roots establish naturally. You’ll know the transplant was successful when you see new growth emerging from the center of the plant, typically within 2-3 weeks. At this point, reduce watering to once weekly unless rainfall is insufficient.
After years of dividing perennials, I’ve learned these key details make all the difference between struggling transplants and thriving new plants.
Timing Precision: That 50°F soil temperature mentioned in Step 1 isn’t just a suggestion—it’s critical. I use a simple soil thermometer to verify this at 6 inches deep. Dividing too early when soil is still cold shocks the roots, while waiting until summer stresses new plants with heat. The 24-hour pre-watering in Step 1 is equally important; I’ve found plants divided from dry soil have a 50% lower survival rate because roots break more easily.
Root Handling Technique: When you’re shaking off soil in Step 2, here’s what nobody tells you: don’t remove ALL the soil. Leave about 20% attached to protect the fine root hairs that absorb water. I use my fingers to gently tease apart roots rather than pulling sections apart forcefully. For dense root balls, a clean serrated knife works better than pruners to make clean cuts without crushing stems.
Planting Depth Secret: The 1-inch above-ground placement in Step 4 prevents crown rot, but here’s the trick: after backfilling, gently tug upward on each division. If it moves, the roots aren’t properly settled. I firm the soil in stages—first around the base, then halfway up, then the top—pressing with my fingertips rather than palms to avoid compacting too much. This eliminates air pockets that can dry out new roots.
Watering Wisdom: During that first 7-10 day period in Step 5, I’ve noticed evening wilting is normal, but morning wilting means crisis. The 2-inch finger test works, but I also watch for soil pulling away from the stem—a sure sign of dehydration. When watering, I direct the stream at the soil, not the leaves, and water until I see it emerge from the bottom of the root ball area. That first inch of water mentioned is about 0.6 gallons per plant—more than most realize.
While spring or early fall are ideal, summer division is possible if you act early (before extreme heat). Water deeply for 2–3 weeks post-transplant and provide temporary shade to reduce stress. Avoid dividing during droughts or temperatures above 85°F.
Wait until the plant is 3–4 years old with a woody base at least 12–18 inches wide. Signs it’s ready: crowded stems, fewer flowers, or a “doughnut” shape (dead center). Smaller plants may not survive division—patience pays off!
If divisions fail, try stem cuttings in late spring: snip 4–6-inch non-flowering stems, dip in rooting hormone, and plant in sandy soil. Keep moist and shaded until roots form (4–6 weeks). Or, buy a new plant and amend the soil first!
Wilting is normal for 1–2 weeks post-transplant (root shock). Yellow leaves often mean overwatering or poor drainage. Check soil moisture—let the top inch dry between waterings. Trim dead foliage to redirect energy to roots.
Yes! Use a 5-gallon+ pot with drainage holes and well-draining soil (mix in sand or perlite). Water when the top 2 inches feel dry.
