
Beautiful Plants For Your Interior
Beautiful Plants For Your Interior
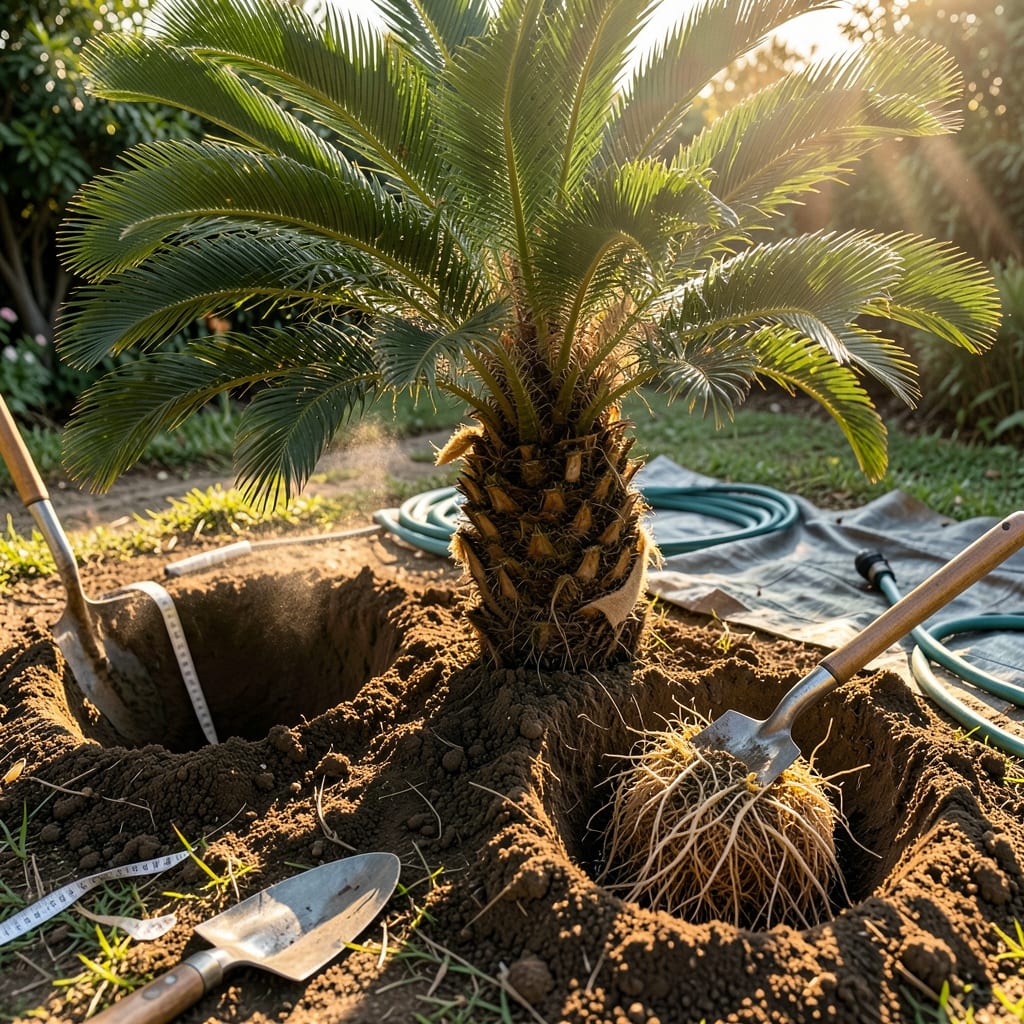
Moving a palm tree feels intimidating—until you understand the root ball is the key to success. I’ve transplanted dozens, and the difference between a thriving palm and a struggling one comes down to three things: timing, technique, and aftercare. Do it right, and your palm won’t just survive—it’ll establish faster than you expect.
The best time is late spring through early summer when soil is warm but not scorching. You’ll need a sharp shovel, burlap to protect the roots, and patience to dig wide—not deep. A 3-4 foot diameter root ball for a 10-foot palm isn’t excessive; it’s exactly what ensures minimal shock. Here’s how to do it without the stress.
📚 In This Guide
Moving a palm tree takes patience and precision, but this method ensures minimal shock and maximum survival.
Before disturbing the palm, dig the new hole first. It should be twice as wide as the rootball you plan to remove and exactly the same depth as the current planting. I use a tape measure to confirm the depth matches—planting too deep suffocates the trunk, while too shallow exposes roots to air.
Loosen the soil at the bottom of the hole with a garden fork to encourage root penetration. Mix a handful of native soil with compost and place it at the base—this gives the palm familiar microorganisms right from the start. Water the hole thoroughly and let it drain completely before transplanting.
Water the palm deeply 24-48 hours before transplanting. Saturated soil holds the rootball together during removal. I soak the area until water pools on the surface, then wait for it to drain completely—this ensures the roots are hydrated but the soil is workable.
Remove any fronds that are yellowing or damaged, and trim green fronds to reduce transpiration stress. Leave at least half the healthy fronds intact—they’re the palm’s energy source during recovery. Use sterilized pruners and make clean cuts at a 45-degree angle to prevent water pooling on the stubs.
Start digging 12-18 inches away from the trunk for small palms, or 24-36 inches for larger specimens. The goal is to preserve as many roots as possible while creating a manageable rootball. I use a sharp spade to cut cleanly through roots, working in a circular motion around the palm.
Once the trench is 12-18 inches deep, begin undercutting the rootball at a 45-degree angle to create a cone shape. This tapers the rootball for easier lifting. For palms over 10 feet tall, recruit helpers to gently rock the tree while you sever remaining roots with the spade. Never pull the palm by the trunk—this tears critical roots.
Lift the palm by the rootball, not the trunk. Use burlap or a tarp to drag it if moving more than a few feet—dragging by the trunk cracks the internal structure. Keep the rootball intact; if it crumbles, the palm’s survival rate drops dramatically. I spray the exposed roots with water during transport to prevent drying.
Place the palm in the new hole at the exact same depth it was previously growing. The top of the rootball should sit 1-2 inches above the surrounding soil to allow for settling. Backfill with native soil, tamping gently to eliminate air pockets. Water immediately with 10-15 gallons for a 6-foot palm, adjusting proportionally for size.
Secure the palm with three sturdy stakes placed at 120-degree angles around the trunk, using soft tree strapping to avoid bark damage. The stakes should allow slight movement in the wind—this encourages root establishment. I leave stakes in place for 6-12 months, adjusting tension as the trunk thickens.
Water deeply every 2-3 days for the first month, then taper to weekly. Watch for frond discoloration—yellowing indicates overwatering, while brown tips signal underwatering. Apply a palm-specific fertilizer (8-2-12 ratio) after 4-6 weeks, but never fertilize immediately after transplanting. New roots are too tender for synthetic nutrients.
Transplanting a palm tree successfully comes down to understanding the details that make all the difference. Here’s what I’ve learned from years of moving palms without losing them.
Watering Strategy: The 24-48 hour pre-transplant watering window in Step 2 is absolutely critical. I’ve found that watering at the 48-hour mark works best for clay soils, while sandy soils benefit from the 24-hour timing. The goal is soil that holds together like a firm mud pie when you dig—too dry and it crumbles, too wet and it becomes unmanageable. Test by grabbing a handful of soil from the digging perimeter; it should form a loose ball that holds its shape when squeezed gently.
Rootball Preservation: When excavating in Step 3, the 12-18 inch radius for small palms isn’t arbitrary—it accounts for the palm’s critical root zone. For every inch of trunk diameter, you should preserve at least 10-12 inches of rootball radius. I use a permanent marker to draw concentric circles on the ground at 12, 18, 24, and 36 inches as visual guides before digging. This prevents the common mistake of tapering the rootball too soon, which severs essential structural roots.
Transport Technique: The instruction to lift by the rootball in Step 4 cannot be overstated. I once lost a 12-foot pygmy date palm because we grabbed the trunk during transport—the internal fibers separated from the root plate. For palms over 8 feet tall, I recommend using three people: one at the rootball’s heaviest side, and two supporting the trunk’s weight distribution. Place the palm on a sturdy tarp and drag it like a sled rather than carrying, which prevents rootball stress fractures.
Post-Transplant Monitoring: The 2-3 day watering schedule in Step 5 assumes average temperatures between 70-85°F. In heat waves above 90°F, I water daily for the first week, using the “finger test”—insert your finger 3 inches into the soil near the rootball. If it feels barely moist, it’s time to water. The 1-2 inch planting height above grade is equally crucial; I’ve seen palms sink 6 inches after heavy rain when not initially elevated, which suffocates the trunk flare.
Dig a trench 12–24 inches deep around the rootball, matching the tree’s height (e.g., 6-foot palm = ~18-inch depth). Start 1–2 feet away from the trunk to avoid severing major roots. For large palms (10+ feet), hire pros—rootballs can weigh 500+ lbs!
Aim for late spring to early summer (warm soil, active growth) or fall (cooler temps, less stress). Avoid winter (dormancy) or peak summer heat ( dehydration risk). Tropical climates allow year-round transplanting if you water diligently post-move.
No—palms lack a taproot, so 90% of roots are in the top 3 feet. Skipping the rootball = certain shock or death. For small palms (under 3 feet), bare-root transplanting might work if roots stay moist. Otherwise, always dig the rootball!
Yellowing = overwatering or poor drainage; browning = underwatering or transplant shock. Check soil moisture (stick your finger 2 inches deep—should be damp, not soggy). Trim dead fronds after 4–6 weeks to avoid stressing the tree further.
Expect 3–6 months for new growth (faster in warm climates). Large palms may take 1–2 years to fully establish. Speed recovery with:
