
Beautiful Plants For Your Interior
Beautiful Plants For Your Interior
That moment when your orchid’s first bloom opens never gets old. I still remember the satisfaction of coaxing a second flowering from what I thought was a dying plant—turns out, most orchid struggles come from just a few common missteps in care. Potted orchids thrive on what feels like neglect to most plant owners: bright, […]
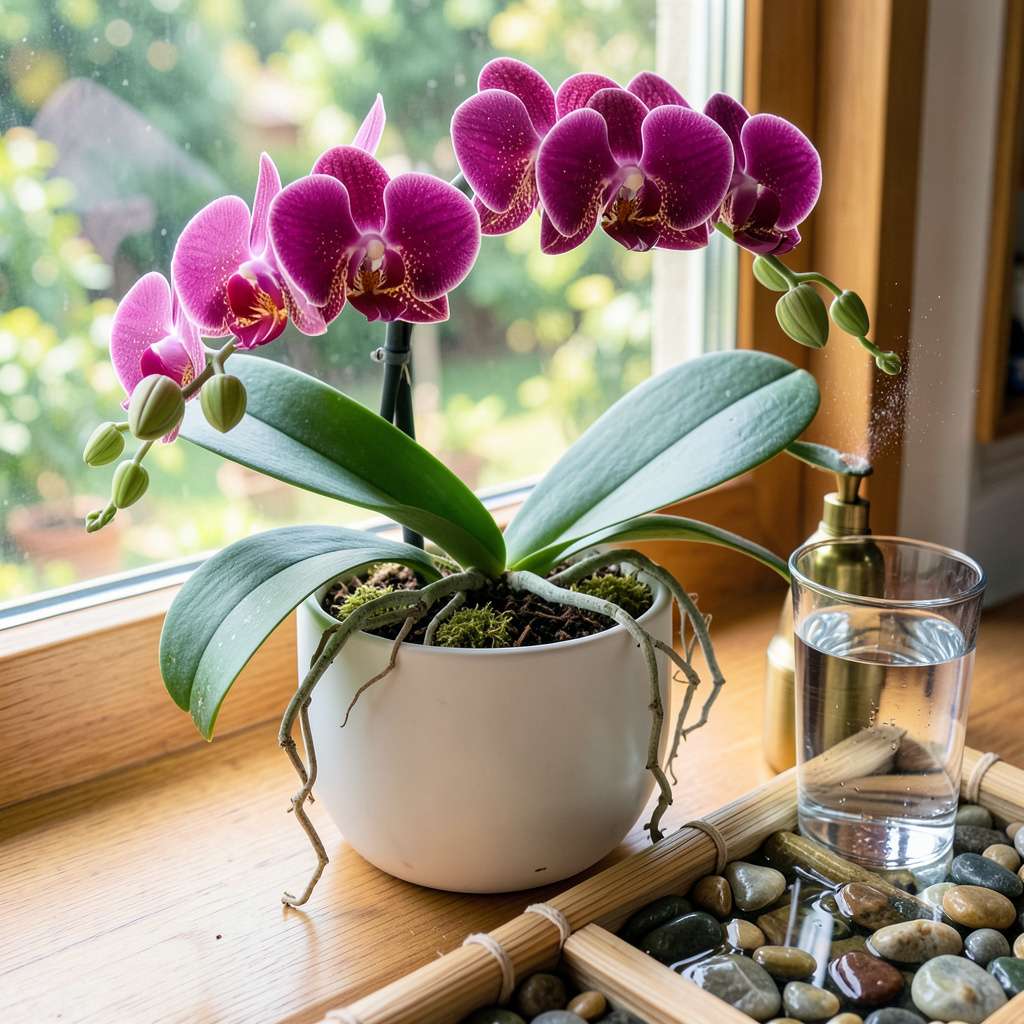
That moment when your orchid’s first bloom opens never gets old. I still remember the satisfaction of coaxing a second flowering from what I thought was a dying plant—turns out, most orchid struggles come from just a few common missteps in care.
Potted orchids thrive on what feels like neglect to most plant owners: bright, indirect light, a bark-based mix that mimics their natural habitat, and a watering routine that lets roots dry between drinks. The phalaenopsis on my windowsill now blooms twice a year, and it started with understanding these three core needs.
You’ll notice the difference within weeks—darker green leaves, plump roots visible through the pot, and flower spikes emerging when you least expect them. The secret isn’t daily attention but learning to read what your plant actually needs versus what you think it wants.
Whether you’re nursing a grocery-store rescue or maintaining a prized specimen, this approach works for any potted orchid. Let’s turn those sad-looking leaves into a plant that becomes your most reliable bloomer.
📚 In This Guide
This is the method I use to keep my orchids blooming beautifully year after year—no green thumb required.
Begin by evaluating your orchid’s current location. These plants thrive in bright, indirect light—an east-facing window is ideal, while south-facing windows may require sheer curtains to diffuse intense afternoon sun. I’ve found that 6-8 hours of filtered light daily produces the strongest blooms without scorching leaves.
Check the temperature range too. Orchids prefer daytime temperatures between 65-80°F and a 10°F drop at night to trigger blooming. If your home runs consistently warmer or cooler, consider moving the plant to a more suitable room or using a small fan to create air movement and temperature variation.
Overwatering kills more orchids than any other mistake. I water mine using the “ice cube method”—placing 3 ice cubes on the growing medium once a week. This provides slow, controlled moisture without soggy roots. For standard-sized pots, this equals about ¼ cup of water per application.
Before watering, check the roots through the clear pot. Healthy roots are silver-green when dry and turn bright green when properly hydrated. If roots appear brown or mushy, you’re watering too frequently. Always water in the morning to allow excess moisture to evaporate during the day.
Use a balanced 20-20-20 orchid fertilizer diluted to half-strength every other watering during active growth periods. I’ve had excellent results with this schedule: fertilize twice monthly in spring/summer, then reduce to once monthly in fall/winter when growth naturally slows.
After blooming, switch to a high-phosphorus formula (like 10-30-20) to encourage new flower spikes. Always water thoroughly before fertilizing to prevent root burn. You’ll see new growth within 4-6 weeks of consistent feeding—look for fresh green tips on roots or leaves.
When flowers fade, cut the spike back to just above the second or third “node” (the little brown lines on the stem). This often triggers a second bloom cycle. If the entire spike turns brown, remove it completely at the base. I use sterilized scissors and make clean cuts at a 45-degree angle to prevent water pooling.
Repot every 18-24 months or when roots overflow the pot. Choose a container just 1-2 inches larger than the current one—too much space inhibits blooming. Use fresh orchid bark mix and trim away any dead roots (they’ll be hollow and brown) before repotting. The best time for this is immediately after flowering.
Inspect leaves weekly for signs of trouble. Yellowing lower leaves are normal aging, but yellowing throughout the plant indicates overwatering or insufficient light. Black spots suggest fungal issues—immediately isolate the plant and reduce humidity. I keep a small fan running nearby to maintain air circulation, which prevents most fungal problems.
For pests like mealybugs or scale, wipe leaves with a cotton swab dipped in 70% isopropyl alcohol. Check leaf undersides and stem junctions where pests hide. Healthy orchids have firm, upright leaves and silver-green roots—any deviation from this signals it’s time to adjust your care routine.
After years of trial and error with orchids, I’ve learned these key insights that make all the difference between struggling plants and thriving blooms.
The Light Factor: The 6-8 hours of filtered light mentioned in Step 1 is absolutely critical. I’ve found that orchids receiving morning sun from an east-facing window consistently produce more flower spikes than those in north-facing locations. If you notice leaves darkening to a deep green, your plant needs more light. Conversely, yellowish leaves with brown edges indicate too much direct sun—adjust your sheer curtains accordingly.
Root Health Revelation: Step 2’s advice about checking root color through clear pots changed everything for me. Here’s what nobody tells you—healthy roots should feel firm when gently squeezed, like a ripe avocado. If they’re squishy or slip right out of the bark mix, you’re dealing with root rot. When this happens, remove the plant immediately, trim all brown/mushy roots with sterilized scissors, and repot in fresh bark.
Fertilizer Timing Secret: The 4-6 week window for seeing new growth after fertilizing (Step 3) is when most people give up too soon. I’ve noticed that orchids often show root growth before leaf growth—check the root tips weekly. If you see bright green tips emerging, your fertilization schedule is perfect. If not, increase to weekly half-strength feedings during active growth periods, but never exceed the recommended dilution.
Repotting Wisdom: Step 4’s guidance about choosing a pot just 1-2 inches larger is based on orchids’ unique biology. These plants actually bloom better when slightly root-bound. I use this test: if you can’t easily slide the root mass out of its current pot, it’s not quite time to repot. The 18-24 month repotting schedule works perfectly when combined with this simple check—no need to disturb your plant unnecessarily.
Water your orchid every 7–10 days, but always check the roots first! Stick your finger an inch into the potting mix—if it’s dry, it’s time to water. Overwatering is the #1 killer of orchids, so ensure the pot has drainage holes and never let it sit in standing water.
Why aren’t my orchid’s leaves or flowers growing?
Slow growth usually means insufficient light, nutrients, or improper temperatures. Move your orchid to a bright, indirect light spot (east-facing windows are ideal) and fertilize weakly (half-strength) every 2–4 weeks during active growth. Avoid cold drafts or heat vents!
While some suggest ice cubes for slow watering, it’s risky—cold temps can shock roots and promote rot. Instead, use room-temperature water and soak the pot for 10–15 minutes, then drain thoroughly. Consistency matters more than the method!
Skip regular soil! Orchids thrive in chunky, airy mixes like fir bark, sphagnum moss, or coconut husk chips. For beginners, try a pre-mixed orchid bark blend with perlite. Repot every 1–2 years when the mix breaks down.
Yellow leaves often signal overwatering or root rot. Act fast: Remove the orchid from its pot, trim mushy black roots with sterilized scissors, and repot in fresh mix. Reduce watering and increase airflow. If roots are healthy, adjust light or fertilizer—patience is key!
Caring for an orchid in a pot doesn’t have to be intimidating! With the right light, water, and humidity, your plant can reward you with stunning blooms for years. 🌸 Remember, patience and consistency are key—orchids thrive on routine care, not perfection.
Now that you’re equipped with the basics, pick one tip from this guide to try this week—whether it’s adjusting your watering schedule or moving your orchid to brighter indirect light. Happy growing! 🌱
