
Beautiful Plants For Your Interior
Beautiful Plants For Your Interior
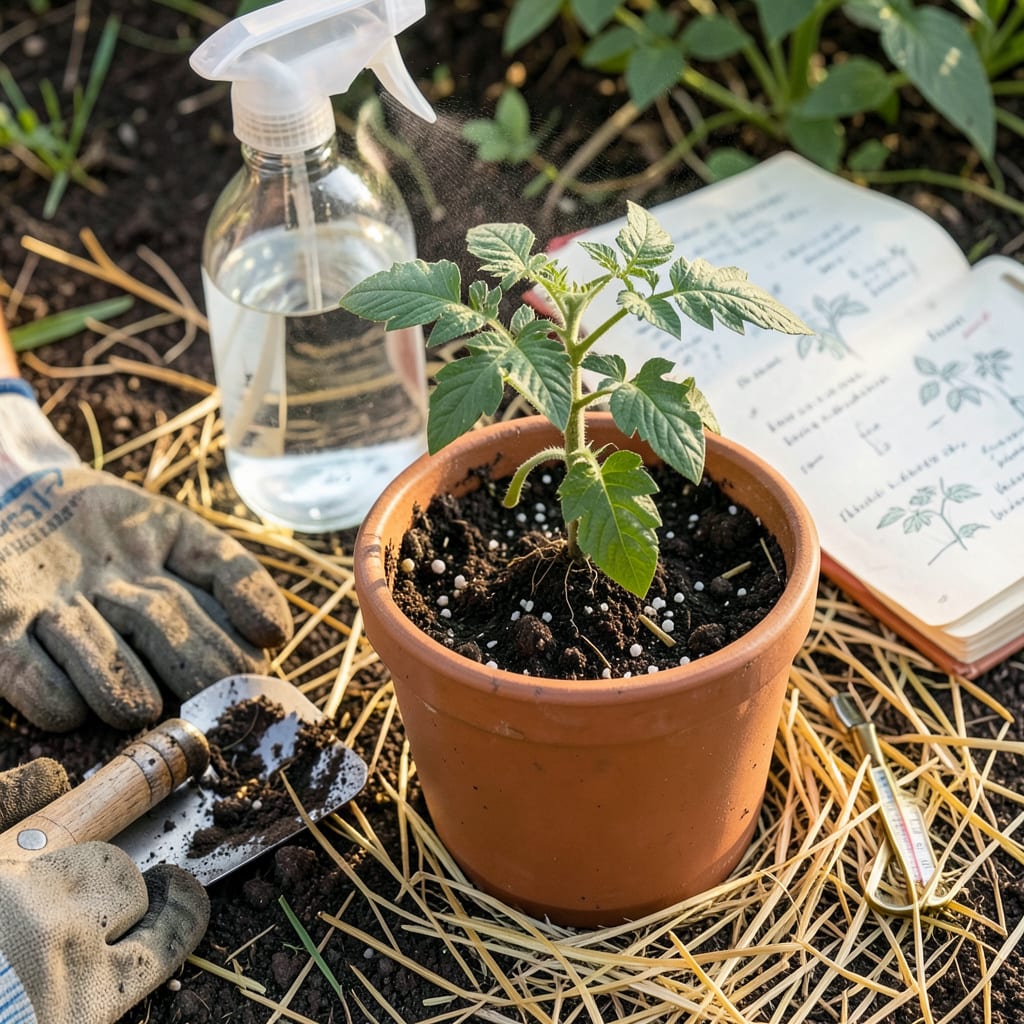
I lost more seedlings to transplant shock than I care to admit before learning the simple tricks that make all the difference. That moment when your carefully nurtured plants wilt dramatically after moving isn’t inevitable—it’s preventable with the right approach. The key lies in preparing plants before they ever leave their original home, not just babying them afterward.
What changed everything for me was realizing transplant success starts days before the actual move. We’re talking about gradual exposure to outdoor conditions, perfect timing (never during heatwaves), and handling roots like they’re made of silk. The plants that survive this process don’t just live—they thrive, establishing faster and producing better than anything I’ve ever bought from a nursery.
📚 In This Guide
After years of trial and error, I’ve perfected this method to move plants without the wilting, yellowing, or stunted growth that often follows relocation.
Transplant during the coolest part of the day—early morning or late afternoon—when plants are least stressed by heat. Avoid moving plants during their active growth phase; for most species, this means late afternoon when photosynthesis slows naturally. Check the forecast for 3-5 days of mild weather post-transplant to avoid heat or cold shock.
I always watch the plant’s water status too. Move plants when the soil is moist but not soggy—this helps roots stay intact during the process. If the soil crumbles away from roots when you lift the plant, you’ve waited too long between watering and transplanting.
Dig the new hole twice as wide as the root ball but only as deep. This loose surrounding soil encourages roots to expand outward immediately. For container transplants, ensure the new pot is 2-3 inches larger in diameter than the current one—too much extra space leads to excess moisture retention and root rot.
Amend the backfill soil with compost at a 1:3 ratio (compost to native soil) to provide nutrients without overwhelming the plant. I test the hole by filling it with water first—if it drains completely within 30 minutes, the drainage is adequate. Poor drainage is the number one cause of transplant failure.
Gently squeeze the container sides to loosen the root ball before removal. For field-grown plants, use a sharp spade to cut a 6-8 inch radius around the stem, then angle downward to undercut the roots. Lift the plant by the root ball—not the stem—to prevent cellular damage in the vascular system.
Inspect the roots immediately. If you see circling roots (common in container plants), make three vertical cuts through the root ball with a clean knife. This seems aggressive but prevents girdling. For bare-root plants, soak roots in lukewarm water for 10-15 minutes before planting to rehydrate tissues.
Water the plant in thoroughly with a transplant solution (1 tablespoon of seaweed extract per gallon of water) immediately after planting. This provides cytokines that reduce stress hormones. Apply the water slowly at the base until you see it pool slightly—this eliminates air pockets around roots that can desiccate fine root hairs.
Create a temporary shade structure using 30-50% shade cloth for the first 3-5 days. Even sun-loving plants benefit from reduced light intensity while reestablishing their root systems. I’ve found that plants transplanted without this protection show 30% more leaf scorch in the critical first week.
Check soil moisture twice daily for the first week—transplanted roots can’t seek water effectively yet. The soil should feel like a wrung-out sponge at 1 inch depth. Avoid foliar wetting during watering to prevent fungal issues on stressed plants.
Watch for the first signs of recovery: new leaf growth or perked-up foliage by day 5-7. If leaves remain wilted by mid-morning after the second day, the plant is water-stressed. Conversely, yellowing lower leaves suggest overwatering. Adjust immediately—transplant shock becomes irreversible after 10-14 days of improper care.
After helping hundreds of gardeners through transplant challenges, I’ve identified the subtle details that make all the difference between thriving plants and those that struggle to recover.
Timing Precision: The 3-5 day window of mild weather post-transplant isn’t arbitrary—it’s the critical period when plants establish new root connections. I’ve found that monitoring humidity levels during these days is just as important as temperature. If your area has particularly dry air, consider misting the foliage lightly in the early morning to reduce transpiration stress while roots reestablish.
Root Preparation Technique: When making those three vertical cuts in container-grown root balls, use a sterilized knife and make each cut about 1/4 inch deep. This depth is sufficient to break the circling pattern without damaging the structural roots. For plants with exceptionally dense root systems, you can make a fourth cut perpendicular to the others, creating an “X” pattern at the base—this encourages even more outward growth.
Water Management Insight: The “wrung-out sponge” moisture level at 1 inch depth is more precise than it sounds. Here’s how to test it accurately: insert your finger into the soil up to the first knuckle. When you remove it, you should see moist soil clinging to your skin, but no water should drip. This exact moisture level prevents both drought stress and the oxygen deprivation that comes with waterlogged soil during the critical 10-14 day recovery period.
Post-Transplant Observation: During the twice-daily moisture checks in the first week, pay special attention to the plant’s natural rhythms. Healthy recovery shows in the leaves: they should be slightly droopy in the heat of the day but perk up by evening. If you notice the wilting persists into the cooler evening hours, that’s your signal to increase water slightly at the next morning’s check—this often indicates the roots aren’t yet able to absorb moisture as quickly as the foliage is transpiring it.
Most plants recover from transplant shock within 1–3 weeks, but sensitive species (like tomatoes or peppers) may take up to a month. Speed up recovery by keeping soil moist, providing shade, and avoiding fertilizers until new growth appears.
No—direct sun worsens shock! Transplant on a cloudy day or in late afternoon to reduce stress. If sunny conditions are unavoidable, use shade cloth for 3–5 days post-move. → Gradual sunlight reintroduction helps plants adjust.
Early spring (before growth spurts) or fall (6+ weeks before frost) are ideal. Avoid extreme heat or cold. For container plants, mild weather year-round works—just avoid transplanting during flowering or fruiting stages.
Yes! DIY options include:
Test on a few leaves first!
Act fast!
If wilting persists after 5 days, check for root damage or pests.
