
Beautiful Plants For Your Interior
Beautiful Plants For Your Interior
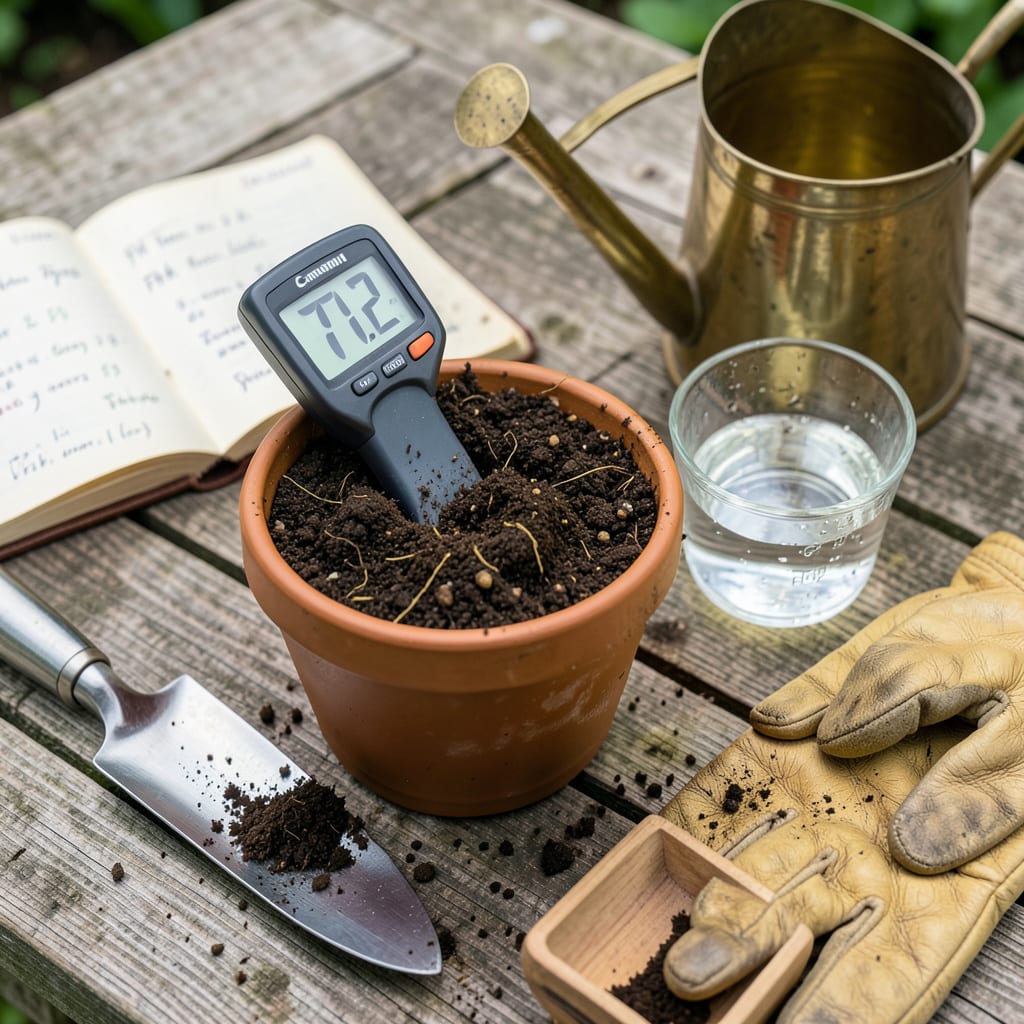
Yellowing leaves on your blueberries? Hydrangeas refusing to turn that deep blue? Sometimes the issue isn’t pests or water—it’s your soil’s pH. I’ve rescued countless struggling acid-loving plants with a simple kitchen staple: vinegar. Done right, it’s a fast, budget-friendly way to adjust soil chemistry without harsh chemicals.
The catch? Vinegar is powerful stuff. Too much too fast can fry roots and wreck your soil’s microbiome. But after testing different ratios and application methods, I’ve landed on a foolproof approach that lowers pH safely—no lab equipment required. Your azaleas and camellias will thank you when their leaves green up within 7-10 days.
📚 In This Guide
This method delivers rapid results without harsh chemicals—just follow these precise steps for safe, effective acidification.
Before adjusting anything, determine your starting point with a reliable soil pH test kit. I recommend testing multiple spots in the target area since pH can vary even within small spaces. Collect samples from 2-4 inches deep where roots actively grow.
Follow the kit instructions exactly—most require mixing soil with distilled water and comparing the color change to a chart. You’re looking for a baseline above 6.0; vinegar works best for soils in the 6.0-7.5 range. If your soil reads above 7.5, you’ll need stronger amendments like sulfur.
Use only white distilled vinegar (5% acetic acid) for this process. Mix 1 cup vinegar per gallon of water—this creates a mild solution that won’t shock plants. For severely alkaline soils (pH 7.5+), you can increase to 2 cups per gallon, but never exceed this concentration.
Pour the solution into a watering can or spray bottle. I add a drop of liquid dish soap to help the solution penetrate the soil more effectively. Shake gently to combine—you’ll see slight bubbling, which is normal. Use the mixture immediately for best results.
Water the soil thoroughly with plain water first—this prevents the vinegar from pooling on dry surfaces and burning roots. Then apply your vinegar solution evenly across the area, using about 1 gallon per 10 square feet. Focus on the root zone where pH matters most.
You’ll notice the soil may bubble slightly as the acid reacts with minerals—this is expected. For container plants, apply until you see runoff from the drainage holes, then repeat the application. Avoid spraying foliage directly, as vinegar can damage leaves at this concentration.
Wait 24-48 hours before retesting the soil. You’ll typically see a 0.5-1.0 point drop in pH with this method. If the pH remains too high, repeat the application at half strength (½ cup vinegar per gallon) to avoid over-acidification.
Watch your plants closely over the next week. Signs of successful adjustment include deeper green foliage and improved growth. If leaves yellow or edges brown, you’ve likely over-acidified—flush the soil immediately with plain water to dilute the solution.
Vinegar’s effects are temporary—expect to reapply every 4-6 weeks during the growing season. I recommend alternating with organic amendments like pine needles or coffee grounds for longer-lasting results. Always retest before reapplying to avoid pushing the pH too low.
For acid-loving plants like blueberries or azaleas, maintain soil pH between 4.5-5.5. Other plants prefer slightly higher ranges (5.5-6.5), so adjust your target accordingly. Keep records of your applications and test results to track patterns over time.
Here’s what I’ve learned from years of adjusting soil pH—these details make all the difference between success and disappointment.
Testing Accuracy: In Step 1, don’t just test one spot—soil pH can vary dramatically even within a small garden bed. I collect samples from at least three different locations at the recommended 2-4 inch depth, then mix them together before testing. This gives you a true average reading rather than acting on one potentially misleading sample. The difference between 6.5 and 7.2 might determine whether you use 1 cup or 2 cups of vinegar per gallon.
Solution Preparation: When mixing your vinegar solution in Step 2, use room temperature water rather than cold. The slight warmth helps the acetic acid disperse more evenly through the water. I also recommend using a clean spray bottle dedicated only to this purpose—residual cleaning products or fertilizers in a reused bottle can interfere with the acidification process. That slight bubbling you’ll see when shaking? That’s the vinegar starting to react with minerals in your water, which is completely normal.
Application Technique: Step 3’s pre-watering is more critical than it seems. Dry soil absorbs vinegar unevenly, creating pockets of over-acidification that can damage roots. I use a watering can with a rose attachment to apply the vinegar solution—this creates a gentle, even distribution that mimics rainfall. For container plants, apply until you see that first bit of runoff, then wait 5 minutes before applying the second round. This two-stage approach prevents the solution from flushing through too quickly.
Monitoring and Maintenance: The 24-48 hour waiting period in Step 4 isn’t just downtime—it’s when the chemical reaction peaks. I set a reminder to check exactly at the 24-hour mark. If you’re treating multiple plants, keep a notebook tracking which areas received which concentration and their responses. When maintaining the pH every 4-6 weeks as mentioned in Step 5, alternate your application pattern—don’t always start in the same spot. This prevents localized over-acidification that can create uneven growth patterns in your plants.
Apply a diluted vinegar solution (1 cup white vinegar per gallon of water) once every 2–3 months for maintenance. For a fast pH drop, repeat after 1–2 weeks but test soil pH first—over-acidifying can harm plants! Avoid using vinegar more than 3–4 times per year.
Yes! Undiluted vinegar or excessive use can burn roots and lower pH too drastically. Stick to a 1:8 vinegar-to-water ratio and apply only to plants that thrive in acidic soil (like blueberries or azaleas). Signs of overuse: yellowing leaves or stunted growth.
Yes, but white vinegar (5% acetic acid) is best—it’s consistent and stronger. Apple cider vinegar (also 5% acidity) works but may introduce sugars that attract pests. For best results, stick to plain white vinegar and always dilute it!
Vinegar acts faster than sulfur or peat moss—expect pH changes within 24–48 hours. However, effects are temporary (lasts ~1–2 months). For long-term acidity, combine vinegar with organic mulch (pine needles) or elemental sulfur.
Try these plant-friendly options:
Vinegar is best for quick fixes—use alternatives for sustained pH control.
