
Beautiful Plants For Your Interior
Beautiful Plants For Your Interior
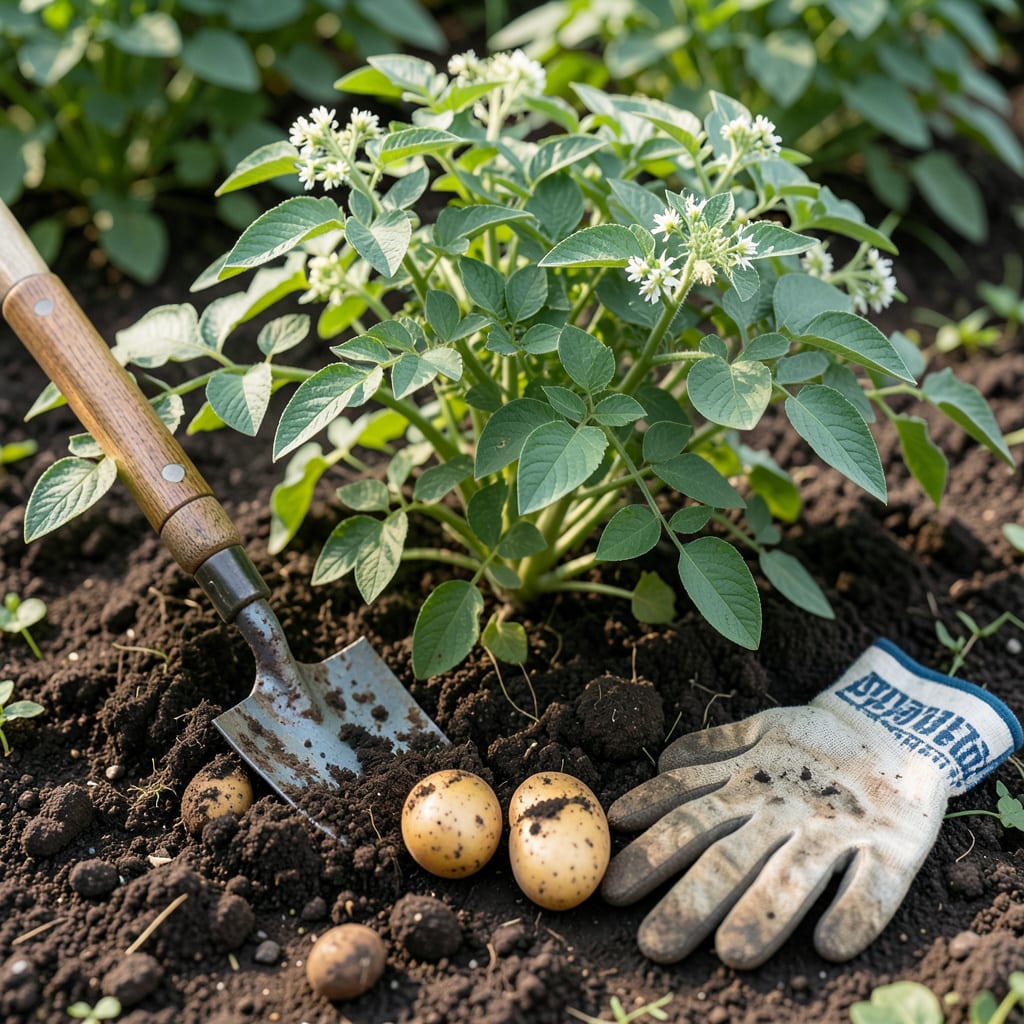
Watching your 🥔 Potato plants grow is thrilling, but knowing the exact harvest time can make or break your yield. Timing is everything for perfect spuds.
I’ll share the typical days to maturity for different varieties and the key signs to look for. With these insights, you’ll never dig too early or too late again.


Knowing when to harvest potatoes starts with understanding your variety. Early potatoes can be ready in as few as 60 days, while late varieties may need up to 135 days. I always check the seed packet for exact ranges.
The maturity timeline varies by type: new potatoes, mid-season, and storage varieties each have unique needs. I’ve found early varieties like Red Norland are perfect for quick harvests.
| Variety | Days to Harvest | Best For |
|---|---|---|
| Early (New Potatoes) | 60–80 days | Quick harvests, tender skins |
| Mid-Season | 80–110 days | Balanced flavor, storage |
| Late-Season | 110–135 days | Long storage, hearty texture |
For early potatoes, I start checking at 60 days by gently digging near the plant base. If I see golf-ball-sized tubers, they’re ready. These are great for fresh eating but don’t store as long.
Mid-season varieties like Yukon Gold typically need 90 days. I wait until the foliage starts yellowing and the skin sets firmly. This ensures the best texture and flavor for storage.
Late-season potatoes, such as Russets, can take up to 135 days. I’ve learned patience pays off here—these spuds develop thicker skins and store well through winter.
Environmental factors can shift these timelines. Cool spring weather may delay maturity by 10–14 days, while consistent warmth can speed it up. I always adjust based on my local climate.
Soil temperature matters too. Potatoes prefer soil between 60–70°F. If it’s cooler, growth slows down. I use a soil thermometer to monitor conditions.
Another tip: hilling plants encourages more tuber growth. I mound soil around the stems every 2–3 weeks. This also protects tubers from greening if exposed to light.
Remember, these are averages. I always dig a test plant first to check readiness. If the skin rubs off easily, they need more time. If it’s firm, it’s harvest time!
🌱Timing your potato harvest perfectly means watching for nature’s signals. I look for foliage changes and tuber development rather than just counting days. These visual cues are more reliable than calendars.
One of the clearest signs is flowering. When my plants start blooming, I know tubers are forming underground. For new potatoes, I can gently dig a few weeks after flowers appear.
I always do the skin test before full harvest. If the skin rubs off easily, I wait another week. When it stays intact, I know the curing process has begun naturally in the soil.
For storage potatoes, I wait until the entire plant has died back. This ensures the tubers have developed thick skins that will protect them during storage. I’ve found this usually happens about 2–3 weeks after flowering stops.
Weather can affect these signs. In hot climates, foliage may die back faster, but tubers might not be fully mature. I always dig a test plant to confirm. In cooler areas, I give plants an extra week beyond the visual cues.
Another trick I use is gently feeling the soil near the base of plants. When I can feel sized-up tubers through the soil, I know harvest is near. This is especially useful for early varieties when foliage is still green.
🌱Even experienced gardeners can make harvest timing errors with potatoes. I’ve learned the hard way that rushing or waiting too long can ruin your crop. Avoid these common pitfalls for the best results.
One of the biggest mistakes is harvesting too early. If I dig before the skin sets, tubers won’t store well. They’ll be prone to bruising and rot.
⚠️ Avoid These Harvest Mistakes:
Another error is leaving potatoes in the ground too long. If the soil stays wet, tubers can rot. I always check the weather forecast and dig before heavy rains.
I once lost half my crop by not curing potatoes properly. After digging, I now let them sit in a dark, dry place for 10–14 days. This toughens the skin for better storage.
Storage conditions matter too. I keep my spuds in a cool, dark spot with good airflow. Never store them in the fridge—it turns starch to sugar, ruining flavor.
Finally, I avoid cutting tubers while digging. I use a garden fork and work carefully around the plants. This prevents damage and ensures a full harvest.
🌱Yes, for new potatoes, you can gently dig when plants are still green but flowering. These will be smaller and have thinner skins. For storage, wait until foliage dies back completely.
Overmature potatoes may develop thick, tough skins or begin to rot, especially in wet soil. In warm climates, they might even sprout again. Dig them up within 2 weeks of foliage dying back.
Early varieties like Red Norland have a buttery, tender texture perfect for immediate eating. Late varieties such as Russets develop a heartier texture ideal for baking and long storage.
Gently brush away soil at the plant base to feel for tubers. Use the skin test: if it rubs off easily, they need more time. If firm, they’re ready for harvest.
