
Beautiful Plants For Your Interior
Beautiful Plants For Your Interior
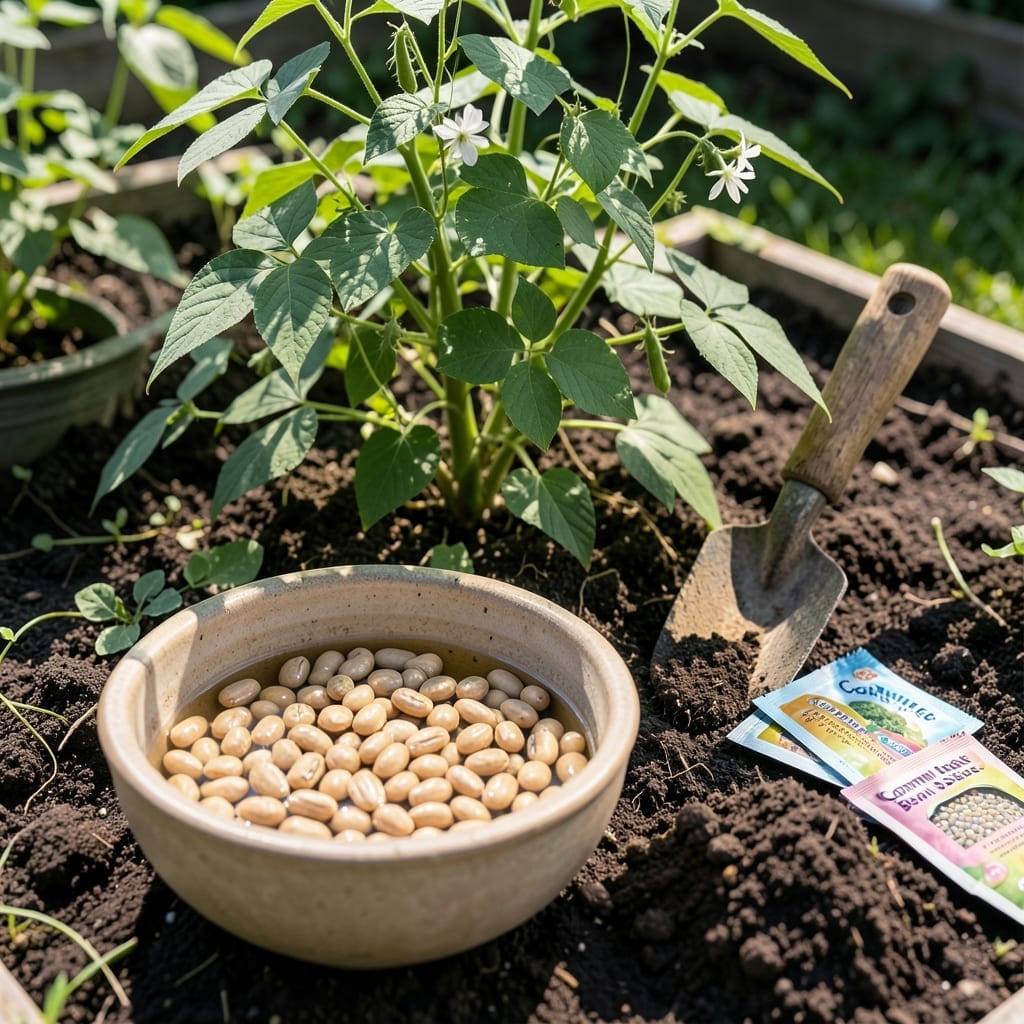
Soaking beans before planting can cut germination time in half, but do it wrong and you risk rotting your seeds. I’ve tested various methods, and the overnight approach consistently delivers faster sprouting for 🌱 Beans.
This simple prep step breaks down the seed coat, allowing moisture to penetrate more easily. Whether you’re planting in Zone 6 or elsewhere, it’s a game-changer for spring planting.
Discover the exact technique to soak your seeds safely and effectively. Your garden will thank you with a head start on the growing season.


I’ve found that soaking beans before planting can significantly boost germination rates. The key is matching the soaking duration to the bean variety. Larger, harder seeds need more time to soften their coats.
For most common beans, an 8-12 hour soak works perfectly. This includes popular types like kidney, black, and pinto beans. Smaller varieties may require less time, while larger ones might need a bit more.
| Variety | Soaking Time | Water Temp |
|---|---|---|
| Kidney Beans | 10-12 hours | Room temp |
| Black Beans | 8-10 hours | Room temp |
| Pinto Beans | 8-10 hours | Room temp |
| Lima Beans | 12-14 hours | Slightly warm |
The seed coat thickness directly affects how long you should soak. Lima beans, with their thicker coats, benefit from a longer soak. I recommend using slightly warm water for these to help soften the outer layer more effectively.
Always inspect your seeds before soaking. Discard any discolored or damaged beans, as these won’t germinate well. Healthy seeds should be plump and uniform in color for best results.
The water temperature matters more than you might think. Room temperature water is ideal for most beans, but for tougher varieties, lukewarm water can speed up the process without damaging the seeds.
After soaking, you’ll notice the beans plump up as they absorb moisture. This is a good sign! It means the seed coat has softened and the germination process can begin more quickly once planted.
Remember that over-soaking can be just as harmful as under-soaking. Beans left in water too long may start to ferment or split, which reduces their viability. Stick to the recommended times for your specific variety.
For organic gardeners, using filtered water is best. Chlorine in tap water can inhibit germination, so if you must use tap water, let it sit out for 24 hours first to allow the chlorine to dissipate.
Once soaked, plant your beans immediately in well-draining soil. The moisture boost from soaking gives them a head start, but they’ll need consistent soil moisture to continue the germination process successfully. 🌱
I always start by selecting a clean container that’s large enough to hold my beans with plenty of room. A wide-mouth jar or shallow bowl works perfectly for most home gardeners. The key is ensuring all seeds are fully submerged.
For the water-to-bean ratio, I use about 3 parts water to 1 part beans. This gives them enough space to expand as they absorb moisture without crowding. Room temperature water is ideal for most varieties, as we discussed earlier.
The soaking environment matters more than many realize. I keep my container in a dark, warm spot like a kitchen cabinet. This mimics natural conditions and prevents light from potentially damaging the seeds during their vulnerable state.
After soaking, I gently rinse the beans to remove any residue. Then I let them drain in a colander for about 10-15 minutes before planting. This prevents waterlogging while keeping the seeds moist enough for immediate planting.
I’ve found that beans soaked using this method typically germinate 2-3 days faster than dry-planted seeds. The key is consistency—don’t let them dry out after soaking, and always plant them in pre-moistened soil to maintain that crucial moisture balance. 🌱
The science behind this is fascinating: soaking breaks seed dormancy by softening the outer coat, allowing water to penetrate more easily. This jumpstarts the enzymatic process that leads to germination, giving your beans a significant head start in the garden.