
Beautiful Plants For Your Interior
Beautiful Plants For Your Interior
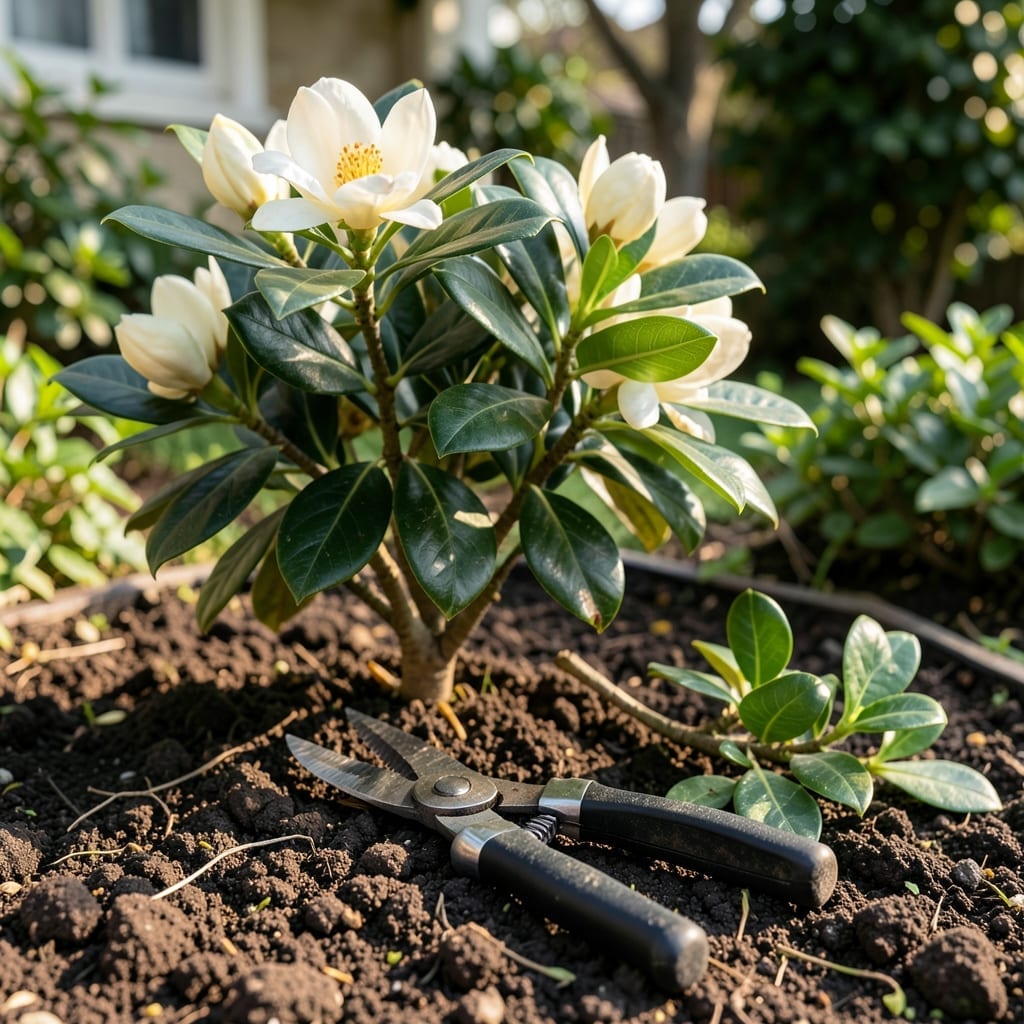
Pruning gardenias can feel intimidating—cut too much and you risk stunting their iconic blooms. 🌸 But neglect it, and your shrub may become overgrown and unhealthy.
I’ve learned the hard way that knowing the safe limits for cutting back is the key to keeping these beauties thriving. With the right approach, you’ll encourage lush growth and abundant flowers.
Discover how far you can prune without harming your gardenias, and why timing makes all the difference. Let’s get started.
Pruning gardenias requires balance—remove too little and the shrub becomes leggy, but over-pruning can shock the plant. I’ve found that cutting back one-third of the plant is the sweet spot for most varieties.
The best time to prune is right after blooming, typically in late summer or early fall. This gives the plant time to recover and set new buds for the next season. Avoid heavy pruning in spring or winter when the plant is vulnerable.
| Pruning Guideline | Specification |
| Maximum to Remove | 1/3 of foliage |
| Best Time | Post-bloom (late summer) |
| Tool Recommendation | Sharp bypass pruners |
| Cut Location | Above leaf node |
For overgrown gardenias, you can push the limit to 40-50% if absolutely necessary, but do this gradually over 2-3 years to avoid stressing the plant. Always prioritize removing dead or diseased wood first.
When shaping, focus on cutting just above a leaf node at a 45-degree angle. This encourages new growth while preventing water from pooling on the cut surface, which could lead to rot or disease.
Thinning the center of the shrub is crucial for airflow. I remove about 20-30% of the oldest inner branches annually to keep the plant healthy and reduce the risk of fungal issues.
If your gardenia has sparse lower growth, avoid cutting the top back too severely. Instead, trim the upper branches lightly to allow more sunlight to reach the lower parts, encouraging fuller growth.
Remember, gardenias bloom on old wood, meaning this year’s flowers form on last year’s growth. Pruning at the wrong time can cost you a season of blooms, so timing is everything.
After pruning, I always clean up debris around the base to prevent pests and diseases. A light application of acidic mulch can help the plant recover faster by maintaining soil pH.
With these guidelines, your gardenias will stay healthy, compact, and ready to produce their signature fragrant blooms year after year. ✂️
Pruning gardenias isn’t just about size control—it’s about encouraging healthy growth and maximizing blooms. I always start with clean, sharp bypass pruners to make precise cuts without crushing stems.
Begin by removing any dead, diseased, or crossing branches. These sap energy and create entry points for pests. Next, step back and assess the shape before making any major cuts.
When shaping, I make cuts at a 45-degree angle just above an outward-facing leaf node. This directs new growth outward, creating a fuller, more open shape rather than a dense center.
For thinning the interior, I remove about 20-30% of the oldest branches at the base. This improves air circulation, which is vital for preventing fungal diseases like powdery mildew.
If your gardenia has sparse lower growth, avoid heavy pruning on the top. Instead, selectively trim upper branches to allow sunlight to reach lower areas, encouraging new growth.
After pruning, I apply a thin layer of acidic mulch to help maintain soil pH and retain moisture. This gives the plant a boost as it recovers from the stress of pruning.
With these steps, your gardenias will maintain their natural beauty and reward you with abundant fragrant blooms each season. ✂️