
Beautiful Plants For Your Interior
Beautiful Plants For Your Interior
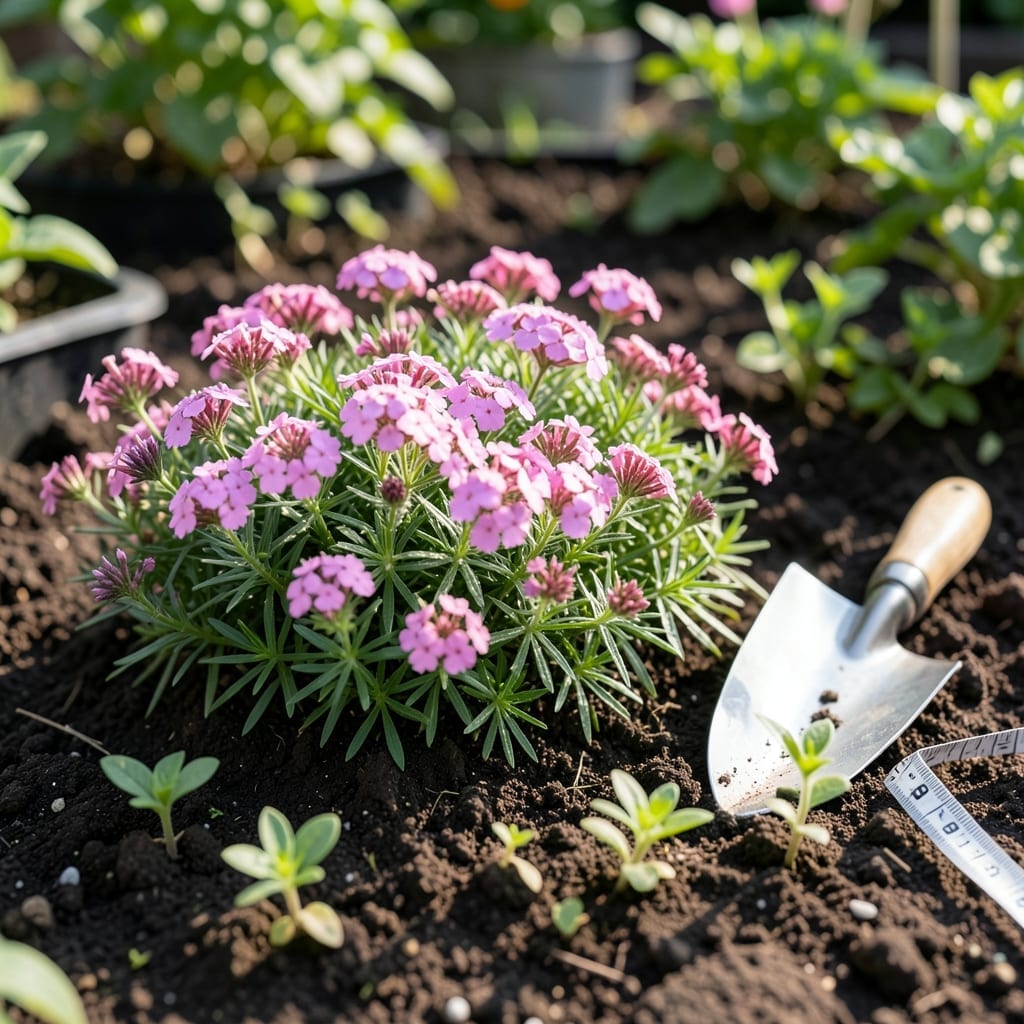
Creeping phlox transforms gardens with vibrant, carpet-like blooms—but incorrect spacing can lead to patchy growth or overcrowding.
I’ve learned the hard way that proper spacing is the key to achieving that lush, continuous coverage. Whether you’re planting for the first time or reviving an existing garden bed, getting this right makes all the difference.
Discover the ideal distance to plant 🌸 Creeping Phlox and watch your garden thrive with minimal effort.


When I first planted creeping phlox, I underestimated how much it spreads. The ideal spacing depends on your goals and the variety you choose. For Phlox subulata, the most common type, I recommend 12-18 inches apart for full coverage.
If you want quicker ground cover, plant them 10-12 inches apart. For a more controlled, low-maintenance look, 18-24 inches works better. Climate and soil conditions also play a role in how far apart to plant creeping phlox.
| Variety | Mature Spread | Recommended Spacing |
| Phlox subulata | 18-24 inches | 12-18 inches |
| Fast Coverage | N/A | 10-12 inches |
| Low Maintenance | N/A | 18-24 inches |
| Rock Gardens | 12-18 inches | 12-15 inches |
In my experience, soil quality affects spacing too. Rich, well-draining soil allows creeping phlox to spread faster, so you can space them further apart. Poor soil may require closer planting to achieve the same coverage.
Sunlight exposure is another factor. In full sun, creeping phlox tends to spread more aggressively, so 18 inches apart is often sufficient. In partial shade, I’d suggest 12-15 inches for better fill.
For rock gardens or slopes, where you want that cascading effect, I’ve found 12-15 inches works perfectly. This closer spacing helps the plants knit together quickly, preventing soil erosion.
If you’re planting in containers, space them 8-10 inches apart. This tighter spacing creates a lush, overflowing look that’s perfect for pots and window boxes.
Remember, these are guidelines. I always adjust based on my specific conditions. In hotter climates, I might space them slightly further apart to reduce competition for water.
For a naturalized look, try staggered planting. I space my first row 12 inches apart, then offset the next row by 6 inches. This creates a more organic, filled-in appearance.
Finally,
With the right spacing, your creeping phlox will form a beautiful, low-maintenance carpet of color 🌸
Planting creeping phlox with the right spacing starts with preparation. I always begin by measuring my garden bed and marking planting spots with small flags or stakes. This helps visualize the layout before digging.
For most Phlox subulata varieties, I use 12-18 inches as my baseline spacing. I measure from the center of one plant to the center of the next to ensure even coverage as they mature and spread.
One common mistake I see is planting too shallow or too deep. The crown (where stems meet roots) should sit level with the soil. Planting too deep can cause rot, while too shallow may lead to poor establishment.
For a staggered pattern, I plant the first row at 12 inches apart, then offset the second row by 6 inches. This creates a honeycomb effect that fills in faster and looks more natural than straight rows.
I always use a tape measure or a planting grid for accuracy. For large areas, I’ve found that creating a string line guide helps keep rows straight and spacing consistent.
After planting, I gently press the soil around each plant to remove air pockets. Then I water deeply to help the roots settle. This initial care is crucial for establishing your creeping phlox at the correct spacing 🌸