
Beautiful Plants For Your Interior
Beautiful Plants For Your Interior
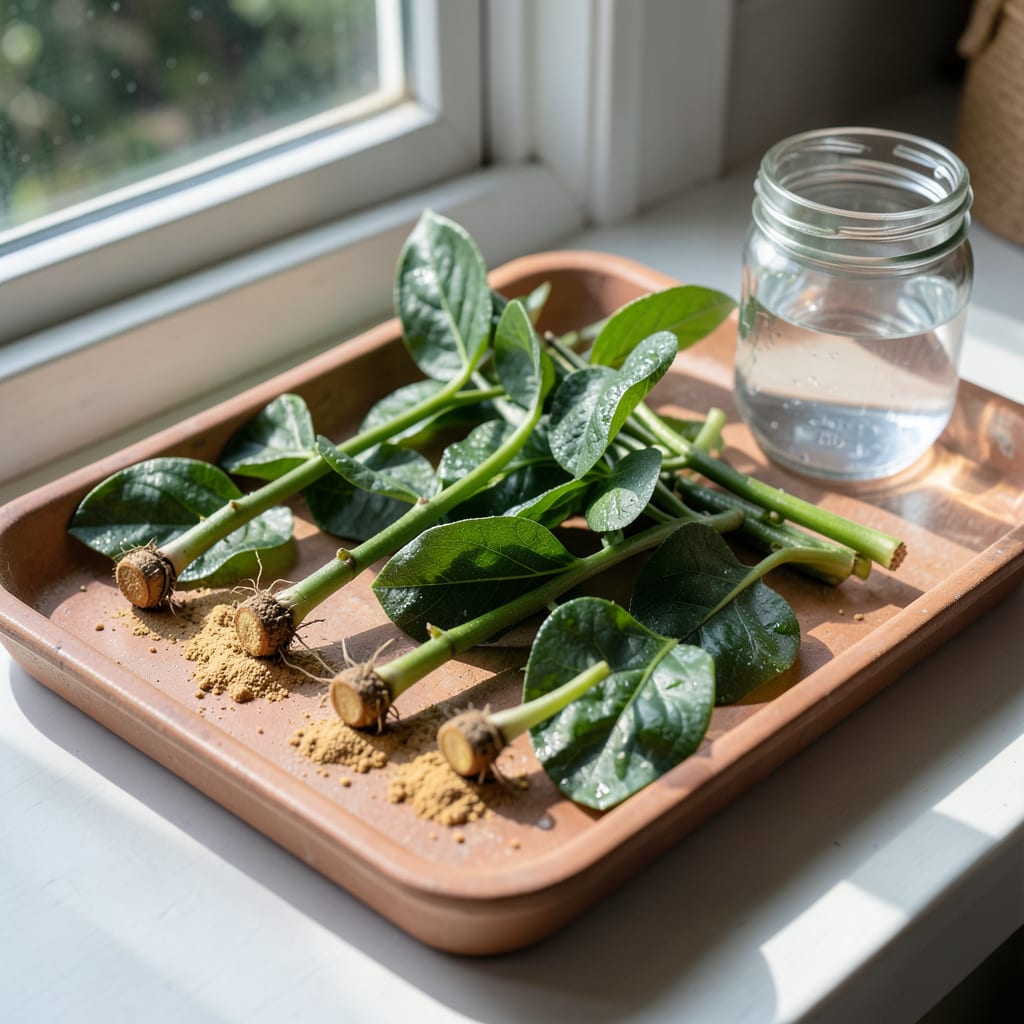
I turned one struggling pothos into a dozen thriving plants using this method. Rooting creates free plants from cuttings you’d normally toss, and it works for most houseplants with just water and patience.
You’ll see new white roots in 2-4 weeks—then it’s potting time. No special tools, no green thumb required. Just follow the simple steps and watch your collection multiply.
📚 In This Guide
Here is the method I use to create new plants from cuttings with nearly 100% success.
Choose 4-6 inch stem sections from vigorous, disease-free growth on the parent plant. I always look for stems with at least 2-3 leaf nodes—these are the points where leaves and roots emerge. Early morning is ideal for taking cuttings because the plant is fully hydrated.
Using sharp, clean pruners, make a 45-degree angle cut just below a leaf node. This increases the surface area for root development and helps prevent water from pooling on the cut surface, which can lead to rot. Remove the lower leaves, leaving only 1-2 sets at the top to reduce moisture loss.
Dip the cut end of each stem into rooting hormone powder, tapping off any excess. This step significantly boosts root development and helps prevent fungal infections. While not absolutely mandatory, I’ve found it increases success rates dramatically, especially with woody-stemmed plants.
Fill a clean container with a well-draining rooting medium such as perlite, vermiculite, or a mix of peat and sand. Insert each cutting about 1-2 inches deep into the medium, ensuring at least one leaf node is buried. This is where new roots will form.
Place the container in a location with bright, indirect light and maintain consistent moisture. I use a clear plastic bag or a propagating box to create a mini greenhouse effect, which keeps humidity high around the cuttings. This prevents the stems from drying out before roots can form.
Mist the cuttings daily with room temperature water to maintain humidity. Avoid letting the medium dry out completely, but also ensure it’s not waterlogged. You should see new root growth in 2-6 weeks, depending on the plant type and environmental conditions.
Once roots are 1-2 inches long, your cuttings are ready to transplant. Gently remove each cutting from the propagating medium, being careful not to damage the delicate new roots. This is the moment that matters: handle the new plants with extreme care to avoid setting back their development.
Plant each rooted cutting in its own small pot filled with standard potting mix. Water thoroughly and place in bright, indirect light for the first week to help the new plants acclimate. Gradually introduce more direct sunlight as the plants establish and show new growth.
The details that separate successful propagation from disappointing failures.
Selection Wisdom: In Step 1, always choose stems that are actively growing—look for that vibrant green color and firm texture. The 4-6 inch length is crucial because shorter cuttings don’t have enough stored energy to develop roots, while longer ones lose too much moisture. I learned this the hard way after several failed attempts with weak stems.
Cutting Technique: That 45-degree angle cut isn’t just for looks. It creates more surface area for root emergence while preventing water from collecting on the cut end, which is a common cause of rot. Make sure your pruners are sharp—crushed stems heal poorly and invite disease.
Humidity Insight: The mini greenhouse effect in Step 3 is non-negotiable for most plants. Without consistent humidity, cuttings dry out before roots can form. I’ve had success with everything from plastic bags to specialized propagators, but the key is maintaining that moist environment without letting the medium get soggy.
Yes! Many plants like pothos, mint, and willow root easily in water. Simply place cuttings in a clean jar with water, change it weekly, and wait for roots to grow (2-6 weeks). Transplant to soil once roots are 1-2 inches long.
Rooting time varies by plant. Fast rooters (e.g., coleus) may take 1-2 weeks, while slower ones (e.g., figs) can take months. Patience is key—keep the environment warm, humid, and consistently moist.
Natural options include honey (antibacterial), aloe vera gel, or cinnamon (antifungal). Dip cuttings in one of these before planting to encourage root growth without synthetic hormones.
Common issues: too much water, low humidity, or poor light. Check for rot, ensure the cutting has nodes, and use a well-draining medium. Adjust care based on the plant’s needs.
