
Beautiful Plants For Your Interior
Beautiful Plants For Your Interior
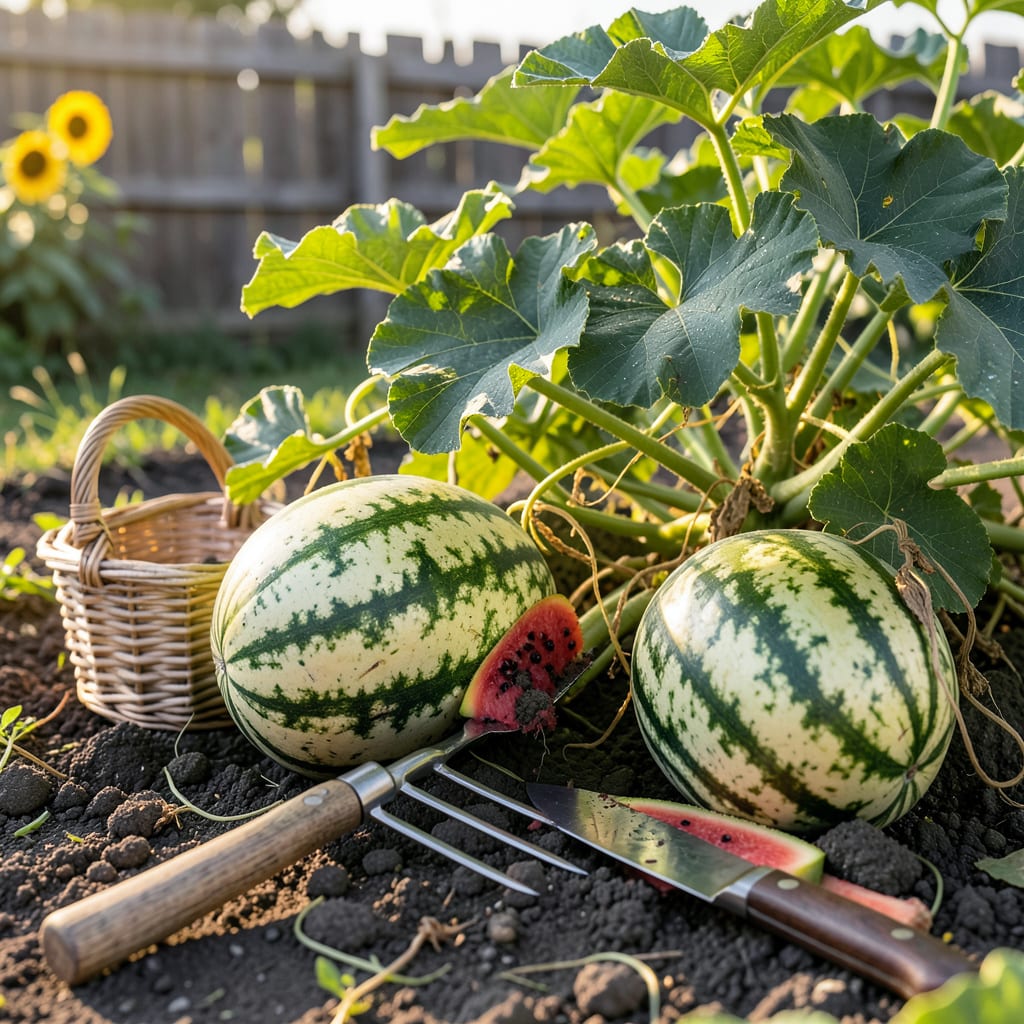
There’s nothing worse than cutting into a watermelon you’ve nurtured for months—only to find it underripe or overripe. That perfect balance of sweetness and crispness depends entirely on one critical moment: when you decide to pick it.
After testing countless methods in my own garden, I’ve narrowed it down to five foolproof signs that take the guesswork out of harvesting. Whether you’re growing classic Crimson Sweet or seedless varieties, these visual and physical cues will ensure you pluck your 🍉 at peak ripeness—every single time.


After months of tending your vines, the final test is knowing exactly when to harvest. Unlike tomatoes or peppers, watermelons don’t keep ripening after picking—so timing is everything. I’ve learned the hard way that size alone won’t tell you if it’s ready.
The secret lies in five key indicators that combine touch, sight, and sound. These signs work for nearly all varieties, from heirloom Crimson Sweets to modern seedless hybrids. Let’s break down each one so you can harvest with confidence.
| Ripeness Sign | What to Look For | Why It Matters |
|---|---|---|
| Tendril Drying | The curly vine near the stem turns brown and crispy | Signals the plant has stopped sending nutrients to the fruit |
| Ground Spot Color | Creamy yellow or orange (not white or green) | Shows prolonged contact with soil—key for sugar development |
| Rind Texture | Dull, not shiny (like a matte finish) | Glossy skin means it’s still ripening |
| Stem Separation | Stem loosens or detaches with gentle pressure | Natural abscission layer forms when fully ripe |
| Hollow Sound | Deep, resonant “thump” when tapped | Indicates dense, juicy flesh inside |
The tendril test is my go-to first check. That little curlycue vine nearest the fruit should be completely dried out—not just wilted. If it’s still green, walk away and check again in 2-3 days. This sign works for all varieties.
Next, flip the melon over and examine the ground spot. This is where the fruit rested on the soil. A ripe watermelon will have a creamy yellow or orange patch, not white or pale green. The deeper the color, the sweeter the flesh inside.
Now run your fingers over the rind texture. An unripe watermelon feels slick and shiny, almost like plastic. When ready, it’ll have a matte finish you can see and feel. This change happens as chlorophyll breaks down in the skin.
Gently press where the stem meets the fruit. If it gives slightly and the stem starts to separate, that’s your green light. Don’t yank—just apply steady pressure. The stem should release cleanly when truly ripe.
The famous thump test takes practice but is worth mastering. Tap the melon with your knuckles: a deep, hollow sound means it’s ready, while a metallic “ping” means it needs more time. Compare sounds between melons to train your ear.
For seedless varieties, I rely more on the ground spot and tendril since they often don’t develop that classic hollow thump. Their rinds also tend to stay slightly shinier, so focus on the other four signs instead.
Remember: size doesn’t equal ripeness. A watermelon can reach full size weeks before it’s actually ready to eat. I’ve seen 20-pound melons that were completely flavorless because they were picked too soon. Always combine multiple signs for the best results.
Pro tip: Check your melons early in the morning when temperatures are cooler. The fruits are firmer then, making it easier to assess texture and sound accurately. And always use two hands when lifting—those vines are deceptively strong!
Once you’ve confirmed all signs, use clean pruners to cut the stem, leaving 1-2 inches attached. This helps prevent rot during storage. Now you’re ready to enjoy that hard-earned sweetness! 🍉
Even experienced gardeners sometimes misjudge watermelon ripeness. I’ve made these mistakes myself, and let me tell you—nothing’s more disappointing than cutting into a melon that’s either underripe and bland or overripe and mushy. The good news? These errors are completely avoidable.
Most harvesting mistakes come from relying on just one sign (like size or color) instead of combining multiple indicators. Others stem from impatience or misinformation. Let’s break down the top 5 pitfalls I see gardeners make—and how to steer clear of them.
1. Judging by size alone – Big ≠ ripe! Many varieties reach full size weeks before they’re ready.
2. Ignoring the tendril test – That curly vine is your best early indicator of ripeness.
3. Misreading the ground spot – White or green spots mean it’s not ready; look for creamy yellow.
4. Thumping too hard – Use knuckles, not palms, for an accurate hollow sound.
5. Picking after rain – Wet melons sound different and feel softer, leading to false readings.
The biggest mistake I see beginners make is assuming a watermelon is ripe just because it’s large enough. I once grew a 25-pound ‘Carolina Cross’ that looked perfect but was completely flavorless because I harvested it based on size alone. Always check the tendril and ground spot first.
Another common error is ignoring the tendril test. That little curly vine near the stem is your melon’s way of signaling, “I’m done growing!” If it’s still green, your fruit needs more time. I’ve found this works for all varieties, from seedless mini melons to giant heirlooms.
Many gardeners also misjudge the ground spot color. A white or pale green patch means the melon hasn’t developed enough sugars. You want a deep creamy yellow or orange—this shows it’s been in contact with the soil long enough to sweeten properly.
The thump test trips people up because they either tap too hard or use the wrong part of their hand. Use your knuckles, not your palm, and listen for a deep, resonant sound. A high-pitched “ping” means it’s underripe, while a dull “thud” suggests overripeness.
Finally, never check ripeness right after watering or rain. The extra moisture makes melons feel softer and sound different, leading to false readings. I always test my watermelons early in the morning when the fruits are firmest and the garden is dry.
Remember: When in doubt, wait one more day. Watermelons won’t ripen further after picking, but they can go from perfect to overripe quickly on the vine. I’ve saved many melons by giving them that extra 24 hours when I wasn’t quite sure.
By avoiding these common mistakes, you’ll dramatically increase your chances of harvesting sweet, juicy watermelons every time. Your patience and attention to detail will pay off with that first perfect, crisp bite! 🍉
Not all watermelons ripen the same way, and I’ve learned this the hard way after growing everything from tiny Sugar Babies to giant Carolina Cross melons. The ripeness signs we discussed earlier apply to most varieties, but there are critical differences you need to watch for.
Seedless watermelons, for instance, often stay slightly shinier and firmer than their seeded cousins. Their tendrils might dry out a bit later, and they rarely develop that classic hollow thump. I’ve found that focusing on the ground spot color and stem separation gives the most reliable results with these varieties.
| Variety Type | Key Ripeness Signs | Days to Maturity | Special Notes |
|---|---|---|---|
| Seeded (Heirloom) | Dull rind, deep hollow thump, fully dried tendril | 80-90 days | Often develops pronounced stripes when ripe |
| Seedless (Hybrid) | Creamy ground spot, loosening stem, partially dried tendril | 75-85 days | May stay slightly shiny; focus on ground spot color |
| Yellow/Orange Flesh | Rind turns buttery yellow, extra-sweet aroma | 85-95 days | Often ripens 3-5 days later than red varieties |
| Mini/Personal Size | Ground spot turns orange, stem separates easily | 70-80 days | Check daily after 65 days—ripens quickly! |
For yellow-fleshed varieties like ‘Yellow Doll’ or ‘Orange Crisp’, I’ve noticed they often take 3-5 extra days to ripen compared to red-fleshed melons. Their rinds also tend to develop a buttery yellow hue when fully ripe, rather than just turning dull green. The ground spot on these varieties turns a deeper orange than on red-fleshed types.
The mini watermelons (like ‘Sugar Baby’ or ‘Golden Midget’) are my favorites for small gardens, but they require extra attention. These little guys can go from underripe to overripe in just 24-48 hours once they start showing signs. I begin checking them daily after about 65 days, looking for that orange ground spot and easy stem separation.
If you’re growing giant varieties (think 30+ pounds), be patient—they often need the full 90 days or more to develop their best flavor. The tendril test is especially reliable with these, as the vines are so robust. I’ve found that giant melons also develop a stronger sweet aroma at the stem end when fully ripe, almost like a hint of their flavor to come.
Remember that soil temperature and growing conditions can shift these timelines. In my cooler climate (Zone 6), I often add 5-7 extra days to the maturity estimates. Hotter regions might see melons ripen a bit faster. When in doubt, keep a garden journal to track your specific variety’s progress year to year! 🌱
Start checking daily once the watermelon reaches its expected size, typically after 70-80 days from planting. The final ripening stage happens quickly, so frequent checks prevent missing the perfect window.
For mini varieties, begin daily inspections at 65 days, as they can ripen in just 24-48 hours once signs appear. Larger varieties need less frequent checks—every 2-3 days is sufficient.
The thump test is most reliable for traditional seeded varieties, which develop a clear hollow sound when ripe. Seedless types often stay firmer and may not produce the same resonant thump.
For seedless melons, prioritize the ground spot color and stem separation instead. Their rinds also tend to remain slightly shinier even when fully ripe.
Early morning is ideal, when temperatures are cooler and fruits are firmest. This gives the most accurate readings for both the thump test and rind texture assessment.
Avoid checking after watering or rain, as excess moisture can make melons feel softer and sound different, leading to false readings about their true ripeness.
No—unlike tomatoes, watermelons won’t ripen further after picking. They must fully mature on the vine to develop sweetness and proper texture.
If harvested early, the flesh will remain bland and mealy no matter how long it sits on your counter. Always confirm ripeness using multiple signs before cutting.
This usually happens when the melon was picked based on size or color alone, without confirming other ripeness signs. The tendril and ground spot tests are critical for sugar development.
Hot, dry conditions can also concentrate sugars prematurely, while excessive rain may dilute flavor. Variety selection and consistent watering play big roles in taste too.
