
Beautiful Plants For Your Interior
Beautiful Plants For Your Interior
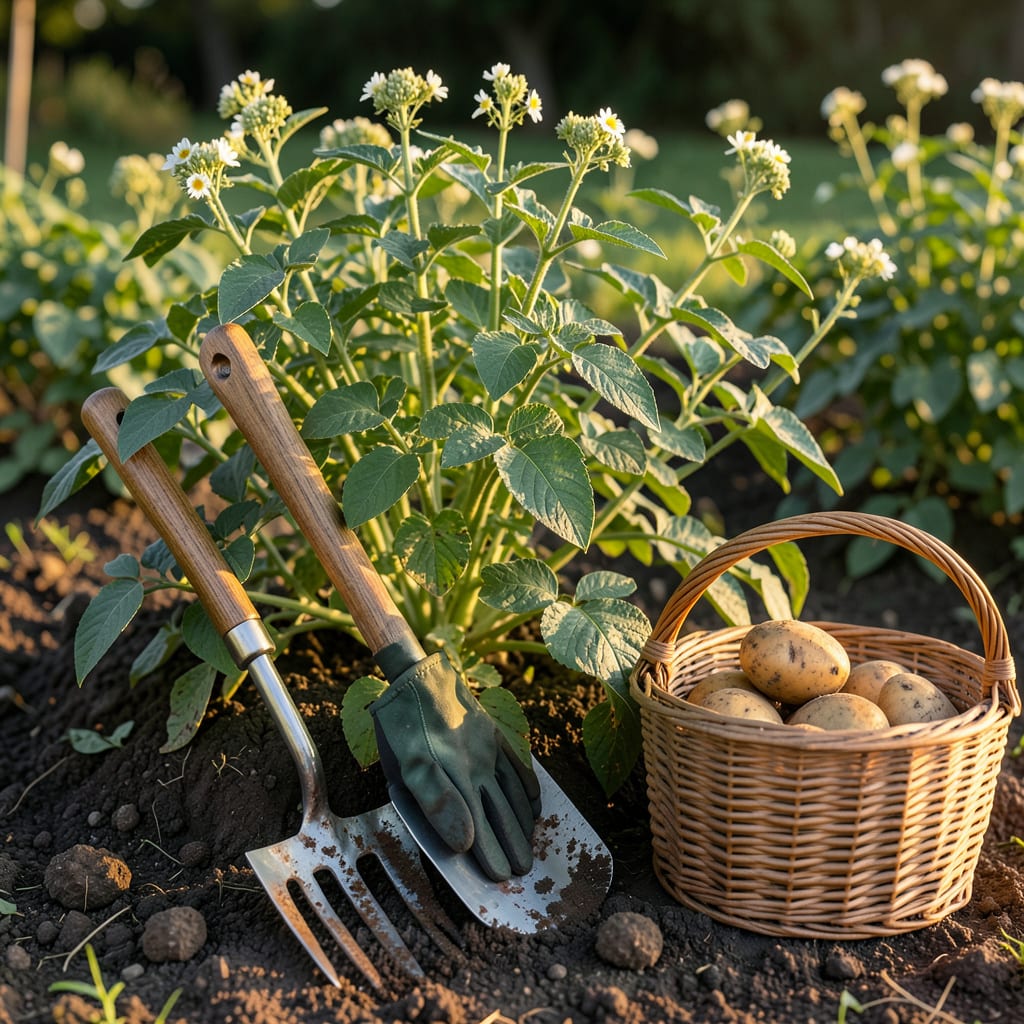
There’s nothing worse than digging up your Potato plants only to find underwhelming, pebble-sized tubers—or worse, rotten ones. Timing your harvest is everything, and missing the sweet spot can turn months of effort into a disappointing haul.
I’ve learned the hard way that waiting for the perfect moment isn’t about guesswork—it’s about reading the signs. From dying foliage to skin firmness, I’ll show you exactly how to know your 🥔 are ready to come out of the ground, so you get the biggest, tastiest yield possible.


Knowing when to harvest potatoes isn’t about luck—it’s about reading the clear signals your plants send. The most reliable indicator? The foliage starts yellowing and dying back, which means the plant is redirecting energy to the tubers below. This usually happens 2-3 weeks before harvest.
But foliage isn’t the only clue. The skin set test is my go-to trick: gently rub a potato’s skin with your thumb. If it doesn’t scrape off easily, the tubers are mature enough for storage. For new potatoes, you can harvest earlier—just watch for flowering as your first sign.
For early varieties like ‘Yukon Gold’ or ‘Red Norland,’ expect harvest in 70-90 days. These are your “new potatoes,” perfect for fresh eating. Their skins are thinner, so handle them gently. I like to harvest a few test tubers once the plants flower to gauge progress.
Mid-season varieties (e.g., ‘Kennebec’) take 90-110 days, while late-season types like ‘Russet’ or ‘German Butterball’ need 120-135 days. These are your storage champions, with thicker skins and longer shelf life. Wait until the foliage is completely dead for maximum yield.
Weather plays a huge role too. If frost threatens, harvest immediately—even if the foliage is still green. Frost-damaged potatoes turn mushy and rot quickly in storage. On the flip side, prolonged heat can cause tubers to sprout prematurely in the ground, so keep an eye on forecasts.
Here’s a pro tip: Dig a test hill before harvesting everything. Use your hands or a fork to gently uncover a few tubers from different plants. If they’re the size you want and the skins are set, it’s go time. If not, wait a few more days and check again.
Don’t forget about soil moisture—harvest when the soil is dry but not bone-dry. Wet soil makes tubers muddy and harder to cure, while overly dry soil can cause bruising. Aim for a day after light rain or water 24 hours before harvesting for ideal conditions.
If you’re growing potatoes in containers, the rules are slightly different. Since container-grown spuds often have less room, they mature faster. Start checking at 60 days by tipping the container slightly to peek at tuber size. Container potatoes also benefit from more frequent watering, so monitor soil moisture closely.
Finally, trust your instincts. If the plants look spent, the tubers feel firm, and the weather’s cooperating, it’s time to dig. I’ve found that harvesting in the early morning on a dry day makes the process smoother—and the potatoes last longer in storage. Now grab your fork and get digging! 🪴
Not all potatoes are created equal when it comes to harvest time. The variety you planted determines everything from days to maturity to how long they’ll store. Early varieties like ‘Yukon Gold’ or ‘Red Norland’ can be ready in as little as 70 days, while late-season types often need 135 days or more.
I always mark my planting date on the calendar and count forward based on the variety’s expected maturity. But remember, these are just guidelines—weather, soil conditions, and even planting depth can shift the timeline. When in doubt, dig a test tuber to check size and skin set.
| Variety | Days to Maturity | Best Use | Harvest Signs |
|---|---|---|---|
| Yukon Gold | 70-90 | Fresh eating, mashing | Foliage yellows, flowers fade |
| Red Norland | 75-85 | Boiling, salads | Early flowering, thin skins |
| Kennebec | 90-110 | Frying, storage | Foliage dies back completely |
| Russet | 100-135 | Baking, long storage | Thick skins, fully dead foliage |
| German Butterball | 110-130 | Roasting, mashing | Late-season, cold-hardy |
For early varieties, I start checking at 60 days by gently feeling around the base of the plant. If the tubers are 1-2 inches in diameter, they’re ready for “new potato” harvests. These young spuds have thin skins and don’t store well, so eat them within a week.
Mid-season varieties like ‘Kennebec’ need more patience. I wait until the foliage is 80% dead before harvesting. The skins will be thicker, making them ideal for storage. If you’re growing for winter use, these are your best bet—they’ll keep for 2-3 months in cool, dark conditions.
Late-season potatoes are the marathon runners of the garden. Varieties like ‘Russet’ or ‘German Butterball’ can take 4+ months to mature, but their reward is longer storage life (up to 6 months!). I’ve found these do best when left in the ground until the first light frost kills the foliage naturally.
If you’re growing in containers or bags, adjust your expectations. Container-grown potatoes often mature 10-15 days faster due to restricted root space. Start checking at 50 days for early varieties. The trade-off? Smaller yields but earlier harvests—perfect for small spaces or impatient gardeners!
Pro tip: Label your rows with variety names and planting dates. It’s easy to forget what you planted where, and a simple stake saves guesswork later. And if you’re growing multiple varieties, harvest the early ones first to make room for the late-season tubers to size up. Happy digging! 🪴
Even experienced gardeners can sabotage their potato harvest with a few common missteps. The biggest one? Harvesting too early. I’ve seen eager gardeners dig up tubers the second flowers appear, only to end up with golf-ball-sized spuds that bruise at a touch.
Waiting too long is just as risky. Overmature potatoes develop thick, woody skins or even split open in the ground. I learned this the hard way when a late harvest of Russets turned into a mushy, rot-prone mess after storage. The 2-week window after foliage dies is your golden harvest period.
Another critical error? Harvesting in wet conditions. I once rushed to dig potatoes after rain, and the muddy tubers developed soft rot within weeks. Always wait for dry soil—or at least let the surface moisture evaporate first. Your storage life depends on it.
Tool choice matters more than you’d think. A garden fork is your best friend here—shovels are too blunt and often slice through tubers. I work methodically, starting 12 inches from the plant base and lifting gently. If you hit resistance, stop and try another angle. Bruised potatoes don’t store well.
Finally, don’t overlook the curing process. After harvest, let potatoes sit in a dark, humid (85%+) space at 50-60°F for 10-14 days. This toughens their skins for storage. Skip this step, and you’ll be tossing soft, sprouting spuds by Thanksgiving. Trust me, patience pays off! 🪴
Harvesting too soon results in small, underdeveloped tubers with thin skins that bruise easily. These “new potatoes” lack storage potential and should be eaten within days. The plant hasn’t had time to convert starches, so flavor and texture suffer too.
Yes, overmature potatoes develop tough, woody skins or may split open in the ground. They become more susceptible to pests and diseases. For storage varieties, aim to harvest within 2 weeks after foliage dies back for optimal quality.
Use the gentle dig method: Carefully uncover a few tubers from the plant’s edge with your hands. Check their size (2-3 inches ideal) and perform the thumbnail test—rub the skin; if it doesn’t scrape off, they’re ready. Rebury any unharvested tubers.
Container spuds often mature 10-15 days faster due to restricted space. Start checking at 50 days for early varieties by tipping the container slightly. They’ll be smaller but perfect for fresh eating. Container-grown potatoes need more frequent watering too.
