
Beautiful Plants For Your Interior
Beautiful Plants For Your Interior
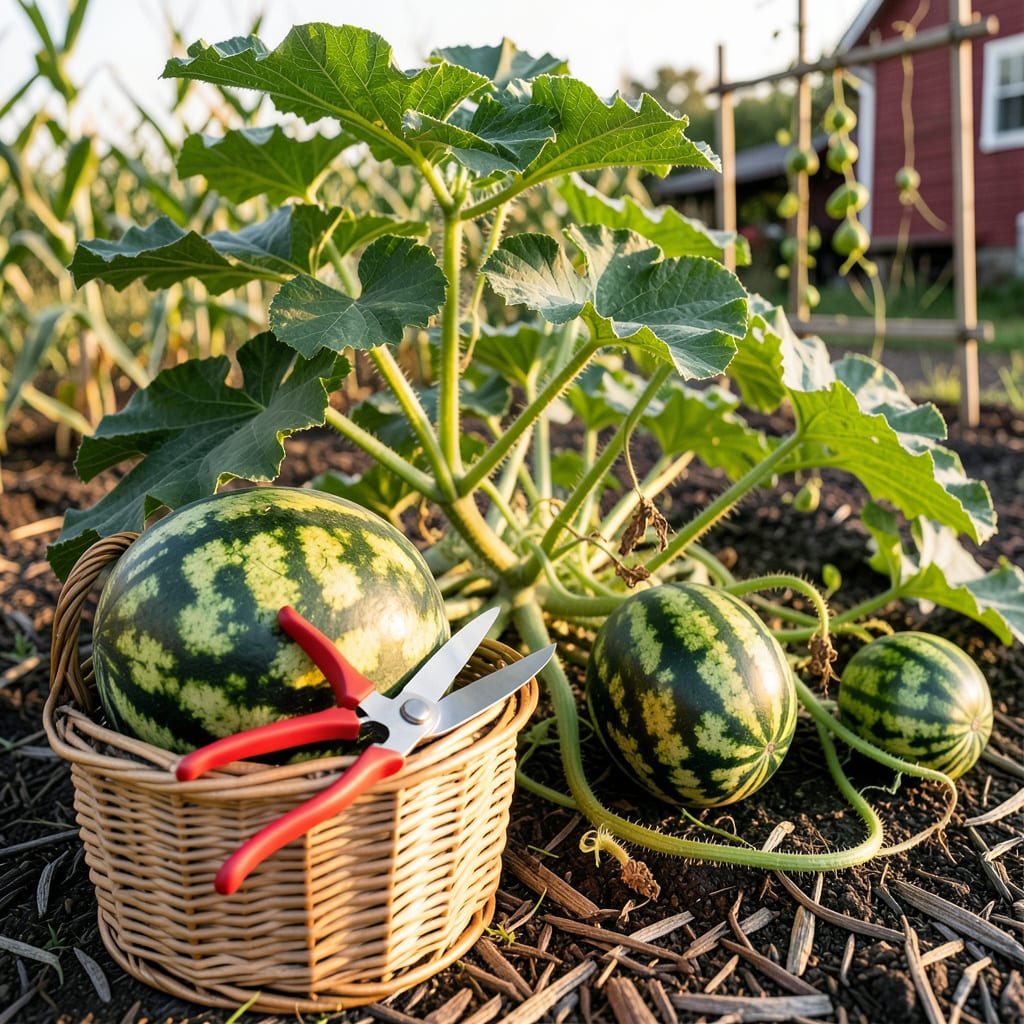
Nothing beats the disappointment of cutting into a watermelon only to find it underripe—or worse, overripe. That perfect balance of sweetness and juiciness hinges on one critical moment: knowing exactly when to pick it.
Whether you’re growing your own or selecting one at the market, I’ll show you the 5 foolproof signs to spot a ripe watermelon every time. No guesswork, no wasted fruit—just that ideal, refreshing bite you’ve been waiting for.


Timing your watermelon harvest perfectly is both an art and a science. After growing hundreds of watermelons over the years, I’ve learned that the fruit won’t continue ripening after picking, so getting it right the first time is crucial. The good news? Your watermelon plant gives you five clear visual signals when it’s ready.
First, forget everything you’ve heard about size being the main indicator. A large watermelon isn’t necessarily ripe, while a smaller one might be perfectly sweet. Instead, focus on these physical changes that happen as the fruit matures. These signs work for all varieties, from classic Crimson Sweet to seedless Triple Crown types. 🌱
| Ripeness Sign | What to Look For | Stage Indicator |
|---|---|---|
| Curl Tendril | Tendril nearest fruit turns brown/dry | 🟡 Ready |
| Ground Spot | Creamy yellow (not white/green) | 🟡 Ready |
| Rind Texture | Dull finish (not glossy) | 🟡 Ready |
| Stem Condition | Stem begins to separate slightly | 🟡 Ready |
| Webbing Pattern | Dark, rough webbing develops | 🟡 Ready |
💡 Pro Tip: Check multiple signs – 3+ indicators mean it’s harvest time!
The curl tendril is my favorite indicator because it’s foolproof. This is the small, curly stem that grows right where the watermelon connects to the vine. When it turns from green to brown and becomes completely dry, your melon is ready. I check this daily once the fruit reaches full size, as the change can happen quickly in hot weather.
Next, examine the ground spot – the area where the watermelon rests on the soil. An unripe melon will have a white or pale green spot, while a ripe one develops a creamy yellow color. For varieties with dark green rinds, this color contrast becomes especially noticeable. The larger and more defined this spot, the sweeter the fruit typically is. ☀️
The rind texture changes dramatically as the fruit matures. Early on, watermelons have a glossy, shiny surface. As they ripen, the skin becomes dull and slightly rough to the touch. This happens because the waxy coating breaks down as sugars develop inside. I run my fingers lightly over the surface – if it feels slightly resistant rather than slick, it’s a good sign.
Don’t overlook the stem connection. As the watermelon ripens, the stem begins to separate slightly from the vine. You’ll notice the area where the stem meets the fruit becomes more pronounced. Be careful not to pull at this point – if the stem comes off completely, the fruit is overripe. Instead, use clean pruners to cut the stem about 2 inches from the melon. ✂️
Finally, check for webbing patterns – those dark, rough patches that develop on the rind. While not all varieties develop pronounced webbing, when present, it indicates high sugar content. The more extensive the webbing, the sweeter the fruit typically is. This is especially true for heirloom varieties like Moon and Stars watermelons.
Remember that these signs work together. I never harvest based on just one indicator. When at least three of these visual cues appear simultaneously, that’s when I know it’s time to pick. For most varieties, this occurs about 80-90 days after planting, but always let the plant tell you rather than the calendar. 🌿
If you’re growing multiple watermelons, they won’t all ripen at exactly the same time. I’ve found that fruits on the same vine can mature 3-5 days apart. Check each one individually rather than harvesting all at once. This staggered approach gives you a longer harvest window and prevents waste from overripe fruit.
When you can’t rely on visual cues alone, the thump test and weight assessment become your best tools for picking a perfect watermelon. I’ve used these methods for years, and they work whether you’re harvesting from your garden or selecting one at the market. The key is knowing what to listen and feel for.
The thump test might seem mysterious, but it’s actually quite simple. A ripe watermelon will produce a deep, hollow sound when tapped – almost like a drum. If it sounds dull or flat, the fruit is likely underripe. Overripe melons tend to have a higher-pitched, metallic ring to them.
💡 Pro Tip: Compare several melons to notice differences
For the weight test, remember that watermelons are 92% water, so a ripe one should feel surprisingly heavy for its size. I always compare two similar-sized melons – the heavier one is usually riper. This works because as the fruit matures, more water accumulates inside the flesh.
The pressure test is another reliable method. Gently press your thumbnail against the rind. On a ripe watermelon, the outer skin should have some give but not be too soft. If your nail doesn’t leave a mark at all, the fruit needs more time. If it punctures easily, you’ve waited too long.
I’ve found that combining all three tests gives the most accurate results. Start with the thump test, then check the weight, and finally do the pressure test. When all three signs point to ripeness, you’ve found your perfect watermelon. This method works for all varieties, from small Sugar Baby to giant Carolina Cross.
Remember that these tests work best when the watermelon is at room temperature. Cold melons from refrigerated displays might give slightly different results. If you’re harvesting from your garden, test in the morning when temperatures are moderate for the most accurate assessment. ✅
Even experienced gardeners sometimes harvest watermelons too early or too late. After helping dozens of friends troubleshoot their watermelon disappointments, I’ve identified the most common mistakes that lead to underripe or overripe fruit. The good news? These errors are easily avoidable once you know what to watch for. 🌱
One of the biggest misconceptions is that size equals ripeness. Many gardeners assume that once their watermelon reaches its expected dimensions, it’s ready to pick. However, size is more about variety than maturity. A Sugar Baby might be perfectly ripe at 8 pounds, while a Carolina Cross needs to reach 30+ pounds before it’s ready.
💡 Quick Fix: Always check 3+ ripeness indicators before cutting!
Another critical error is ignoring the ground spot. This simple color change tells you more about ripeness than almost any other indicator. I’ve seen gardeners harvest melons with bright white bottoms, thinking they were ready. That white spot should always turn creamy yellow before picking. When in doubt, give it another day or two.
Timing your harvest checks matters too. Many people test their watermelons first thing in the morning when the fruit is cool. For the most accurate results, I recommend checking in the late afternoon when the melon has warmed in the sun. The thump test works best at this time, giving you that characteristic hollow sound when the fruit is truly ripe. ☀️
Finally, don’t make the mistake of harvesting all your watermelons at once. Even on the same vine, fruits can ripen several days apart. I use small sticky flags to mark melons that are close to ready, then check them individually each day. This staggered approach ensures you don’t miss the perfect harvest window for any of your fruit. ✂️
Most varieties reach maturity in 70-90 days after planting. The exact timing depends on the specific type and growing conditions. Seedless varieties often take slightly longer to ripen than seeded ones.
Unlike some fruits, watermelons won’t continue ripening after they’re picked. Once separated from the vine, the sugar content and texture remain fixed. Always wait for full ripeness before harvesting.
A dull thud typically indicates the fruit is underripe. A properly ripe watermelon produces a deep, hollow sound. If you hear a flat noise, give it another 2-3 days before testing again.
Size alone isn’t a reliable indicator. Different varieties have different mature sizes. Always check the ground spot color, tendril condition, and rind texture instead of focusing solely on dimensions.
Late afternoon provides the most accurate results. The fruit warms in the sun, making the hollow sound more distinct during the thump test. Morning checks often give misleading readings due to cooler temperatures.
