
Beautiful Plants For Your Interior
Beautiful Plants For Your Interior
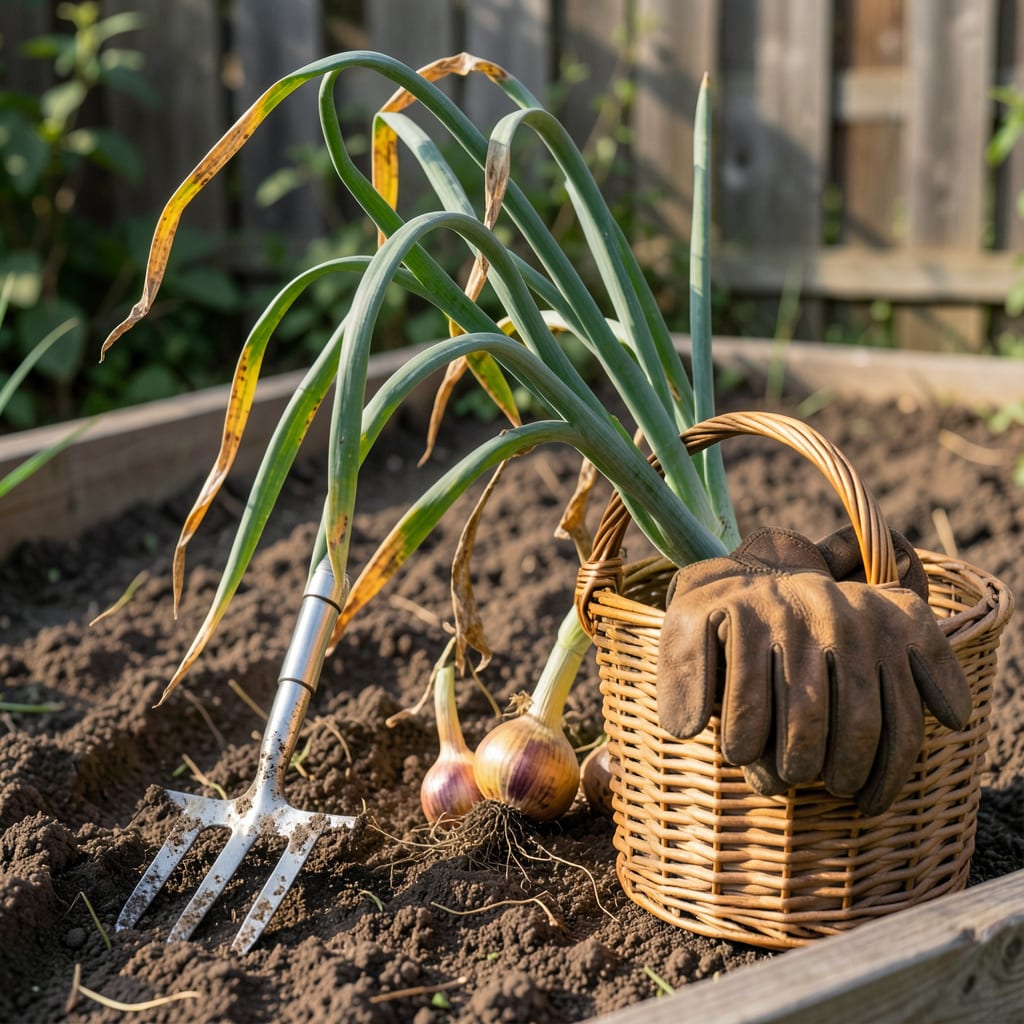
There’s nothing worse than pulling up your 🧅 onions only to find they’re not quite ready. One day they seem fine, the next you’re wondering if you’ve missed your window. I’ve been there—staring at my onion patch, unsure whether to wait or harvest.
The difference between a perfect onion and a disappointing one often comes down to 5 key signs most gardeners miss. Let me show you exactly what to look for so you’ll never second-guess your harvest timing again. Your best onion crop starts with knowing when to pull them from the ground.


After months of patiently tending your onion patch, the big question arrives: Are they ready yet? Unlike tomatoes that shout “Pick me!” with vibrant colors, onions whisper their readiness through subtle changes. I’ve learned the hard way that timing is everything with these underground treasures.
What separates a perfect harvest from a disappointing one? It’s all about reading the five unmistakable signs your onions display when they’re at peak maturity. Whether you’re growing sweet yellow varieties or pungent red onions, these visual cues work for nearly all bulb types. Let’s break them down so you’ll never question your harvest timing again.
⚠️ Green onions don’t follow these rules! Harvest them when stems reach 12-18 inches tall.
Let’s start with the most obvious sign: when onion tops fall over. This isn’t just random flopping—it’s the plant redirecting energy from leaf growth to bulb maturation. I remember my first season panicking when my onions started toppling, thinking they were dying. Now I know this natural dying-back process means harvest time is near.
The neck test is my personal favorite indicator. About 1-2 weeks after tops begin yellowing, gently press the stem where it meets the bulb. When it feels as soft as an overripe banana stem, you’re in the harvest window. This softening happens because the plant stops sending nutrients upward, focusing instead on bulb development.
Here’s where many gardeners get tripped up: not all yellowing means maturity. If your onion tops turn yellow from disease or drought stress, they’ll often feel crispy rather than soft. True maturity yellowing starts at the tips and progresses downward while maintaining some flexibility in the neck area.
For those growing large bulb varieties like ‘Sweet Sandwich’ or ‘Ailsa Craig’, watch for the shoulder show. When the top third of your onion bulb pushes above the soil line, it’s reached its full diameter. I like to gently brush away soil to check bulb size—aim for 2.5-4 inches across for most varieties.
The papery skin test is particularly important for storage onions. Run your fingers over the bulb’s surface—mature onions have skins that rustle like dry leaves. If the outer layers feel moist or stick to your fingers, give them 3-5 more days in the ground. This paper-thin layer is what protects onions during curing and storage.
Pro tip: Morning harvesting makes a difference. I always pull my onions before 10 AM when the soil is still cool and moist. This reduces shock to the plants and helps prevent bruising. Use a fork to loosen the soil around bulbs first, then gently pull them by the tops. Never yank—this can damage the neck and invite rot during curing.
Remember that green onions (scallions) play by different rules. These are harvested young, typically 60-80 days after planting when stems are pencil-thick. For bulb onions, if you’re seeing multiple signs—toppling, soft necks, and papery skin—it’s go time. Trust me, your patience will be rewarded with firm, flavorful onions that store beautifully.
Still unsure? Try the sample test: Dig up one onion and check its maturity. Cut it open—the layers should be tightly packed with no thick, watery rings. If it passes these checks, the rest of your crop is likely ready too. This simple test has saved me from many premature harvests over the years.
Not all onions follow the same timeline, and understanding whether you’re growing short-day or long-day varieties can mean the difference between a bountiful harvest and a disappointing one. I learned this lesson after my first attempt with ‘Texas Early White’ onions produced lackluster results—turns out I was growing them in the wrong climate zone!
The key difference lies in how these varieties respond to daylight hours. Short-day onions begin forming bulbs when days reach 10-12 hours of sunlight, making them perfect for southern gardens. Long-day varieties need 14-16 hours of daylight to bulb up properly, which is why they thrive in northern regions. Let’s break down what this means for your harvest timing.
| Onion Type | Best Climate | Days to Maturity | Popular Varieties | Harvest Window |
|---|---|---|---|---|
| Short-Day | Zones 7-10 | 70-90 days | ‘Texas Early White’, ‘Red Creole’ | Late spring/early summer |
| Long-Day | Zones 1-6 | 90-110 days | ‘Walla Walla’, ‘Sweet Sandwich’ | Mid to late summer |
| Day-Neutral | Zones 5-7 | 75-95 days | ‘Candy’, ‘Red Amber’ | Early to mid summer |
💡 Pro Tip: Overwintered onions (planted in fall) mature about 2-3 weeks earlier than spring-planted ones.
For short-day onions, I’ve found they often mature faster than expected in warm climates. In my Zone 9 garden, ‘Texas Early White’ onions were ready in just 65 days when planted in late winter. The trick is watching for those first signs of toppling—they can go from “almost ready” to “overmature” surprisingly quickly in hot weather.
Northern gardeners working with long-day varieties have a slightly longer window. My ‘Walla Walla’ onions in Zone 6 typically take the full 110 days, but I’ve noticed they develop better flavor when given that extra time. The cooler nights seem to enhance their sweetness while the long summer days build impressive bulb size.
Don’t overlook day-neutral onions if you’re in the middle climate zones. These adaptable varieties like ‘Candy’ give me consistent results whether I plant them in early spring or late summer for a fall harvest. They’re particularly forgiving for gardeners who might miss the ideal planting window for other types.
Remember that soil temperature plays a role too. Onions prefer 60-75°F soil for optimal growth. In hotter climates, I’ve had success using light mulch to keep roots cool and extend the growing season by a week or two. This is especially helpful for preventing premature bolting in spring-planted short-day varieties.
If you’re growing from seeds rather than sets, add about 2-3 weeks to these maturity estimates. Seed-grown onions take longer to establish but often develop more complex flavors. I always mark my calendar with both the expected maturity date and a two-week buffer—this way I’m ready to check for harvest signs at the right time.
Still uncertain about timing? Here’s my foolproof method: When about half your onion tops have fallen over, gently dig up a test bulb from different areas of your patch. Check for that papery skin and firm texture we discussed earlier. If they pass the test, it’s time to harvest the rest within 3-5 days to prevent overmaturity.
Timing your onion harvest isn’t just about getting it right—it’s about avoiding the costly mistakes that come with being too early or too late. I’ve learned this the hard way, pulling onions prematurely only to find they shrivel in storage, or waiting too long and ending up with split, rot-prone bulbs.
The consequences of mistimed harvesting can ripple through your entire crop. Pick too soon, and you’ll get small, thin-skinned onions that won’t store well. Wait too long, and you risk bolting, splitting, or disease—all of which ruin both flavor and storage potential.
💡 Recovery Tip: Slightly early onions can be cured immediately in a warm, dry place to extend storage life.
When I harvested my first onion crop two weeks early, I ended up with bulbs no bigger than golf balls. They looked cute but stored poorly—most sprouted within weeks. The skins were so delicate that even careful handling caused bruising. That season taught me to always check for that papery skin texture before pulling.
On the flip side, leaving onions too long invites trouble. I once lost half my ‘Walla Walla’ crop to neck rot after heavy rains hit my overmature plants. The bulbs had started splitting, creating entry points for moisture and bacteria. Now I know that when 70% of tops have fallen, it’s harvest time regardless of the weather forecast.
There is a silver lining for slightly mistimed harvests. Early-pulled onions can often be used immediately in cooking—they’ll have milder flavor but work fine for fresh dishes. Overmature onions might need immediate processing (chopping and freezing) but can still be salvaged. The key is acting quickly before quality degrades further.
For gardeners in wet climates, timing becomes even more critical. I’ve found that laying straw mulch under maturing onions helps prevent soil splashing onto bulbs, reducing rot risks during those final weeks. And always have a backup plan—if heavy rains are forecast when your onions are ready, harvest early rather than risk losing them to waterlogged soil.
Early morning is ideal, before 10 AM when soil is cool and moist. This minimizes shock to the plants and helps prevent bruising. Use a fork to loosen soil first, then gently pull by the tops.
Watch for split bulbs or flower stalks emerging (bolting). Overmature onions also develop tough, fibrous layers. If 70% of tops have fallen, harvest within 3-5 days to avoid these issues.
It’s better to wait until soil dries slightly. Wet conditions increase rot risk during curing. If rain is forecast when onions are ready, harvest early rather than risk waterlogged soil damaging your crop.
Green onions (scallions) are harvested young at 12-18 inches tall, about 60-80 days after planting. Bulb onions need 90-130 days and show maturity through toppling tops and papery skins.
Cure them immediately in a warm, dry place. While they won’t store as long, they’ll last 2-3 weeks if handled gently. Use these first in cooking—they’ll have milder flavor but work well in fresh dishes.
