
Beautiful Plants For Your Interior
Beautiful Plants For Your Interior
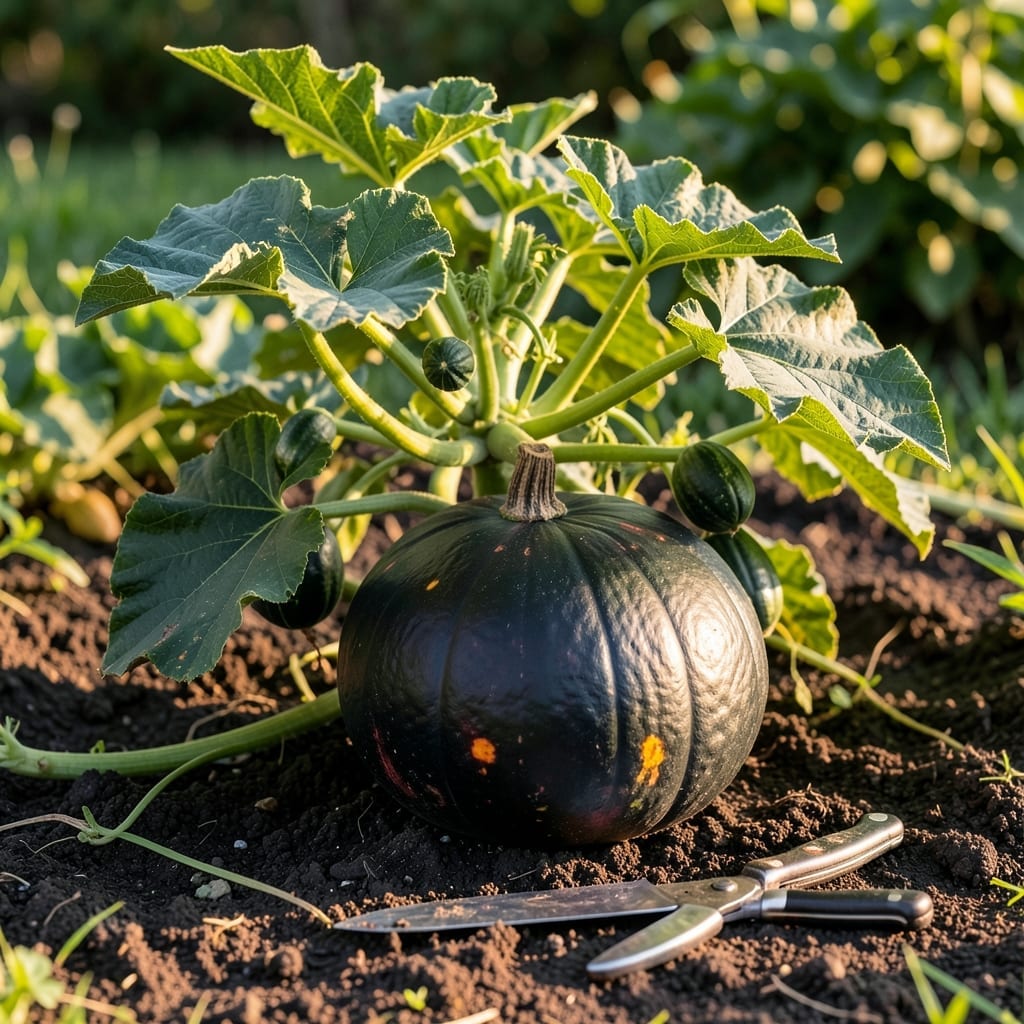
Harvesting Acorn Squash 🎃 at the perfect moment ensures the best flavor and storage life, but knowing when it’s truly ripe can be tricky even for experienced gardeners.
I remember my first attempt at growing this variety – I picked them too early and they spoiled within weeks. The difference between a perfectly ripe squash and one that’s not quite ready can be subtle.
Discover the field-tested signs that will help you harvest your Acorn Squash at its peak, every time. These simple cues will take the guesswork out of your harvest.
Timing your acorn squash harvest perfectly means watching for clear visual cues. I’ve learned that relying on just one sign can lead to mistakes, so I always check multiple indicators before picking. The rind hardness and stem condition are my top two checks. ☀️
The most reliable method is testing the rind with your thumbnail. If it resists puncturing, the squash is ready. This simple test prevents harvesting immature squash that won’t store well. 🌱
Press thumbnail against rind. If it doesn’t puncture, it’s ripe.
Stem turns brown and corky when ready. Green stems mean wait.
Shiny skin indicates immature squash. Dull finish signals ripeness.
The spot touching soil turns deep orange when ripe.
Vines start yellowing and drying as squash matures.
I always check the ground spot first—it’s the most visible indicator. A deep orange or yellow color on the underside means the squash has finished growing. This is especially helpful for hidden squash under dense foliage. 🌿
The vine condition offers another reliable clue. As squash ripen, the vines begin to die back, turning yellow and brittle. This natural process signals that the plant is redirecting energy to the fruit. ✂️
Remember that color alone isn’t enough. Some varieties maintain green skin even when ripe. The thumbnail test and stem check are far more reliable than appearance. I learned this the hard way with a batch of deceptively green but ready squash.
For the most accurate results, I combine three checks: rind hardness, stem dryness, and dull skin. When all three align, I’m confident the acorn squash is at its peak. This method has never failed me in years of gardening.
If you’re still unsure, wait a few more days. Acorn squash won’t ripen further once picked, so it’s better to err on the side of patience. The extra time ensures maximum sweetness and storage life. 🌻
Even experienced gardeners make harvesting errors with acorn squash. I’ve seen many pick too early based on size alone, only to find their squash spoils quickly. The most common mistake is ignoring the stem condition when assessing ripeness. ☀️
Another frequent error is relying solely on color changes. Some green varieties stay vibrant even when fully ripe. The thumbnail test is far more reliable than visual appearance. I learned this after harvesting a batch of green but ready squash too soon. 🌱
⚠️ Avoid These Ripeness Pitfalls
Harvesting based on size only often leads to premature picking. Always combine multiple checks for accuracy.
Many gardeners overlook the ground spot indicator. This soil-touching area changes from pale to deep orange when ripe. Skipping this check can mean missing the optimal harvest window. I now make it my first visual inspection point. 🌿
Ignoring the vine dieback is another common misstep. As squash mature, vines naturally yellow and dry. This process signals the plant is finishing its growth cycle, making it a reliable ripeness indicator.
The stem test often gets rushed. A truly ripe squash will have a completely dry, corky stem. Green or moist stems mean the squash needs more time, regardless of other signs.
Lastly, don’t harvest during wet conditions. Picking squash when damp can lead to early spoilage. I always wait for dry weather to ensure the best storage potential. The extra patience pays off with longer-lasting produce. ✂️