
Beautiful Plants For Your Interior
Beautiful Plants For Your Interior
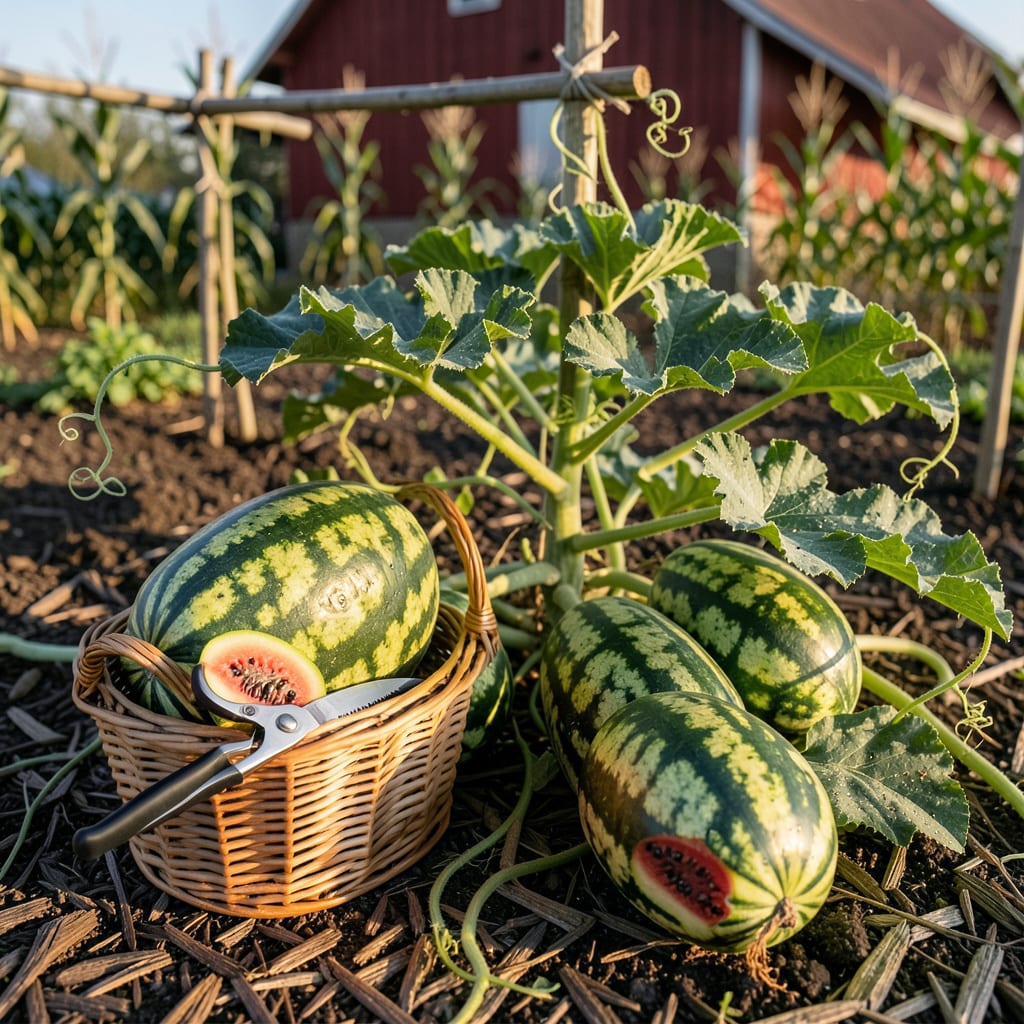
There’s nothing worse than cutting into a watermelon you’ve nurtured for months, only to find it underripe or overripe. That perfect balance of sweetness and crunch hinges on knowing exactly when to harvest—yet so many gardeners guess wrong.
After years of testing (and a few disappointing melons), I’ve narrowed it down to five foolproof signs that take the mystery out of timing. Whether you’re growing classic Crimson Sweet or compact Sugar Babies, these visual and physical cues will ensure you pick at peak ripeness—every single time.


After months of tending your watermelon vines, the moment of truth arrives: Is it ripe? The key is checking multiple signs, not just one. I’ve learned the hard way that size alone won’t cut it—you need to combine visual, textural, and auditory cues for accuracy.
Start by examining the curly tendril nearest the stem—this little green coil holds the first clue. Then, move to the ground spot where the melon rests. These signs work together like a ripeness puzzle, and I’ll show you how to read them like a pro.
| Sign | What to Look For | Why It Matters |
|---|---|---|
| Curly Tendril | Turns brown and dry near the stem | Indicates the vine has stopped feeding the fruit |
| Ground Spot | Creamy yellow (not white or green) | Shows prolonged contact with soil—ripe melons sit longer |
| Rind Texture | Dull, not shiny surface | Glossy skin = still growing; matte = ready |
| Stem Condition | Begins to crack or loosen | Natural separation signals full maturity |
| Tap Sound | Deep, hollow thud (not metallic) | Air pockets develop as sugars concentrate |
Let’s dive deeper into the curly tendril test. This is the first sign I check because it’s the most reliable. Locate the tendril closest to the melon’s stem—it should transition from green to brown and crispy. If it’s still flexible, wait a few days.
The ground spot is your next clue. Flip the melon gently (support the bottom!) and look for a buttery yellow patch where it touches the soil. A white spot means it’s not ripe; green hints at overripeness. This spot develops as the melon sits in one place, soaking up sun.
Now, run your fingers over the rind’s surface. A ripe watermelon loses its glossy sheen and feels slightly rough or dull. This texture change happens as the fruit’s sugars mature. If it’s still shiny, give it more time—this is a sign the vine is still actively growing the melon.
Check the stem connection next. A ripe melon’s stem may start to crack or pull away slightly from the vine. Don’t yank it—just observe. If the stem looks tightly attached, the melon isn’t ready. This separation happens naturally as the fruit reaches peak ripeness.
Finally, the thump test seals the deal. Tap the melon with your knuckles—listen for a deep, hollow sound. An immature melon sounds metallic or high-pitched; an overripe one may sound dull. Practice on a few melons to train your ear—it’s a skill that improves with experience!
Pro tip: Combine at least 3 of these signs for the most accurate harvest timing. For example, if the tendril is brown, the ground spot is yellow, and the rind is dull, you’re likely good to go. Trust the process—your patience will be rewarded with the sweetest, juiciest watermelon of the season!
Remember, variety matters. Seedless watermelons often ripen a bit earlier than seeded types, so adjust your expectations. When in doubt, leave it on the vine an extra day—watermelons don’t continue ripening after picking, so it’s better to wait than rush.
Even with the best intentions, it’s easy to misjudge a watermelon’s ripeness. I’ve seen gardeners make the same avoidable mistakes year after year, often because they rely on just one sign or misinterpret what they see. The most common error? Assuming size equals ripeness—just because it’s big doesn’t mean it’s ready.
Another pitfall is ignoring the curly tendril and focusing only on the ground spot. While the yellow patch is important, it can be misleading if the melon has shifted position. Always cross-check with the tendril’s color and the rind’s texture to avoid disappointment.
Don’t confuse sunburn with ripeness: A white or pale spot isn’t always underripe—it could be sun damage. Check the tendril instead.
Never rely on the thump test alone: It takes practice! Combine it with visual signs for accuracy.
Don’t pull the stem: If it doesn’t separate easily, the melon isn’t ready. Forcing it can damage the vine.
One mistake I made early on was harvesting after rain. Wet conditions can make the rind appear duller than it is, tricking you into thinking it’s ripe. Wait for a dry day to assess the melon’s true color and texture. Also, avoid picking in the early morning when dew is present—it can skew your judgment.
If you’ve already picked a melon too early, don’t despair. While it won’t ripen further, you can still use it in smoothies or chilled soups where its mild flavor won’t be as noticeable. For overripe melons, scoop out the flesh and freeze it for later—just avoid the mushy parts near the rind.
To fine-tune your timing next season, keep a harvest journal. Note the variety, days to maturity, and which signs were most reliable for you. I’ve found that Sugar Baby melons often ripen faster than their size suggests, while larger varieties like Crimson Sweet need extra time to develop their full sweetness.
Finally, remember that climate plays a role. In hotter regions, melons may ripen faster, while cooler areas can delay maturity by a week or more. Adjust your expectations based on your local weather, and when in doubt, give it one more day on the vine—it’s always better to wait!
🌱Not all watermelons ripen on the same schedule—even within your own garden. I’ve grown everything from tiny Sugar Babies to giant Crimson Sweets, and each variety has its own timeline. The key is understanding how days to maturity and growing conditions interact to shift harvest windows.
For example, seedless watermelons often ripen 5–7 days earlier than seeded types, while heirloom varieties might need extra time to develop their full flavor. Climate plays a role too: In hotter zones, melons mature faster, but cooler summers can delay ripeness by a week or more. Let’s break down the differences.
| Variety | Days to Maturity | Key Ripeness Adjustments |
|---|---|---|
| Sugar Baby | 75–80 days | Ripens fast; check ground spot early |
| Crimson Sweet | 80–85 days | Needs full sun; thump test critical |
| Seedless (e.g., Triploid) | 70–75 days | Harvest 5 days earlier than seeded |
| Charleston Gray | 85–90 days | Watch for stem crack late |
| Moon & Stars | 90–100 days | Slow ripener; dull rind = ready |
If you’re growing Sugar Baby, start checking for ripeness at 70 days. These compact melons often fool gardeners with their small size, but their ground spot turns yellow faster than larger varieties. I’ve found they’re ready when the tendril browns and the rind loses its shine—usually a few days before their “due date.”
For Crimson Sweet or Charleston Gray, patience is key. These larger melons need every bit of their 80+ day timeline to develop their signature sweetness. The thump test is especially useful here: A deep, resonant sound means the sugars have concentrated. If the sound is flat, give it another 3–5 days.
Seedless varieties are the trickiest. Since they lack mature seeds, their ripeness signs can be subtler. I rely heavily on the tendril test and ground spot color, as the thump sound is less distinct. Harvest these 5–7 days earlier than seeded types to avoid overripeness, which leads to mealy texture.
Remember, your local climate can shift these timelines. In my Zone 6 garden, a cool, rainy summer might push harvest back by a week, while a heatwave could speed it up. When in doubt, compare multiple signs—and err on the side of waiting. A watermelon won’t ripen further once picked, so that extra day on the vine is always worth it! 🌱
Check your watermelon in the late afternoon when the vine is fully warmed by the sun. Avoid early mornings when dew can make the rind appear duller than it is. Dry conditions give you the most accurate read on color and texture.
No, the thump test works best when combined with other signs. A ripe watermelon should produce a deep, hollow sound, but it takes practice to distinguish it from an unripe or overripe one. Always cross-check with the tendril and ground spot.
An overripe watermelon often has a greenish ground spot instead of creamy yellow, and the rind may feel overly soft. The thump sound can also become dull or flat. If you notice these signs, harvest immediately to avoid a mushy texture.
Size alone isn’t a reliable indicator. A watermelon can reach full size weeks before ripening. Focus instead on the tendril color, ground spot, and rind texture. Varieties like Sugar Baby are smaller but can be fully ripe.
If you’ve harvested too soon, don’t worry—it’s not a total loss. Use the underripe melon in smoothies, chilled soups, or pickles. Unfortunately, watermelons won’t ripen further once picked, so adjust your timing next season.
