
Beautiful Plants For Your Interior
Beautiful Plants For Your Interior
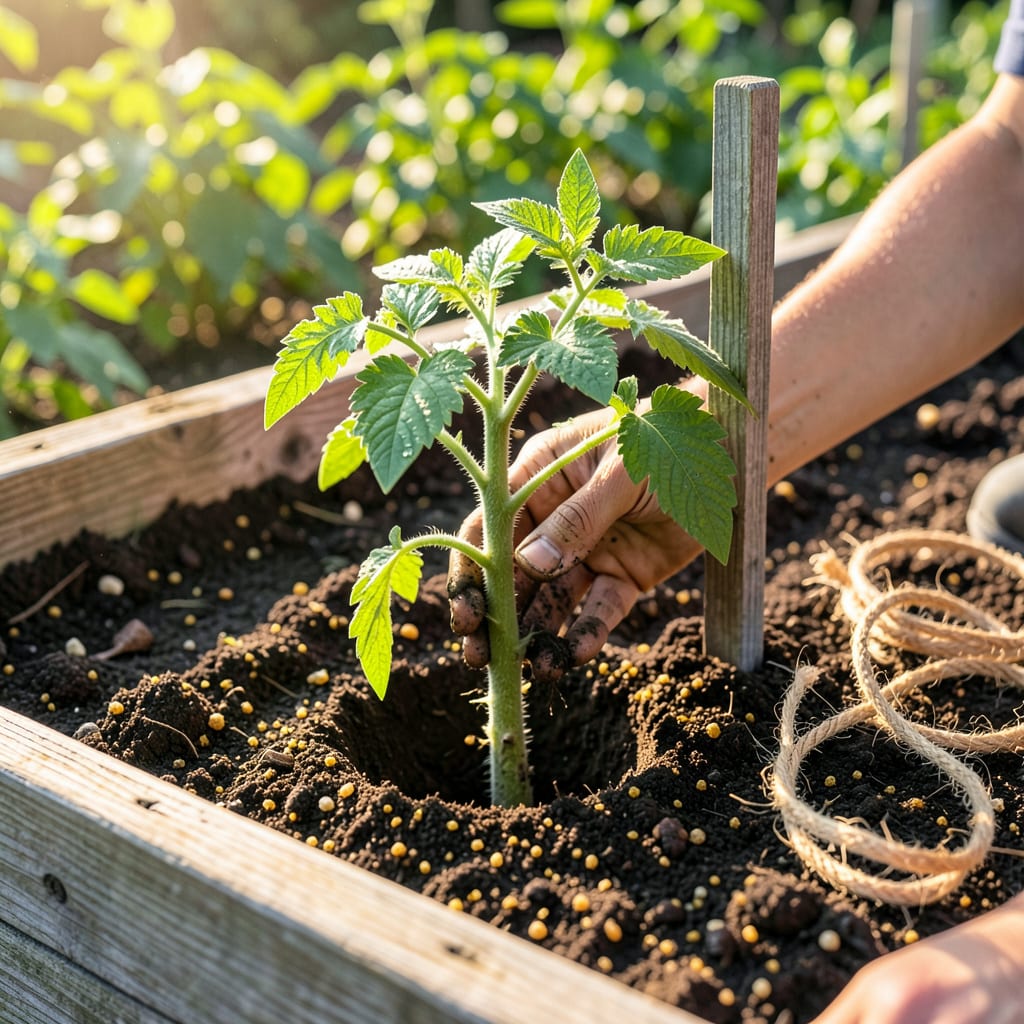
I used to plant tomato seedlings like every other vegetable—just deep enough to cover the roots. Then I learned the game-changing trick: bury two-thirds of the stem underground. That simple shift transformed my scrawny, top-heavy plants into bushy powerhouses with root systems that could survive droughts and heatwaves.
Here’s why it works: tomato stems grow roots when buried, creating a stronger foundation. My first season trying this, plants that normally wilted by July thrived through August. You’ll need to strip lower leaves first (don’t skip this), dig a deep hole or trench, and water thoroughly after planting. The payoff? Double the roots, half the watering stress, and tomatoes that actually ripen before frost hits.
📚 In This Guide
This simple technique transforms weak seedlings into powerhouse plants—here’s exactly how to do it right.
Dig a hole that’s twice as deep as your tomato seedling’s current root ball. For a typical 6-inch tall seedling, you’ll want a hole about 10-12 inches deep. The extra depth isn’t for the roots—it’s for the stem you’ll be burying.
Loosen the soil at the bottom of the hole with your fingers or a trowel. This encourages roots to penetrate deeper into the ground. If your soil is heavy clay, mix in a handful of compost to improve drainage around the root zone.
Gently pinch off all leaves from the bottom two-thirds of the stem. You want only the top 4-6 inches of foliage remaining. These removed sections will become roots when buried—this is where the magic happens.
Place the seedling in the hole so that only the top cluster of leaves remains above ground. The bare stem should lie horizontally along the bottom of the hole, then curve upward. Don’t worry if it looks odd—tomatoes will naturally right themselves within days.
Fill the hole with soil, gently firming it around the stem as you go. The buried portion will develop roots along its entire length, creating a much stronger root system. Leave a slight depression around the base to help water pool where it’s needed.
Water immediately with 1-2 gallons of water per plant. You want the soil to be thoroughly moistened all the way down to the bottom of your planting hole. This initial deep watering eliminates air pockets and ensures good soil-to-root contact.
Install your support system (cage, stake, or trellis) immediately after planting. Tomato stems are brittle when young, and it’s much harder to add supports later without damaging roots. Position supports so they’ll accommodate the mature plant size.
Apply a 2-3 inch layer of organic mulch around the base, keeping it 3 inches away from the stem. This conserves moisture, regulates soil temperature, and prevents soil-borne diseases from splashing onto leaves during watering.
Check your transplants daily for the first week. The buried stems will develop white, hair-like roots within 7-10 days—you’ll see new growth accelerating above ground when this happens. If leaves yellow, it’s usually from overwatering, not the deep planting.
After two weeks, gently tug on the base of the plant. You should feel resistance from the new root system. This confirms your deep planting was successful. Now you’re set for explosive growth and heavier fruit production than shallow-planted tomatoes.
This technique looks simple but has some nuances that make all the difference in your plants’ success.
The Depth Secret: When digging your hole in Step 1, don’t be afraid to go deep—those 10-12 inches are crucial. I’ve found that burying two-thirds of the stem (leaving just 4-6 inches above ground) creates a root system that’s three times more extensive than shallow planting. This is what gives you those massive harvests later in the season.
Leaf Removal Technique: In Step 2, be gentle but thorough when removing leaves. Use your fingernails to cleanly pinch stems rather than tearing—this prevents jagged wounds that could invite disease. The buried stem sections will develop roots, but only if they’re clean of foliage. I make a habit of counting up from the bottom to ensure I’ve removed exactly two-thirds of the leaves.
Watering Wisdom: That 1-2 gallons of water in Step 3 isn’t optional—it’s the difference between survival and thriving. I water in two stages: first to settle the soil, then again after 10 minutes to ensure moisture reaches the bottom of that deep hole. This prevents air pockets that could rot your new roots before they establish.
Support Timing: Don’t wait on those supports in Step 4. I learned the hard way that adding cages after plants grow just creates a jungle gym of stems and leaves. Install them immediately, even if the plant looks small—tomatoes grow surprisingly fast once those buried stems root out in 7-10 days.
Tomatoes thrive when planted deep, but burying more than ⅔ of the stem can stress the plant. Avoid covering leaves—focus on burying the stem up to the first set of healthy leaves. Overly deep planting may cause rot or slow growth in waterlogged soil.
Transplant in the late afternoon or early evening when temperatures are cooler and sunlight is gentler. This reduces shock and gives roots overnight to settle. Avoid midday heat—stress levels spike when plants fight sun + transplant trauma!
Yes! Strip leaves from the lower ⅔ of the stem before planting. This prevents buried leaves from rotting and encourages root growth along the stem. Use clean scissors or fingers—just don’t tear the main stem.
Leggy seedlings benefit most from deep planting! Bury the elongated stem horizontally in a trench (leaving the top 4–6 inches above soil), or spiral it into the hole. Roots will form along the buried stem, creating a sturdier plant.
Absolutely! Water deeply immediately after transplanting to eliminate air pockets and help soil settle around roots. Use a gentle stream to avoid disturbing the plant. Follow up with consistent moisture (not soggy soil) for the first week.
